When you open a raw image from your digital SLR (or Cinema DNG files from something like the Blackmagic Cinema Camera or Digital Bolex) in something like Adobe's Lightroom, and reduce the exposure to reveal a huge amount of information in the highlights — or radically adjust the white balance to recover a well-balanced image from a murky orange mess, it's easy to feel that the raw files are somehow more than just pixels. It almost feels magic.
This sense of raw still images being a true digital negative — deep, rich, forgiving of exposure errors, and massively tunable to your ultimate taste, leads some video shooters to feel that raw is always a better choice than the other common way of capturing a high-dynamic range cinema image: log.
“Log” is a broad term to describe images images stored with logarithmic (rather than linear or gamma-encoded) light values. You don’t typically see this format available often in still cameras (GoPro is a notable exception), but it’s commonplace in higher-end video cameras. The intent of log is similar to the intent of raw: to capture and preserve as much dynamic range as possible. Like raw, log images require post-processing to “look right.”
Are your familiar with shooting flat video? Log is the ultimate flat.
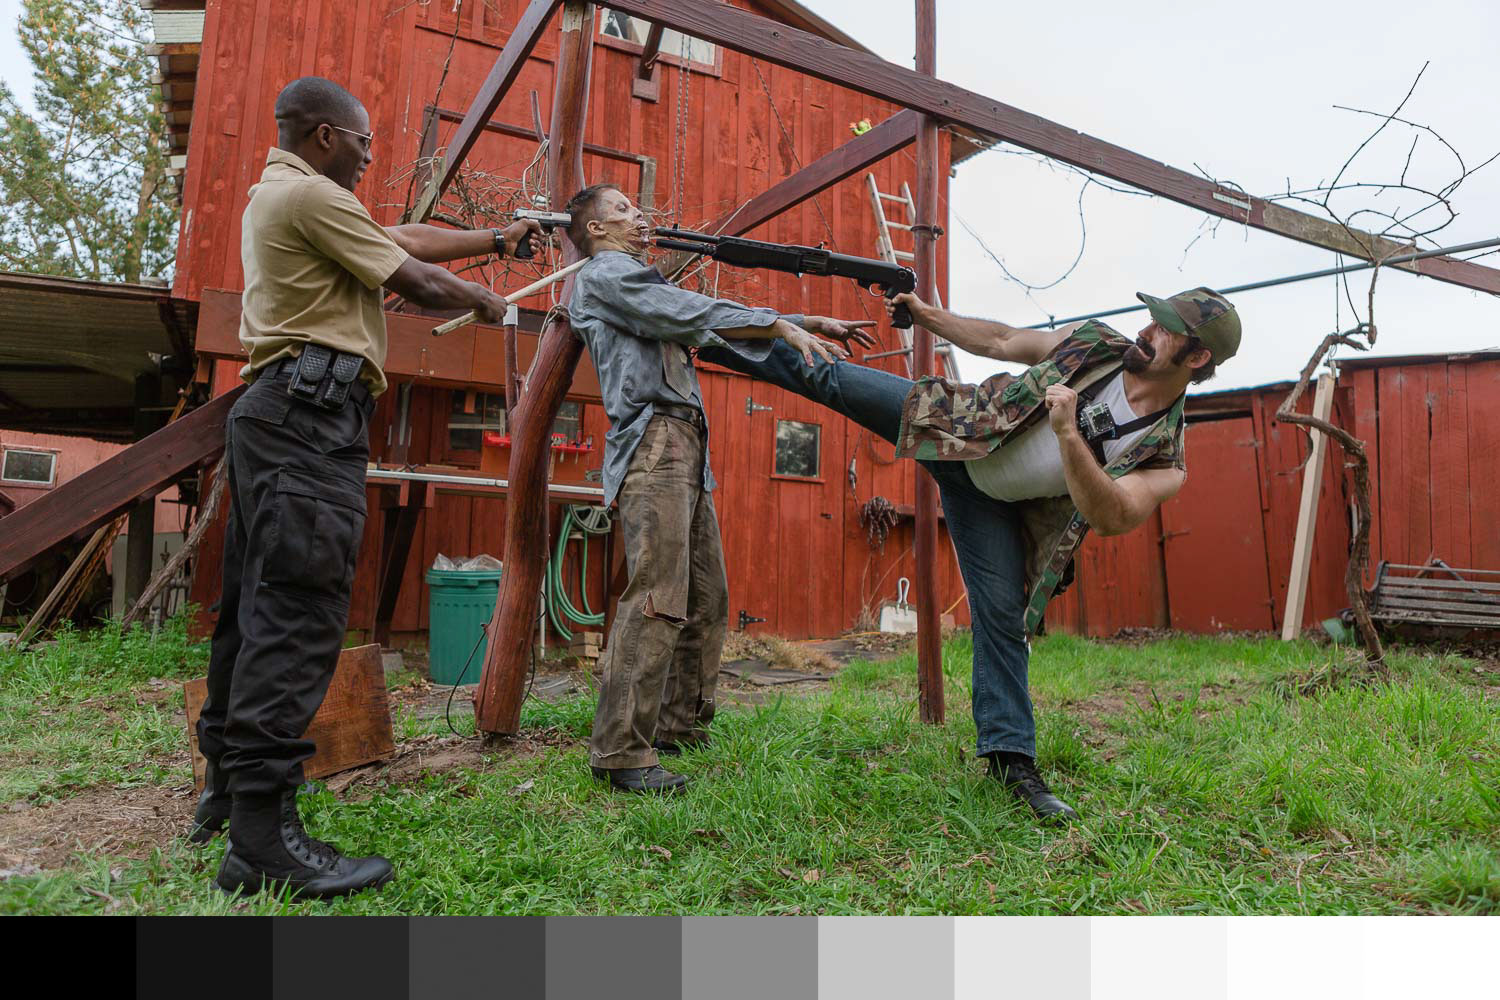
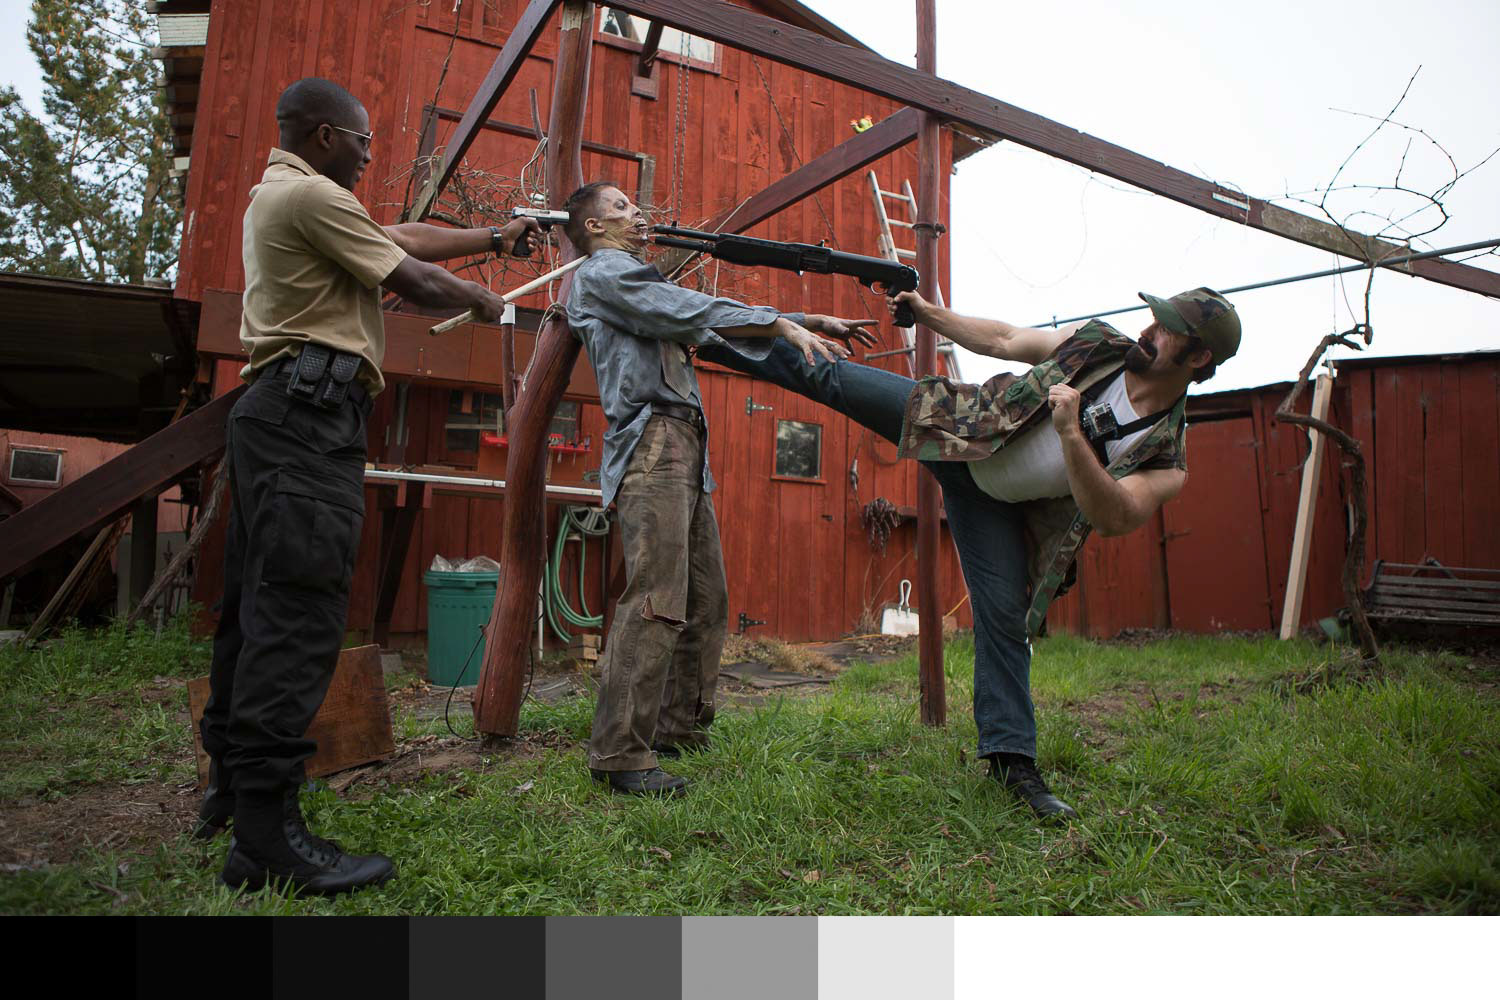
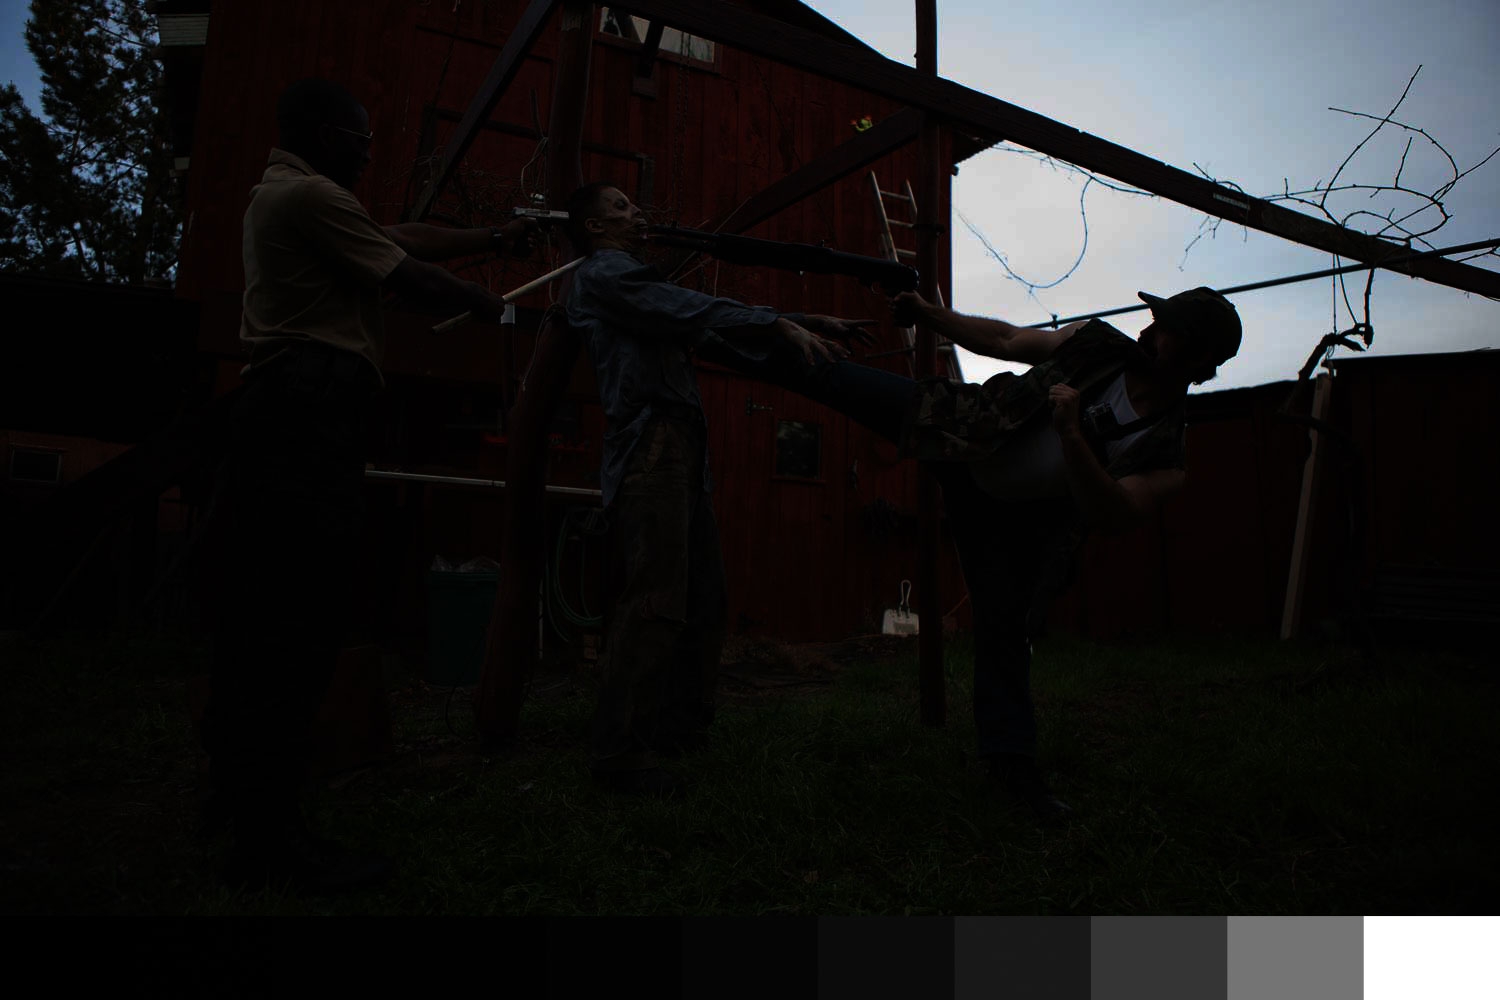
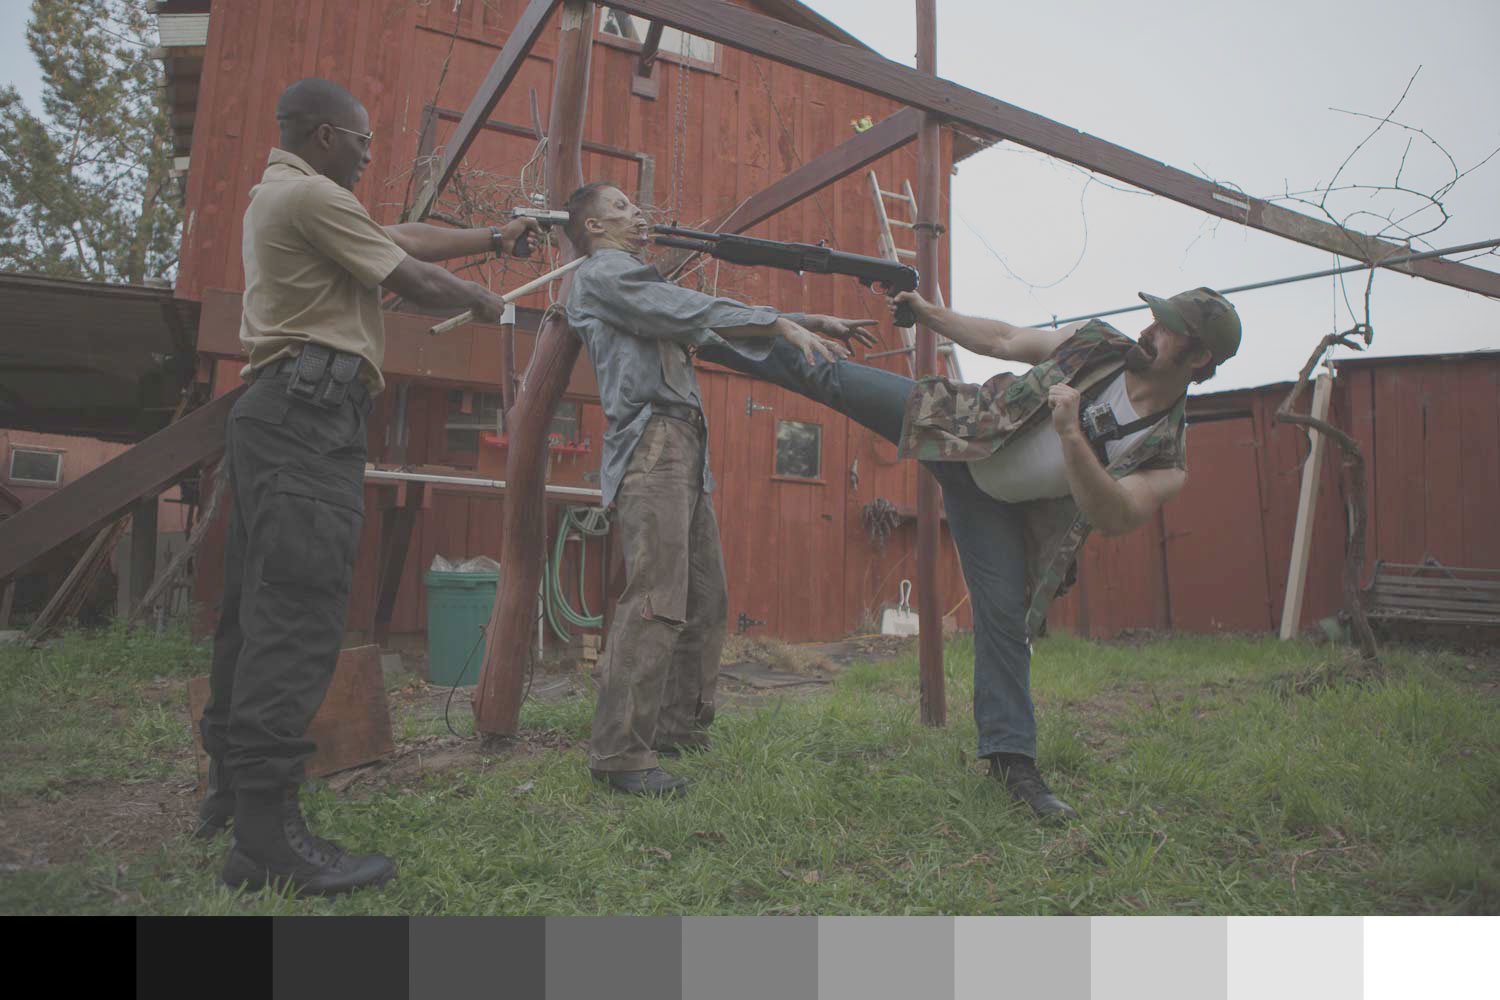
Cameras that shoot raw are great. But so are cameras that shoot log. A properly-recorded log image can be as powerful and flexible as a raw one, and can even have some advantages over raw.
And raw? It’s not magic — but the reasons it can feel that way are worth exploring.
The Double-Edged Sword of Linear Light
Raw images are typically stored in linear-light values. A reasonable definition of raw is “what the sensor captured,” and the sensor records light in light’s own measure, meaning that +1 stop = twice as much light = 2x the numerical value in a digital file.
Linear Exposure Values
This logical arrangement turns out to be inefficient as heck in any kind of quantized digital file. Half of your available tonal range is dedicated to the single brightest stop of your image, so raw files have to have very high bit-depths to hold detail in the low exposure areas. It’s not unusual for raw files to be 12- or 14-bit. But it’s not useful to directly compare those numbers against the bit depths of log or video encoded files, where the tonal range is distributed non-linearly.
The huge advantage of storing raw files in linear-light is that no conversion has been baked-in to make them “look nice” on a non-linear display. No subjective corrections, such as contrast curves or color adjustments have been applied. This (among many other factors) means that a raw file is not inherently ready to be viewed. It must be interpreted by software and converted to a viewable state. And this interpretation process is inherently subjective — even if you, the shooter, don't get involved.
“Straight Out of the Camera” Raw is a Myth
This is a little pet peeve of mine. You’ll sometimes see photo dorks post shots from a new camera with the intention of showing “what the camera can do,” so they make a point of noting that the image has “no processing” or is “straight out of the camera”. This is only a valid notion for JPEG or other baked-in-processing formats. In the case of raw files, what they really should be saying is that they’re showing you the default processing of whatever raw conversion software they’re using — which is going to be different in Lightroom than it will be in Apple Photos or Capture One. If you don’t touch the controls in your raw software, the image is not “unprocessed.” It’s just processed according to the subjective decisions of a team of software engineers instead of you.
Often those engineers have labored to make their default processing match our expectations, by visually matching the JPEG previews we saw on the camera’s LCD screen. In Lightroom, for example, this is made possible by carefully-crafted camera “profiles,” which are essentially sets of invisible sliders adjusted to pre-process the shot into an expected appearance, while leaving the visible controls at their defaults. In these cases, the hard work of the developers actually perpetuates the myth that there’s something “pure” or untouched about a raw file left at its default processing settings. The truth is, any raw processing is subjective, and plays a major role in the appearance of a photo or motion picture frame.
Log is as Good as Linear, Maybe Better
Where a linear-light image is stored such that the numerical values directly equate with light intensities, log images are arranged so that the same number of pixel values are used for every stop in the image.
An idealized 0.0–1.0 linear image uses values 0.5–1.0 for the brightest stop, 0.25–0.5 for the second-brightest, 0.125–0.5 for the third brightest, 0.0625–0.125 for the fourth brightest, and so on. At the fourth-brightest stop, we're already down to the bottom 6% of the available pixel values. The middle-range of your image, your exposure sweet-spot, is stored entirely in the bottom 3% of the available data range.
Pixel Values per Stop in Linear and Log
Log, on the other hand, uses its pixel values much more efficiently. If a log image holds ten stops, then 0.0–0.1 is used for the darkest stop, 0.1–0.2 is for stop 2, 0.2–0.3 is for stop 3, and so on, up to 0.9–1.0 for stop 10. Each stop gets exactly the same amount of data fidelity.
See what I mean about log being the flattest of the flat picture “styles" or “profiles”? When I created Prolost Flat, I was aiming for something as close to log as I could get.
In both log and linear images, color adjustments can easily be natural and organic, because the number-spaces so easily invite simple math to relate directly to light values.
- In a linear image, adjust exposure with multiplication. To brighten an image by one stop, multiply the values by 2. To darken an image by two stops, multiply the values by 0.25.
- In a log image, exposure is adjusted with addition/subtraction, which is sometimes called offset. To brighten an image by one stop, add one stop’s worth of values to the image. In our 10-stop example, that would be 0.1. So adding 0.1 the the pixel values bumps exposure up one stop. To reduce exposure by two stops, subtract 0.2.
When someone points out that raw images are eminently color-correctable, it’s worth remembering that the same is equally true of log. And since log images better utilize their data range, they don’t require as high a bit-depth to hold a high-fidelity image. A hypothetical 10-bit linear raw image has substantially less color fidelity where it counts than an all-other-factors-being-equal 10-bit log image.
Raw Pixels are Rapidly Reduced to Regular Pixels
One myth of raw processing is that it happens all at once. This is not true. Every raw processing engine has an order of operations. And very early in that order of operations is the debayering step, where the monochrome, color-filtered pixels are cleverly interpolated into unique RGB values per pixel.
After this operation is performed, the result is a set of very nice, high-bit-depth, linear-light RGB pixels. These pixels are no different than any other very nice RGB pixels. In fact, they’re somewhat challenged, since the debayering process isn’t perfect, so the RGB values may have aliasing and other undersampling artifacts.
All of the subsequent image processing in your raw software is done to these regular, non-magic, RGB pixels.
Some raw adjustments, like sharpening and other detail tweaks, may dig all the way back to the demosaicing stage in the pipeline. But that doesn't change the fact that the first step in the image processing pipeline is to make plain old RGB pixels out of the raw file.
What this means is that the vast majority of the “raw image processing” to which we ascribe so many magical powers, is just good, old fashioned RGB image processing — that could just as easily be done to, say, a TIFF file, or a 10-bit log ProRes frame, as it could to a raw image.
Myth: Raw Images Have No Native White Balance
One of the “magic” properties of a raw image is that it is said to have no inherent white balance. You get to “white balance after the fact.” This is one of the easiest demos of why raw is so great. It’s quite easy, for example, to shoot a daylight-balanced JPEG in tungsten lighting and demonstrate how nearly impossible it is to correct it to a properly white-balanced image. Capture the same shot raw, and the process of correcting the white balance is effortless.
But the reason this works is not that the raw image has no inherent, or native white balance. It does. The RGB color filters let in certain wavelengths of light, and these are chosen carefully by the manufacturer to result in a robust, but specific, colorimetry. There’s one and only one color of light that pings the red, green, and blue-filtered pixels to the same value, and that’s the native color temperature of a bayer-pattern sensor.
The reasons its hard to rescue a poorly-white-balanced 8-bit JPEG are numerous, and they compound on one another. An image shot at the wrong white balance will inevitably be very dark in one of the color channels — for example, our tungsten-lit, daylight-balanced JPEG will be so orange in appearance that the blue channel might be near-black. Fixing the image means brightening up the blue channel so much that we're going to not only experience nasty quantization from bringing up the deep shadows of the 8-bit image, but compression artifacts as well. Compression is perceptual, so when the compression engine sees a really dark blue channel, it assigns it very little of the available data values.
This is made much worse by the subjective tone and color adjustments that are baked into that JPEG. A pleasing contrast curve (or s-curve) makes a well-balanced JPEG look lovely. But part of how it does that is to create a "toe," or an area in the extreme shadows where values gradually taper off to pure black. Values in this range are quite similar, i.e. difficult to distinguish visually, and are therefore likely to be compressed heavily. When you brighten up that blue channel, you're trying to make useful, visible pixels out of this intentionally-mushed-down and mercilessly-compressed portion of the image.
Contrast curves and compression happen very late in the raw processing pipeline, but white balance happens quite early. The problem with trying to correct an improperly white balanced JPEG could be categorized as a colossal error in order of operations. So rescuing a poorly-white-balanced JPEG involves revealing the very worst of an image that was designed to be seen, but not touched.
When you adjust the white balance of a raw image, you're acting on the linear-light RGB pixels that resulted from the debayer phase. White balance is actually a very simple operation — it's nothing more than exposure adjustments in R, G and B. You’re doing this under a bunch of the other processing that goes into making a JPEG look nice, such as the s-curve and color adjustments.
So white balance is just exposure. Remember how easy exposure adjustments are in linear light? Remember also how easy they are in log?
A good log image is just as re-white-balanceable as a raw one.
I Don’t Believe You. It’s Frickin’ Magic
Not magic. But there is some really clever stuff going on in most raw processing software that can make it seem like raw images have magical properties.
Remember that white balance is just exposure adjustments per channel. For example, to warm up an image using white balance controls, you're increasing red exposure a lot, green a little, and decreasing blue.
When decreasing exposure, you can run into issues with highlights. A blown-out highlight, reduced in exposure, is not pretty.
An easy way to show off the power of raw is to use your raw processing software to reduce the exposure of a seemingly blown-out image. Often you'll see highlight detail appear as if by magic. Of course, it's not magic at all — it was there all along, but held in reserve. The reason for this is actually less about giving you room to reduce overall exposure in post, but rather for white balancing.
Reducing exposure on this raw file in Lightroom reveals a blue sky where the default settings were clipped to white.
Holding some overexposure in reserve means that when you adjust white balance, which entails reducing exposure in at least one of the RGB channels, you can bring in new, valid highlight detail in those channels. You can sense this happening as you adjust white balance in Lightroom — it doesn't feel like color correcting — It feels like something “more.” But it’s just well-designed software with a proper order of operations (the last step of which is a pleasing s-curve), working from a robust digital negative, that allows a simple thing like white balancing to reveal previously-hidden image information.
But this comes at a cost. Remember that the top two stops of your image take up 3/4 of your available pixel values. If your raw image holds three stops of overexposure in reserve, that means that the visible portion of your image is restricted to 1/8 of your pixel values. In a 12-bit image, which can hold 4,096 shades of gray, this means that the visible portion of your image only gets 512 values. That’s only twice as many as in an 8-bit JPEG.
Reducing the exposure on this Alexa Log C frame in Nuke, viewing under an sRGB preview LUT, reveals the previously blown-out detail in the sky. Screen capture courtesy of Dan Sturm.
Nope. Magic.
Raw processing software will often allow you to do extreme exposure reductions, past the point where the camera data is capable of producing usable highlight imagery on its own. And yet sometimes, seemingly magically, highlight detail appears.
Everybody clips, including cameras that shoot raw. And since cameras have native white balances, inevitably one channel is going to blow out before the other two. Many raw processing tools include clever algorithms for recovering highlights that are blown out in one or two channels. They rebuild highlight detail missing from one channel by borrowing from the other two. Sometimes this results in apparent miracles. Other times, the recovered highlights appear ashen and monochromatic. This is one aspect of the raw processing that Adobe has improved massively over time. Recovered highlights that appeared gray in Adobe Camera Raw “Processing Version 2010” (used in Lightroom prior to version 4) can have natural-looking color in PV2012 (Lightroom 4.0 and up).
So no, not magic. But maybe close enough.
Advantages of Raw over Log
- Demosaicing is done in software, and can be tuned per-image in post (although almost no one bothers).
- Raw software often has sophisticated highlight recovery techniques built-in.
- Raw software is usually metadata-aware, and can therefore tune its processing to the specifics of the camera.
- Raw files are no bigger than they need to be
- Since you never see the whole dynamic range flattened into a single RGB image, you’re not likley to help popularize a terrible “flat look” trend.
Advantages of Log over Raw
- Better color fidelity at lower bit-depths — you don’t need a crazy-high bit-depth to preserve detail in shadows
- No special software required to view/edit
- Provides a common reference RGB for all of post production (on-set LUT preview, editorial, VFX)
- Does not encourage magical thinking
- Unlike raw files, log files generally do not provide enough rope with which to hang oneself
So When Should I Shoot Raw?
Raw may not be “magic,” but it is often a very smart choice.
I shoot raw for all my still photos, because my photo-processing software is optimized for it. Even if Lightroom could correctly interpret and process log, there’d be no advantage in shooting log stills, because they’d by necessity be a processed subset of the camera’s capture. A nice thing about raw is that it is essentially what the sensor captured. And raw files are no bigger than they have to be, since they are usually monochromatic. An 14-bit uncompressed raw still from my a7SII is about 24 MB. The same image, at the same quality, would be about 48 MB as a 10-bit log DPX file.
While you can build a pipeline that enables color adjustments as powerful and organic as Lightroom’s for your log imagery, few people actually do this (the log grading presets in Magic Bullet Looks 3 are a great place to start if you’re interested). But Lightroom-style processing for raw is as simple as, well, using Lightroom — or any of the many other raw processing tools available.
Raw files are storage efficient and allow you to defer processing decisions until after the shoot. For stills, they’re a no brainer. And for folks comfortable with the technical considerations, digital cinema raw, such as RED’s R3D format, can enable some powefull workflows. Since RED’s raw files are compressed, their data rate is low enough that you can edit them un-transcoded in many NLEs, and get realtime playback even with 5K and up material.
Not magic — but maybe close enough.
However, that luxury comes at the cost of deferred processing. Someone has to make the pixels someday. After all that real-time 5K editing, you have to render — a process that can make you think of the term “progress bar” as a cruel joke.
Not all raw files are so bandwidth friendly though. Cameras like Blackmagic Design’s various offerings and the Digital Bolex, among many others, shoot to losslessly-compressed DNG, an open raw standard crated by Adobe. DNG sequences may or may not be supported by your NLE, and if they are, you’ll need some major throughput to work with them in real time.
Log Looks Great and Is Often Prudent
With log files, you can often be bringing back just as much exposure information as raw, but in a format that’s far less likely to cause headaches.
There are caveats, of course. As with raw, not all log is created equal. There’s a big difference between compressed 8-bit s-log3 from my a7S II and 10-bit logC from an Arri Alexa.
One tremendous advantage of capturing log is that you are bringing RGB pixels to an RGB pixel party. No transcoding is required to work with your footage anywhere and everywhere. You can apply LUTs on set and expect those LUTs to do exactly the same thing in post. You can provide camera originals to your VFX team and expect them to hand back matching files that will cut right into your DI without any fuss.
With log, you’re far less likely to make a crucial mistake with setting up your camera that results in a catastrophic exposure error. These days are mostly over, but it was only a few years ago that I shot a commercial for an agency that had a no-RED policy after a day’s worth of footage was ruined by underexposure. What they’d seen through the viewfinder and tap had looked fine, because the camera’s ISO was cranked up. In RED raw, ISO is just metadata, so their footage was actually horribly underexposed.
Log, in its many flavors, is a smart, flexible, and powerful way of storing high dynamic range digital cinema imagery. It’s closer to raw than you might think, and often much easier to work with, for results of the same or better quality.
Acknowledgements
I started writing this post in July of 2013, but laziness got the best of me. Since then Squarespace added these cool live charts, so it got a lot easier to bore you with numbers visually. Thanks to Paul Schneider for the tweet that got me to dust this one off and post it, to world-famous colorist and gentleman Dave Hussey for corroborating it, to Dan Sturm for the Nuke screen capture, and to all the folks on Twitter who expressed interest in reading more nerdy stuff about pixel values.
Update 2024-07-17
Over a decade has passed since I started writing this post, and an update is overdue.
What’s Still True
Raw is still great, better than it was in 2016, but still not magic. Log is still also great — and thankfully gaining in popularity and accessibility,
What’s Outdated
Many “raw” formats now store values in much more efficient log encoding. The popular BRAW format used by current Blackmagic cameras is a great example. BRAW therefore flips the file-size/efficiency equation, giving better quality for smaller files than lightly-compressed ProRes log when shooting on something like the Blackmagic Pocket Cinema Camera 6K Pro. Folks using these cameras with Resolve have a hard time imagining why anyone would shoot log. But log ProRes still offers many advantages, notably the ability to preview video in the operating system, and directly use the camera-original files in apps other than Resolve, such as After Effects and Nuke. And a million others.
Is a “raw” file that’s compressed and re-encoded still truly raw? I’ll leave that argument to the internet.
As camera resolutions increase past 4K, compressed raw makes more and more sense. You’ll still probably want to transcode to ProRes or something similar for exchanging files with collaborators (or your own VFX/graphics workflows), but the extra workload of creating and managing these intermediate files will likely be worth the advantage of the more compact camera originals, especially considering that render times have gotten much faster for this kind of stuff since this article was first published.
What’s the Answer?
This post was never meant to claim that log is always a better choice than raw. There were, and are, myths about raw that needed some busting. My assessment of the current landscape is that raw is an equally great choice for solo shooter/editors who live entirely within a supportive ecosystem such as Blackmagic’s, and for the very high end of film production where dailies are processed by a post house. For those of us in the middle, or those mixing and matching formats and workflows, log still has all the compatibility and flexibility benefits listed above.
