
A couple of nice stills from the Ruby Tuesday Mini Cooper tie-in spot ("The Great Race") are online on the fxguide article. Check 'em out!
fxguide Podcast
It's up! If you can't get enough of this linear stuff, check out my interview (download .mp3 link) on fxguide's awesome podcast. There's a great article that sums it up nicely as well.
I've also allowed fxguide to mirror my linear-light in AE7 workflow articles in hopes that they reach more people. ProLost is still the place to get the latest and greatest ramblings though.
Thanks very much to John Montgomery and everyone at fxguide for having me on the show. I've mentioned before that I'm a huge fan of the podcast (iTunes link), and it's an honor to be a part of it.
Maybe with all this I can finally shut up about this linear crap for a while!
A Tale of Three Blurs
There are three Blur effects in After Effects that are commonly used, have been upgraded to 32 bpc floating-point color for version 7, and are generally misunderstood.
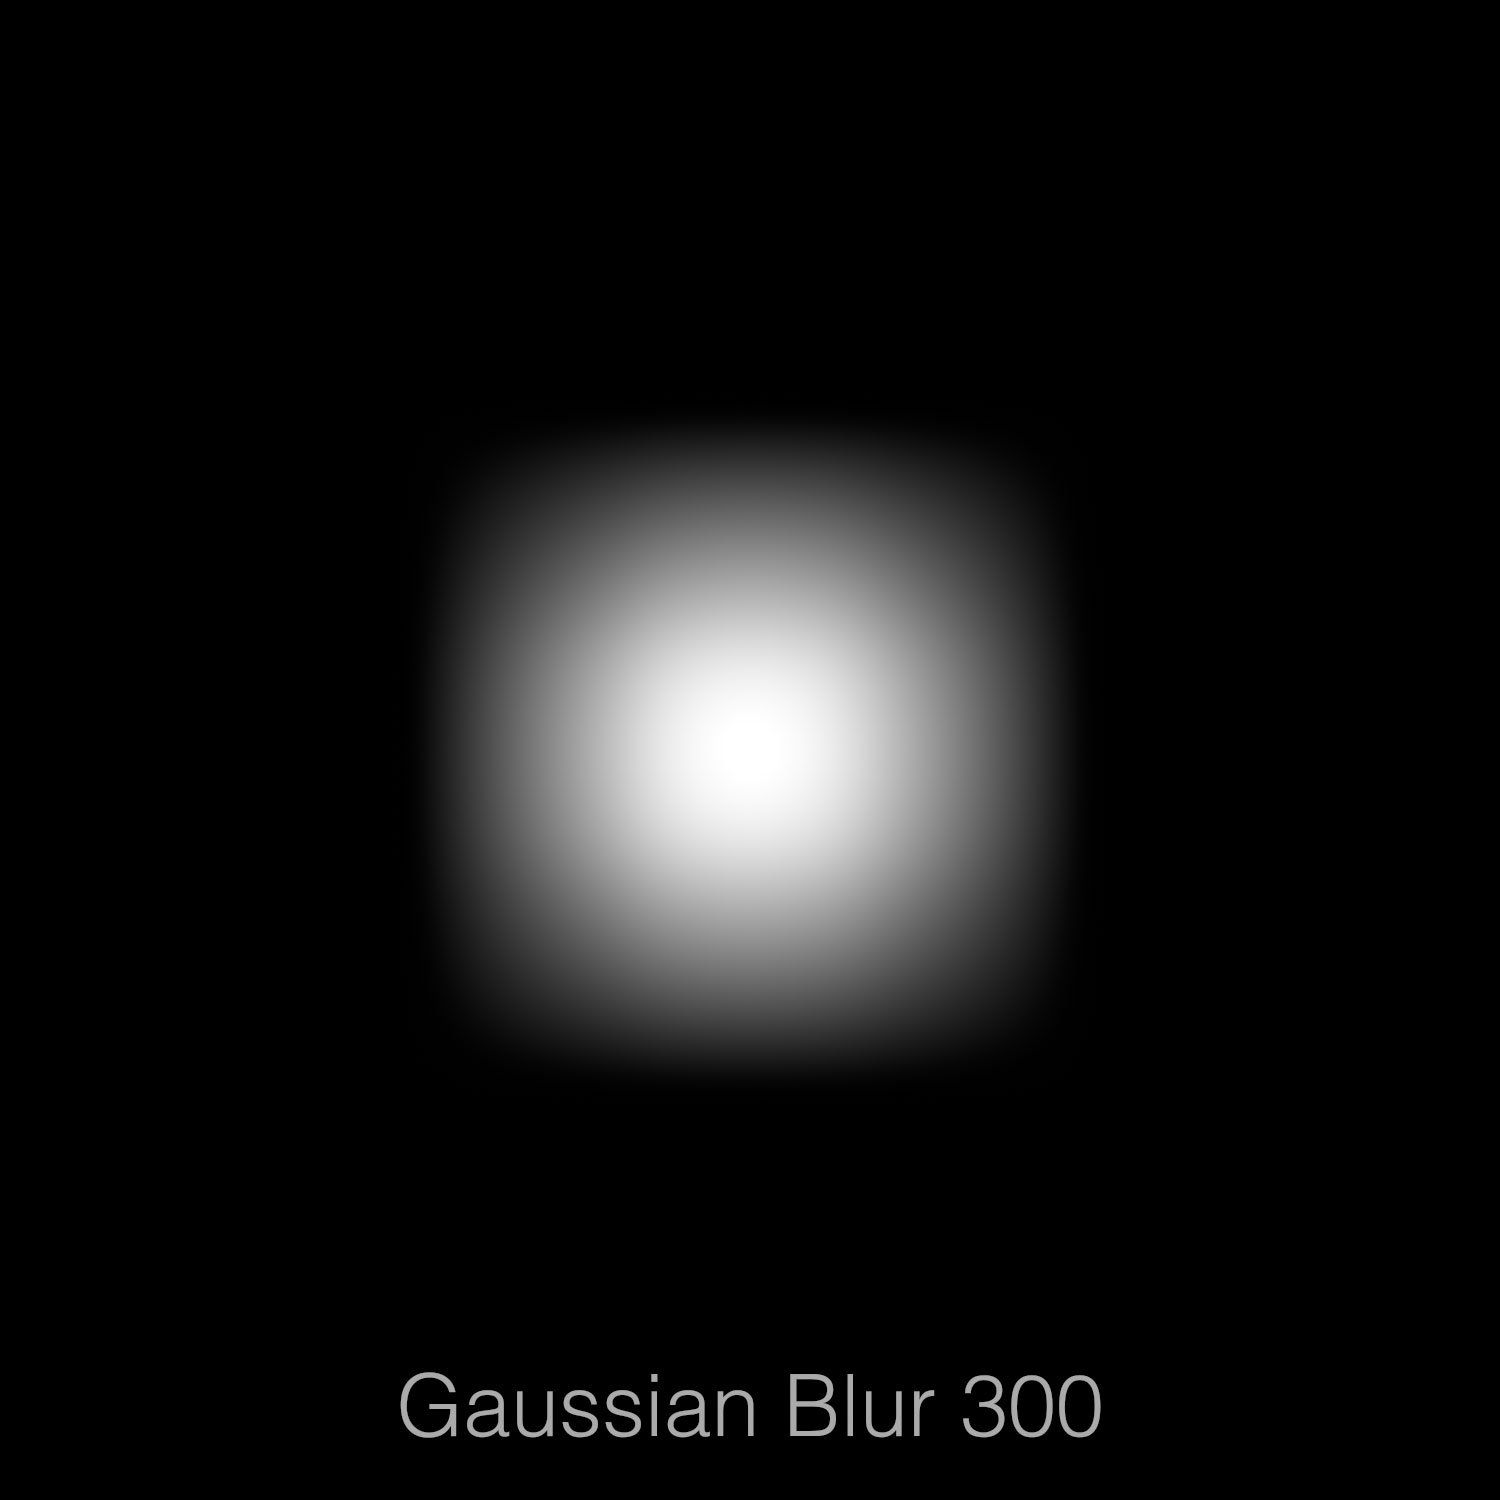
Gaussian Blur
Gaussian Blur has the simplest UI of the three — “Blurriness” and options for blurring in X, Y or both. Historically, Gaussian Blur was known as the premium blur for those who could afford its increased render times. While this was once true, it is now purely a myth. Gaussian Blur uses the exact same blur engine as
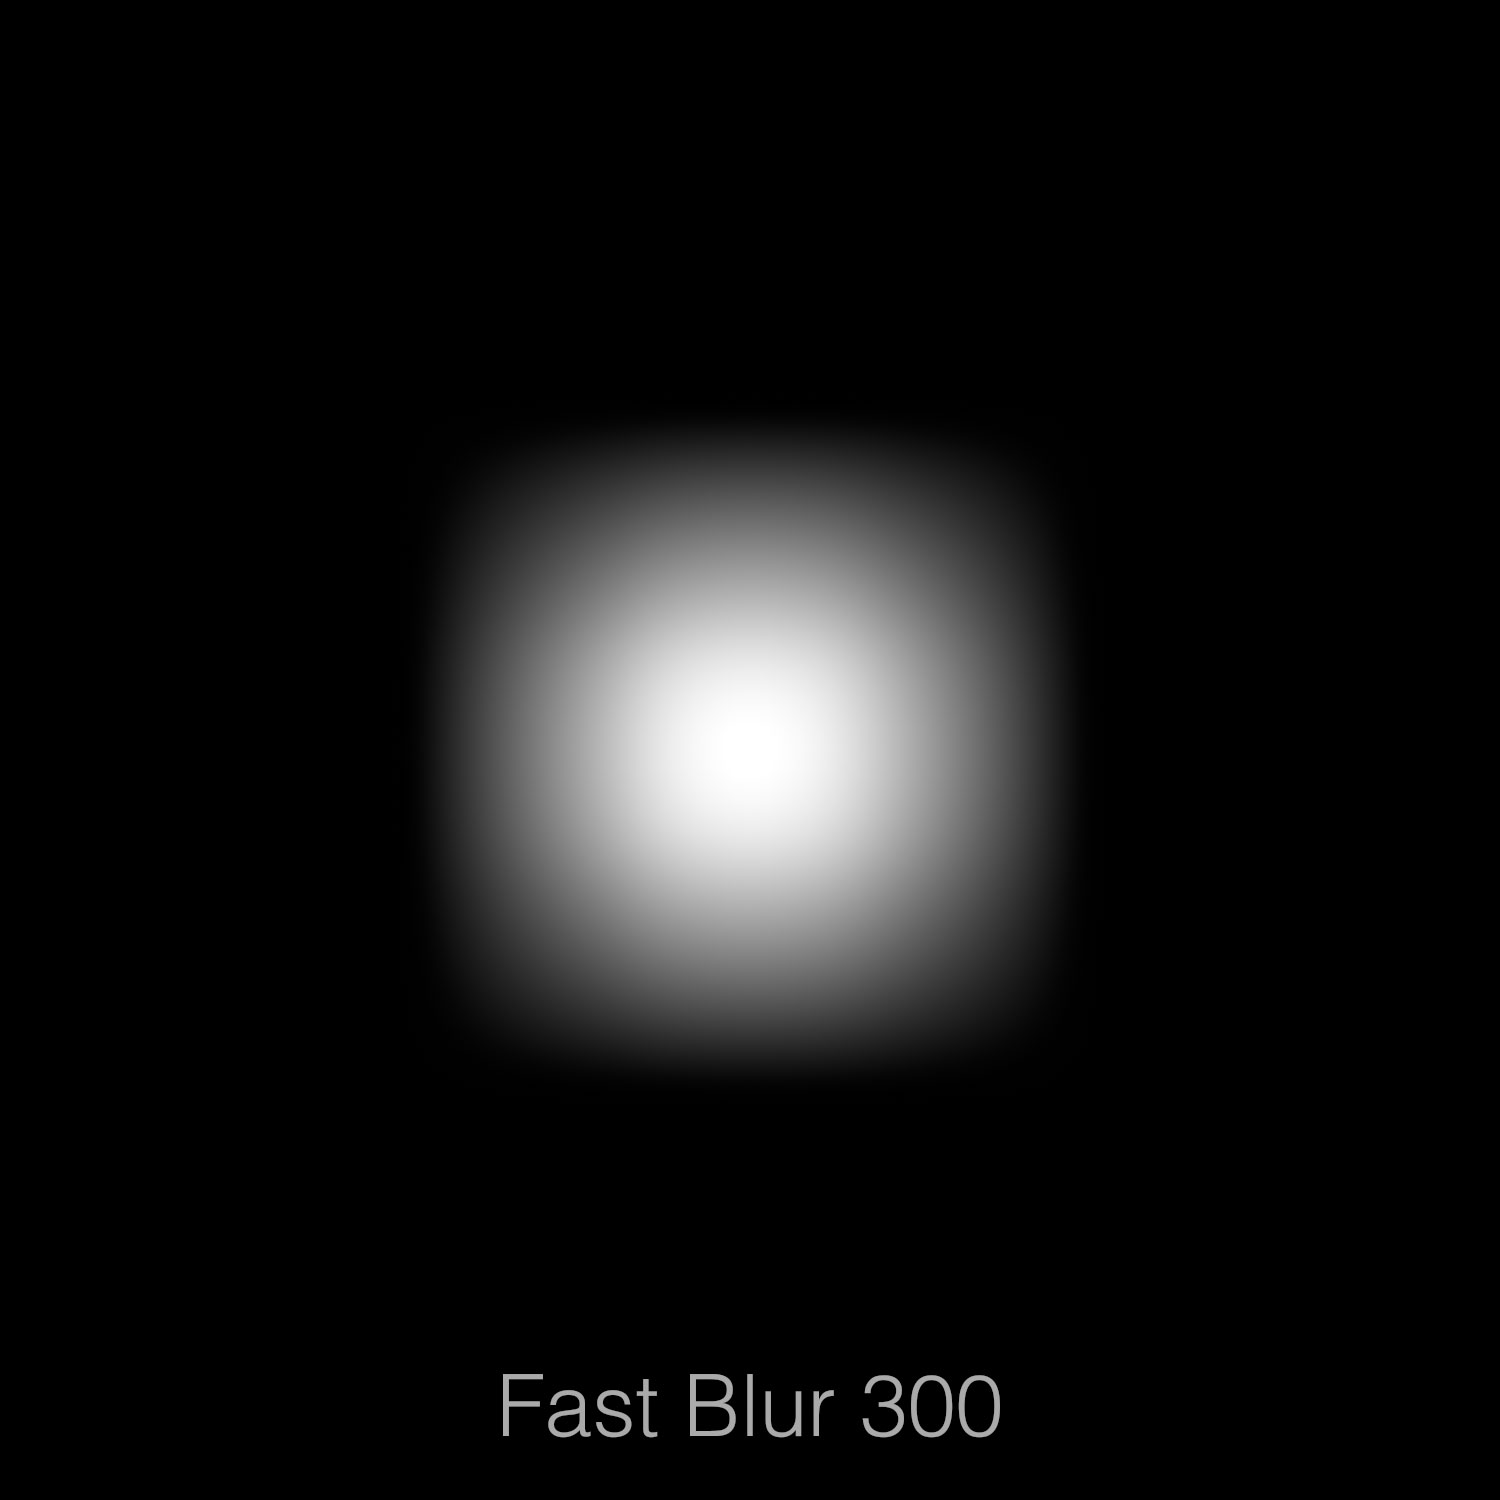
Fast Blur
…except that Fast Blur adds a very important “Repeat Edge Pixels” option. So for the record, there is no advantage in using Gassian Blur over Fast Blur. Gaussian Blur is obsolete.
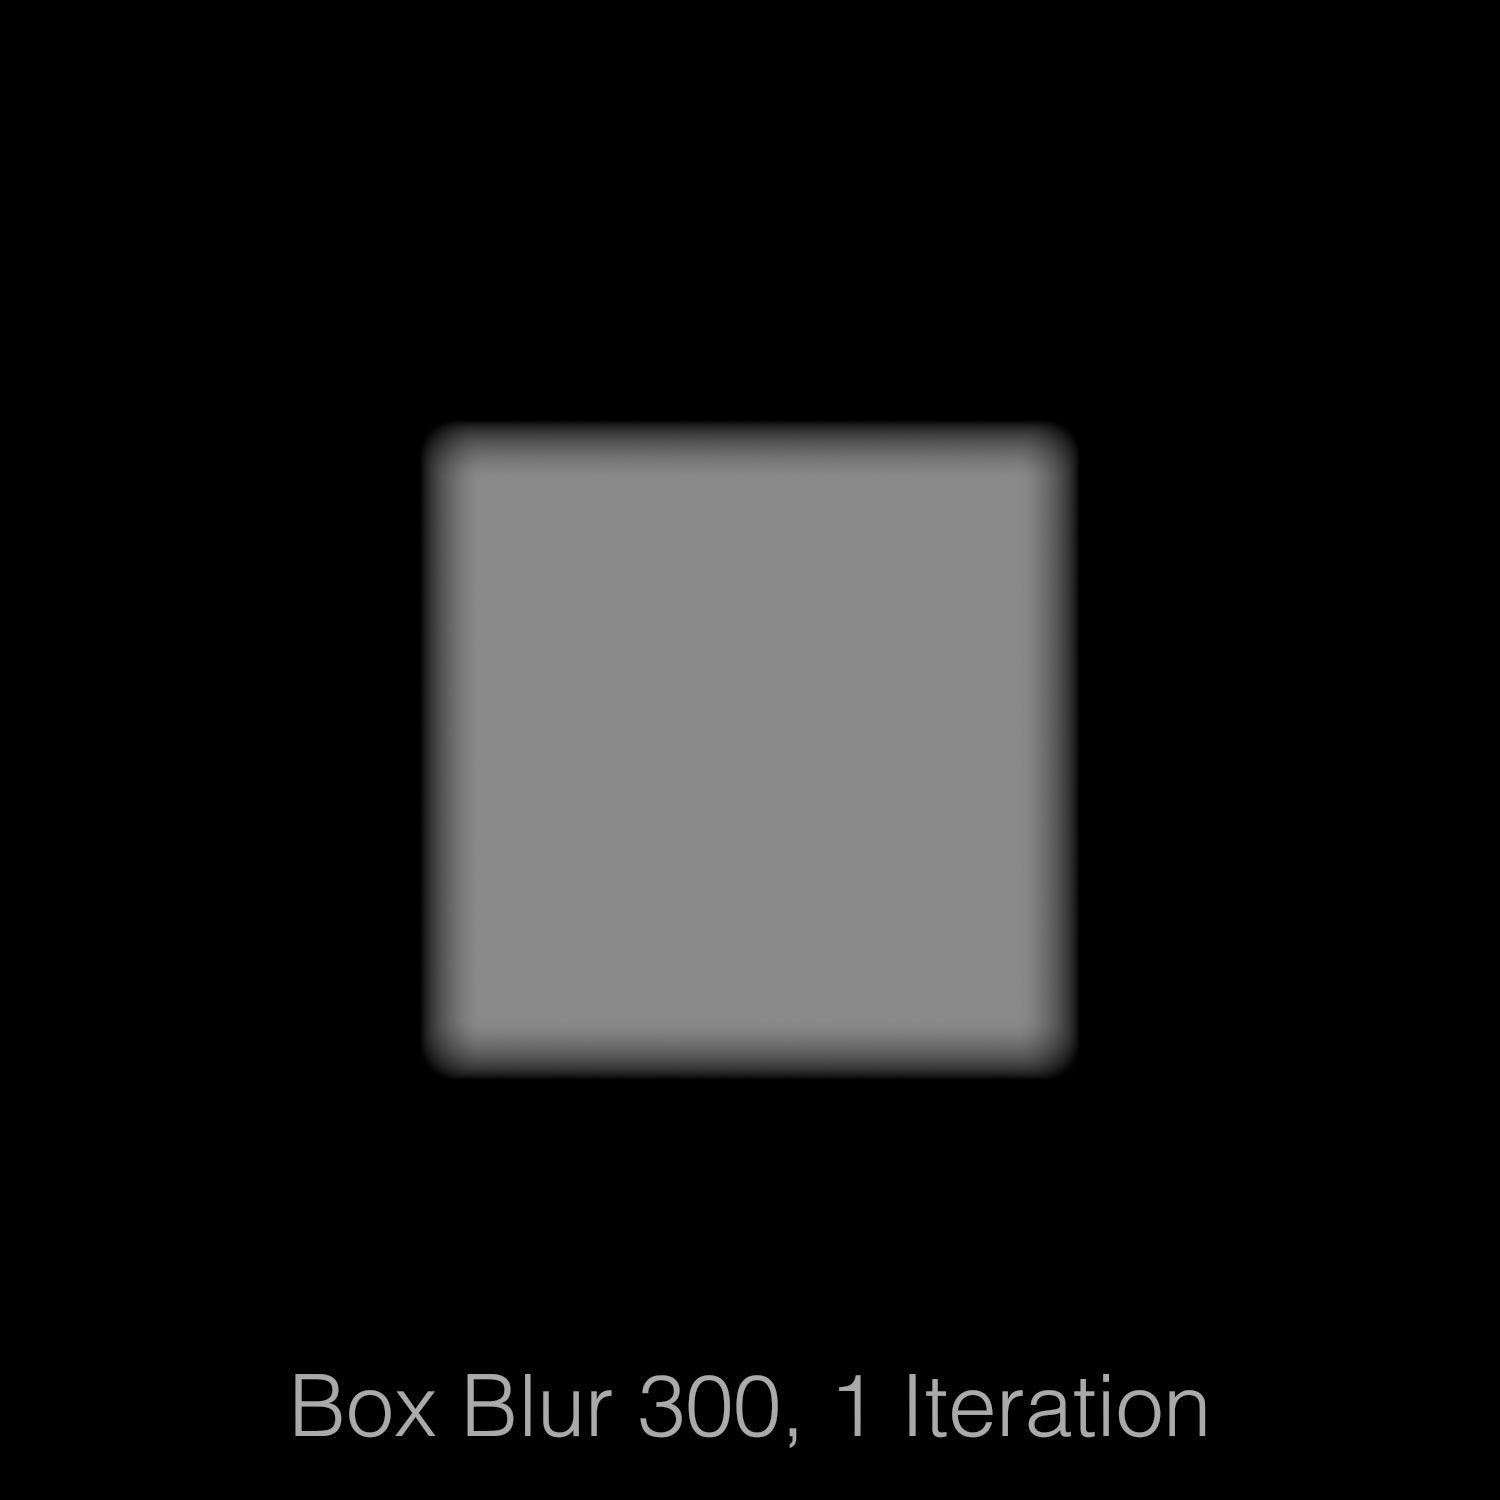
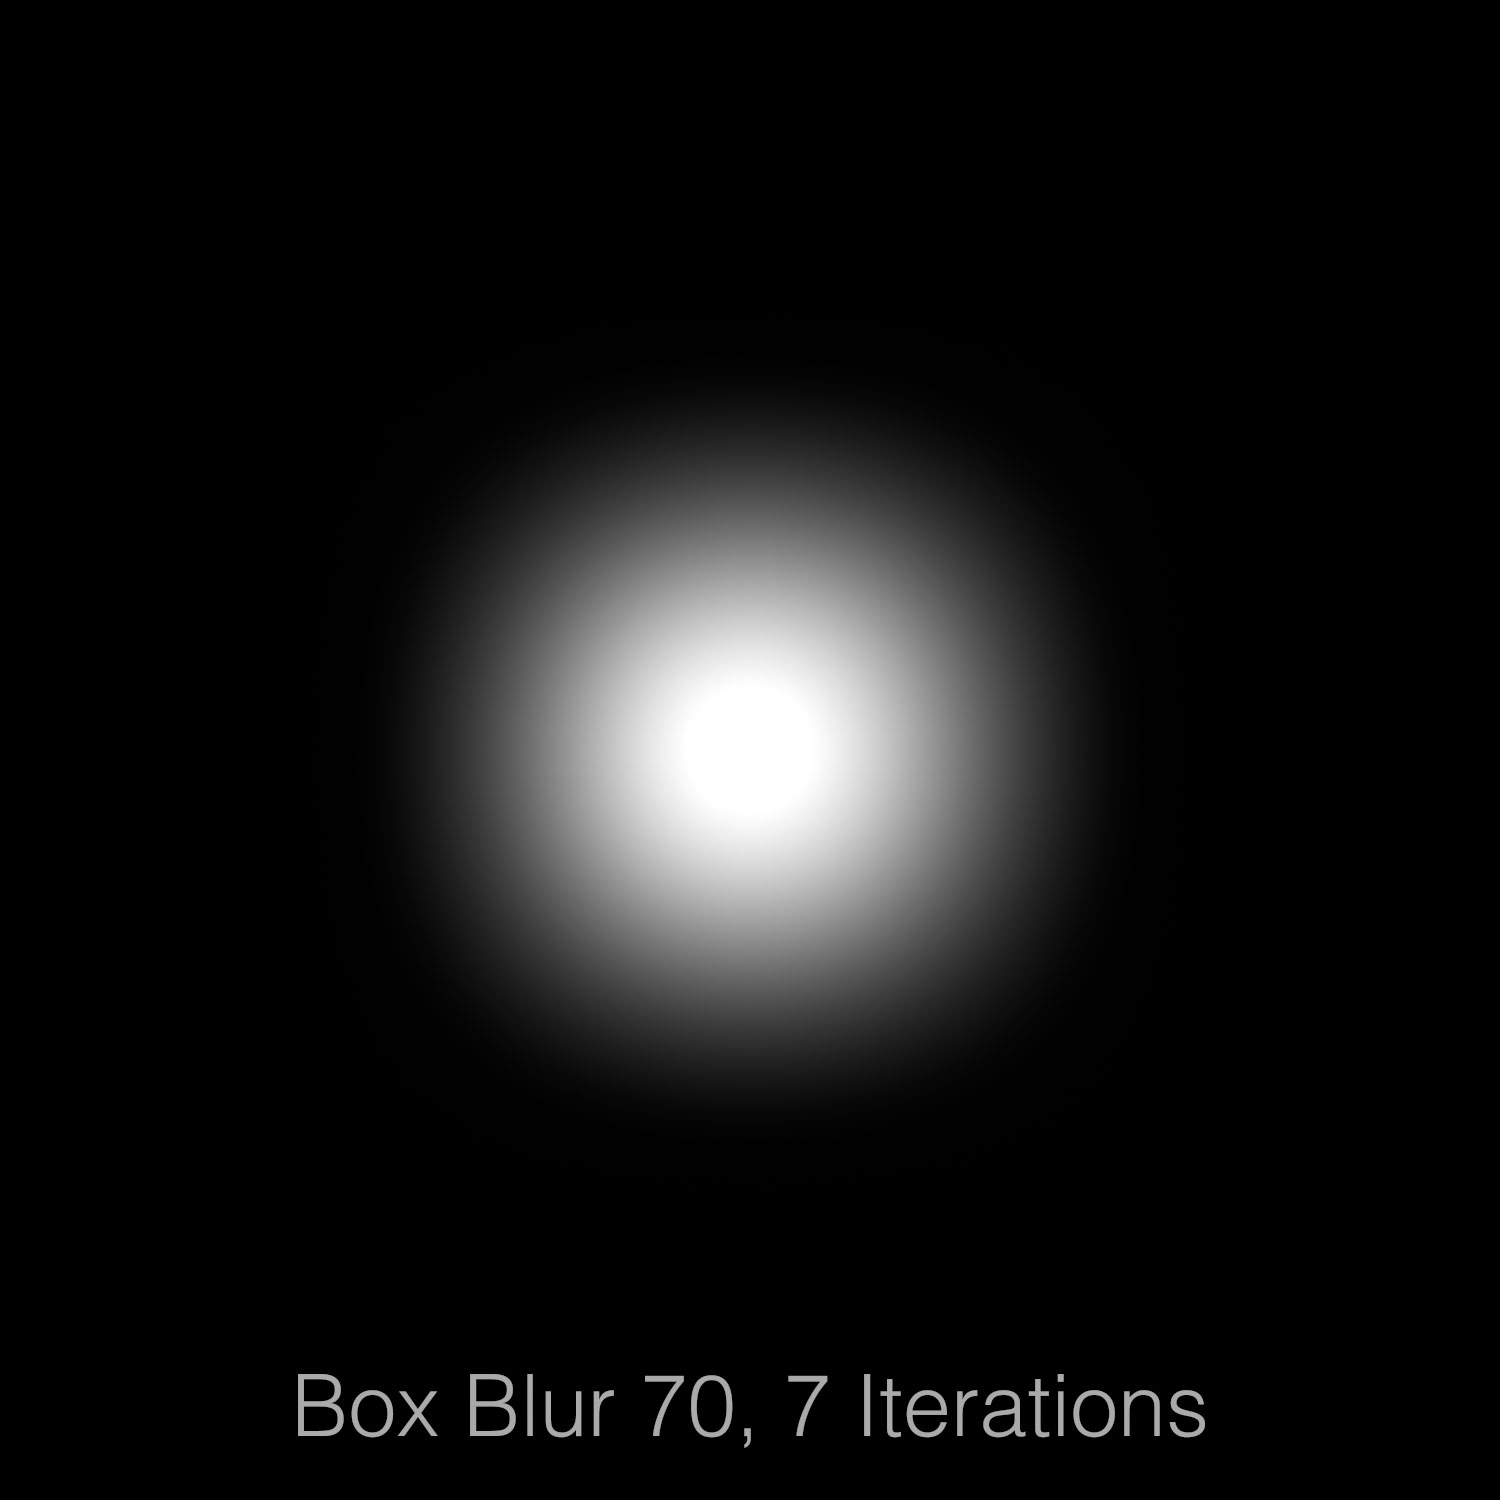
Box Blur
Box blur is like a Volvo. It’s boxy, but good. Ironically, its best feature is that it can, if desired, be less boxy than the other two.
Box Blur is the simplest kind of blur, and at its defaults produces “squarish” results. However, it features an Iterations slider that allows you to perform this box blur operation any number of times you would like. At three iterations, Box Blur is identical in quality to Fast Blur. At four or five, it is better, producing a softer, rounder blur. When blurring small, bright, floating-point things, you may be glad for this extra quality.
Or you may find that at one iteration, Box Blur’s simple blur is a handy utility. For example, used in Horizontal or Vertical mode, Box Blur is a better approximation of motion blur than is Directional Blur. Photographic motion blur should have that squared-off look, not a Gaussian-esque smoothness.
The only bummer is that Box Blur’s main slider works differently than Fast Blur’s, so if you need to “upgrade” to Box Blur you’ll have to eyeball your values to match.
Since Box Blur does everything the other blurs do and more, I often reach for it first, usually setting Iterations to three or four by default.
So just like Carson Kressley’s rule of suit jacket buttons (middle, top, bottom = always, sometimes, never):
- Box Blur = Always
- Fast Blur = Sometimes
- Gaussian Blur = Never

Linear Color Workflow in AE7, Part 5
Holy crap, film! Try this:
- Download Marcie.
- Import her into a new After Effects 7.0 project.
- Set the project to 32 bits per channel (float)
- Set your Project Working Space to Linear Adobe RGB
- Select Marcie and File > Interpret Footage > Main
- Click on More Options
- Under Conversion Method, select Kodak 5218 ICC Profile
- Hit OK
- Hit OK
- Drag Marcie to the Create Comp button
- With the new comp's View active, View > Proof Setup > Kodak 2383 Theater
- Select View > Proof Colors (switch it from unchecked to checked)
You're now working with a Cineon file in linear, scene-referred float, and accurately previewing how your work will looked filmed out on Kodak Vision film stock.
When you want to output back to log:
- Create an output comp that contains your linear Marcie comp
- Set Proof Colors to Unmanaged for this comp's view (Proof Colors should be checked)
- Apply the Color Profile Converter effect to the layer
- Leave Input Profile set to Project Working Space
- Set Output Profile to DPX Scene - Standard Camera Film
- Very important: Set Intent to Absolute Colorimetric
Output this comp to a Cineon sequence and it should match the original Marcie source.
You've now fully round-tripped a color managed, linear floating point film compositing pipeline. I don't know of any other compositing application that ships with this capability, "high end" or not!
But wait, there's more! Want to bake this film-look LUT into some NTSC video dailies?
- Add linear Marcie to a video output comp (NTSC res)
- This comp should also have Proof Colors on and set to Unmanaged
- Select Layer > New > Adjustment Layer
- Apply the Color Profile Converter effect to the layer
- Leave Input Profile set to Project Working Space
- Set Output Profile to DPX Scene - Standard Camera Film
- Very important: Set Intent to Absolute Colorimetric
- Apply a second Color Profile Converter
- Set Input Profile to DPX Theater Preview - Standard Print Film
- Set Output Profile to SMPTE-C
Smoove. Don't believe me? Download the project file (316kB zip). This workflow is compatible with Part 1 and, of course, Part 2.

Mini Fans...
...I hear you. I know you would like to see the Ruby Tuesday spot online, and I am working on getting it up for you to see. Honest!
In the meantime, here's a glimpse of how I previsualized the choreography of the cars for the spot. I created an animatic using After Effects 7. I only had a few days, so I wanted to create an easy way to make some exciting car-to-car shots featuring four Mini Cooper S cars driving in tight, Blue Angels-like configuration.
What I did was create a rig that allowed me to animate a simple positioner (a null). The car would then follow the null, but with a certain amount of "slop." The suspension would bounce and sway (far too much to emulate an actual Mini, but that's creative license for you!). When I move the null to the left, the wheels steer, the car swerves, the tail kicks out, and the body rolls, all with two simple keyframes of animation. In this way I was able to quickly and painlessly animate four cars per shot and crank out 20 or 30 shots in a few days.
To capture the gritty, racing-inspired authenticity that I wanted for this spot, I looked at a lot of car chase movies, especially Ronin. One signature characteristic of Frankenheimer's amazing footage is that the camera car is experiencing the same extreme forces and duress as the car it is chasing. So I created a fifth Mini and "bolted" my After Effects camera it it, to give my animation a car-to-car photography feel.
In the movie below you can see a shot from the finished spot as it appeared in the animatic. I've extended the shot and turned off the camera car's motion so you can see the hero Mini in action. The null is represented by the little red, green and blue axis — you can see how simple its motion is compared to how lively the car is.
The cars look almost 3D, but they are in fact 2.5D, composed entirely of 2D cards in 3D space. You can see this when the wheels steer towards the camera. Why create such a complex 3D project inside After Effects? Because you can!
This animatic, cut together in Final Cut Pro, became the blueprint of our shoot, which spanned two days and involved the Ruby Tuesday bar set (with and without the actual bar in place) and four full-sized Minis. More on that later, but hopefully this fun little animation will keep the Mini owners satisfied for a little while!
