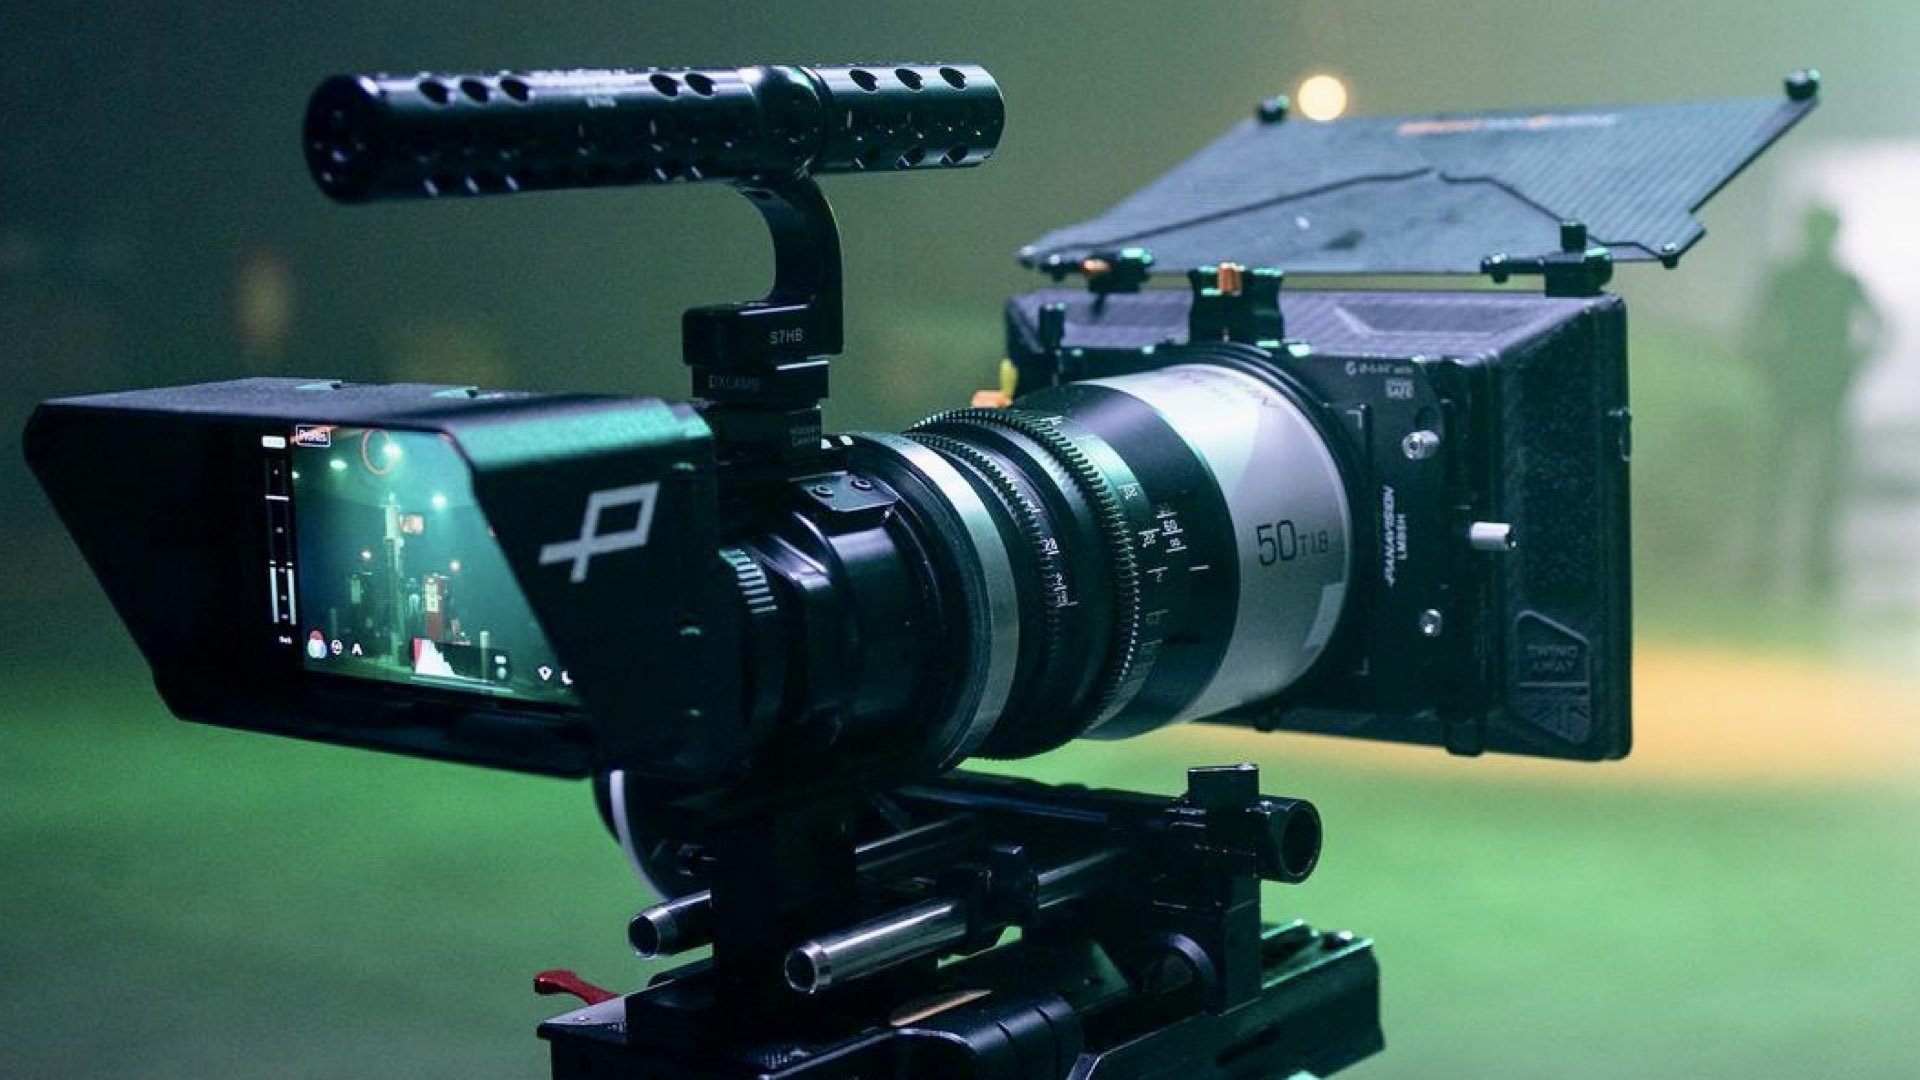
Yes we’re still talking about shooting video on iPhones. But I also want to talk about digital cinema shooting in general, in a world where top camera makers are battling to give filmmakers everything we want in a small, affordable package.
How does the DV Rebel spirit — born of camcorders and skateboard dollies — live on in a time of purpose-built digital cinema cameras that fit in your hand? For me, it’s meant keeping my rigs small and manageable. I love gimbals and drones and lidar focus rigs, but I’m happiest when my whole rig — tripod and all — can be picked up and moved with one hand.
We suffered through so many years of too little camera, but now it’s quite easy to have way too much camera. I want to live in that sweet spot where image quality is not compromised, but I can still move fast.
Turns out I feel the same way about iPhone camera apps.
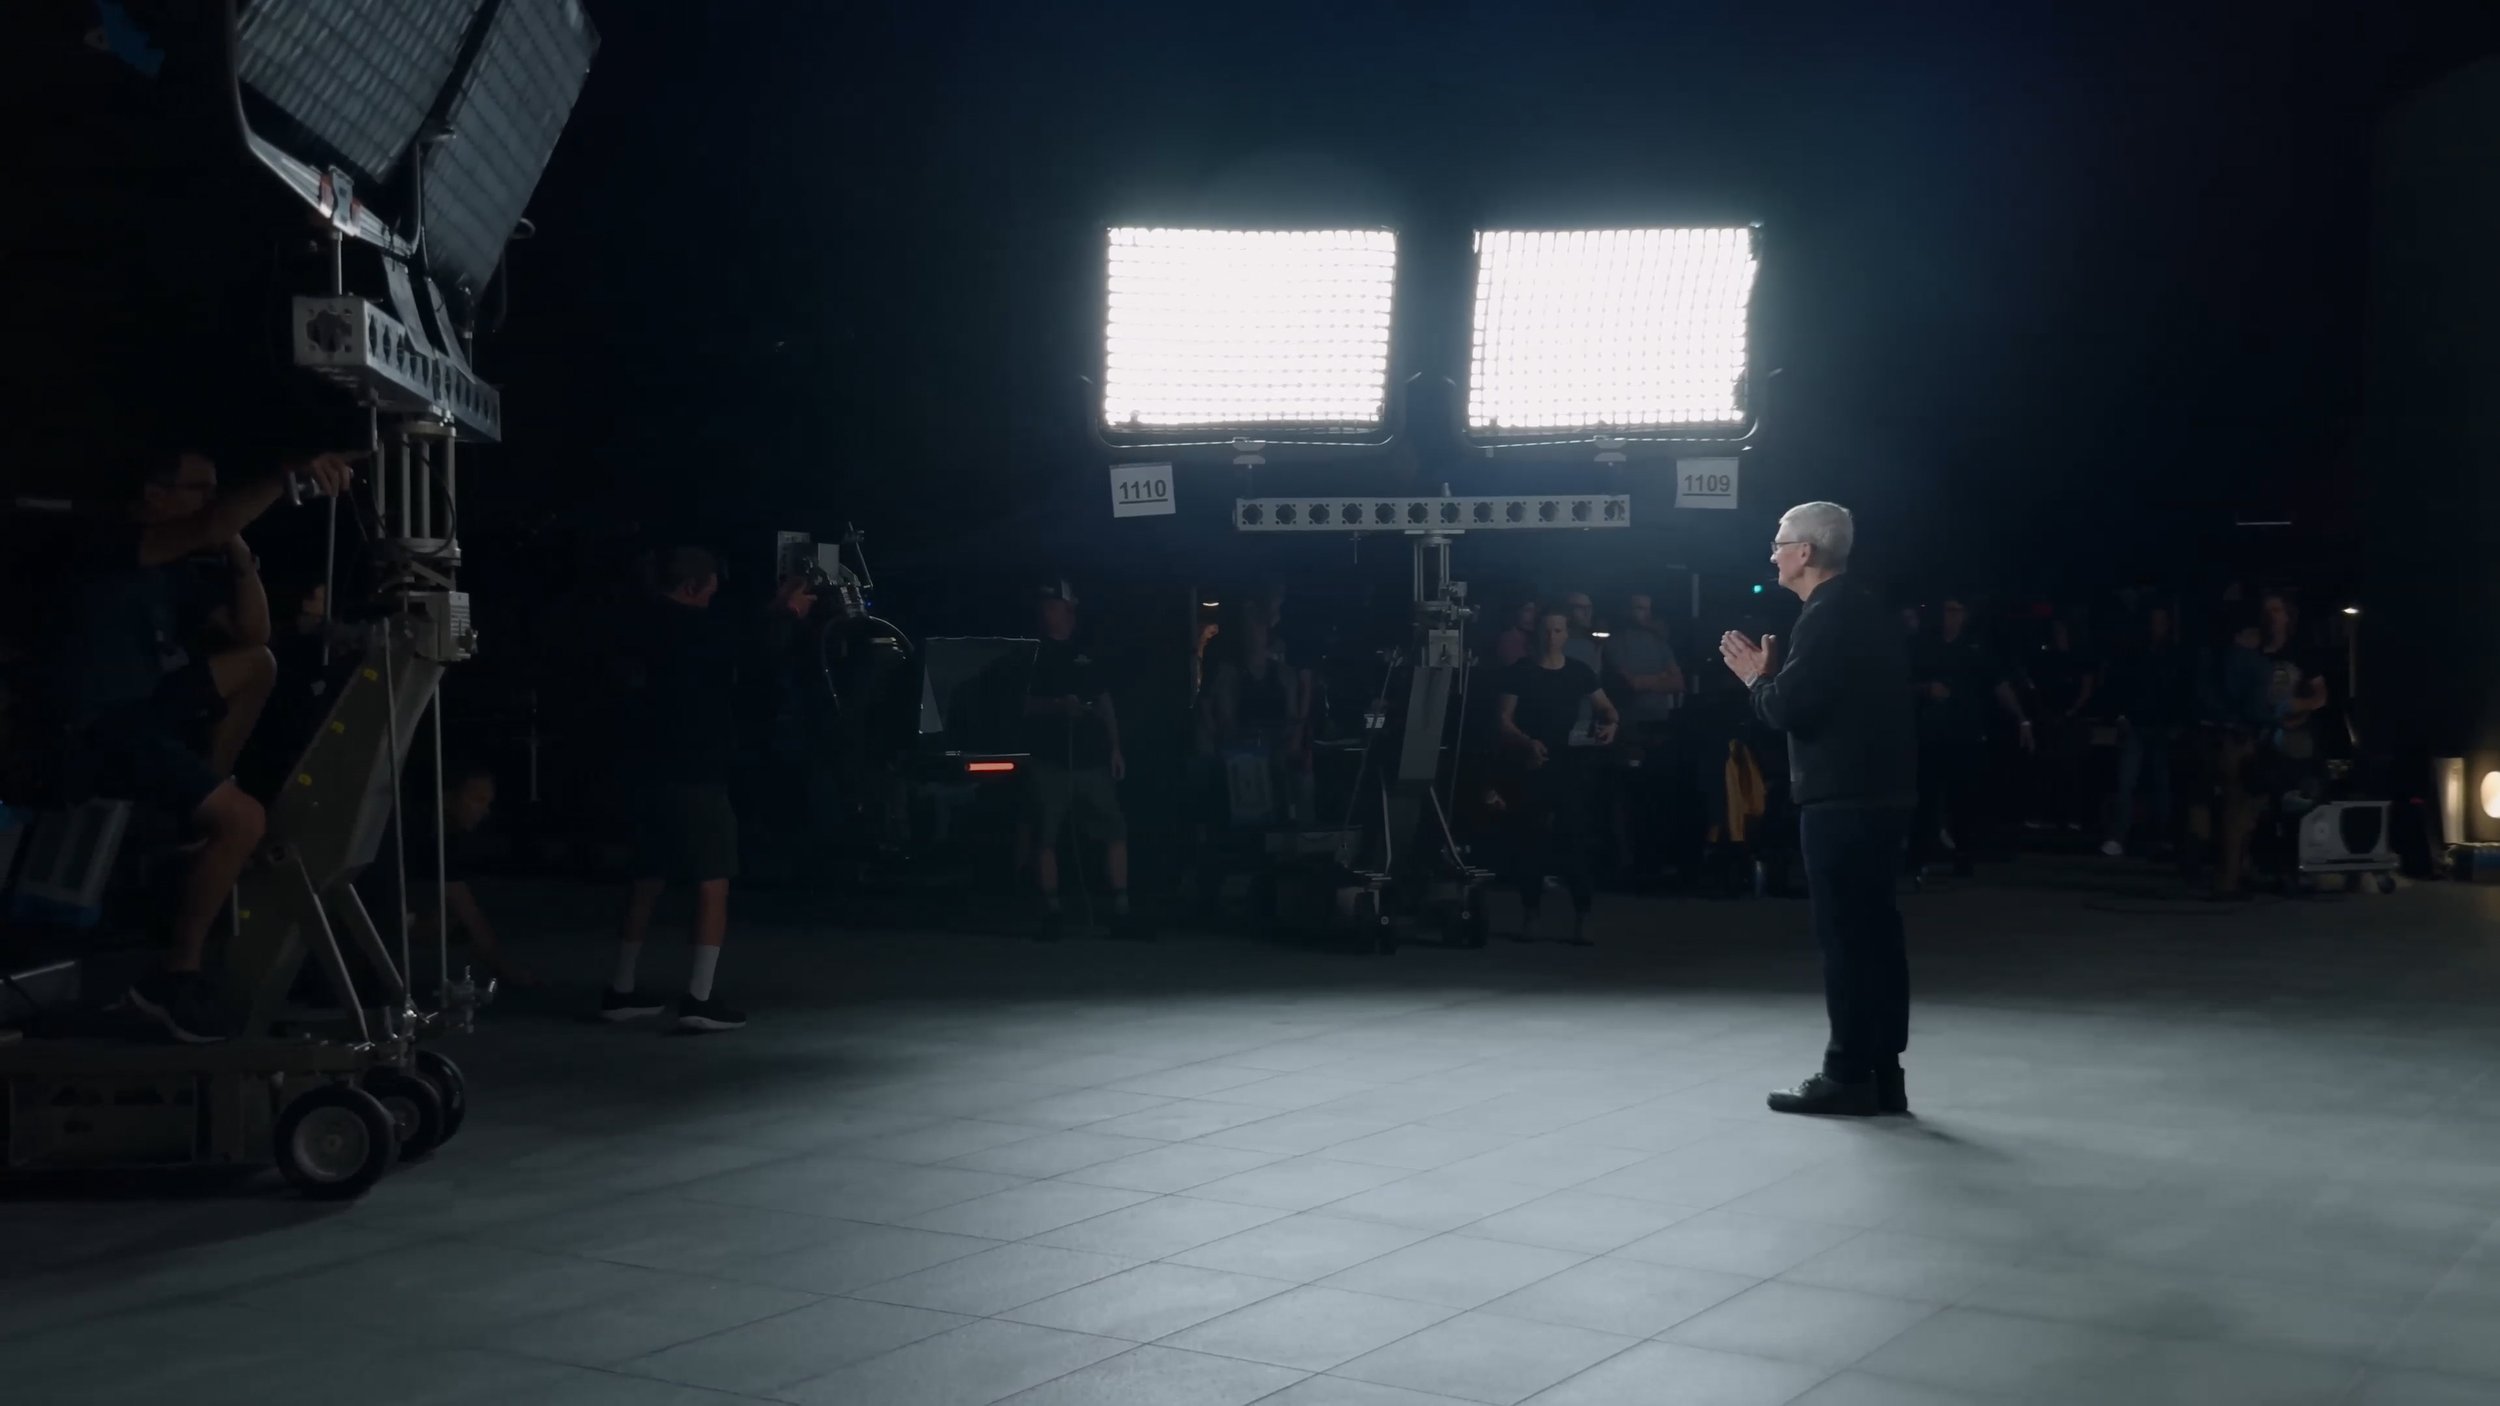
Photo by Karen Lum
The Goldilocks of iPhone ProRes Log
The built-in iPhone camera app is too little camera for shooting ProRes Log. There’s no preview LUTs, no manual adjustments, and the viewfinder is obscured by the controls.
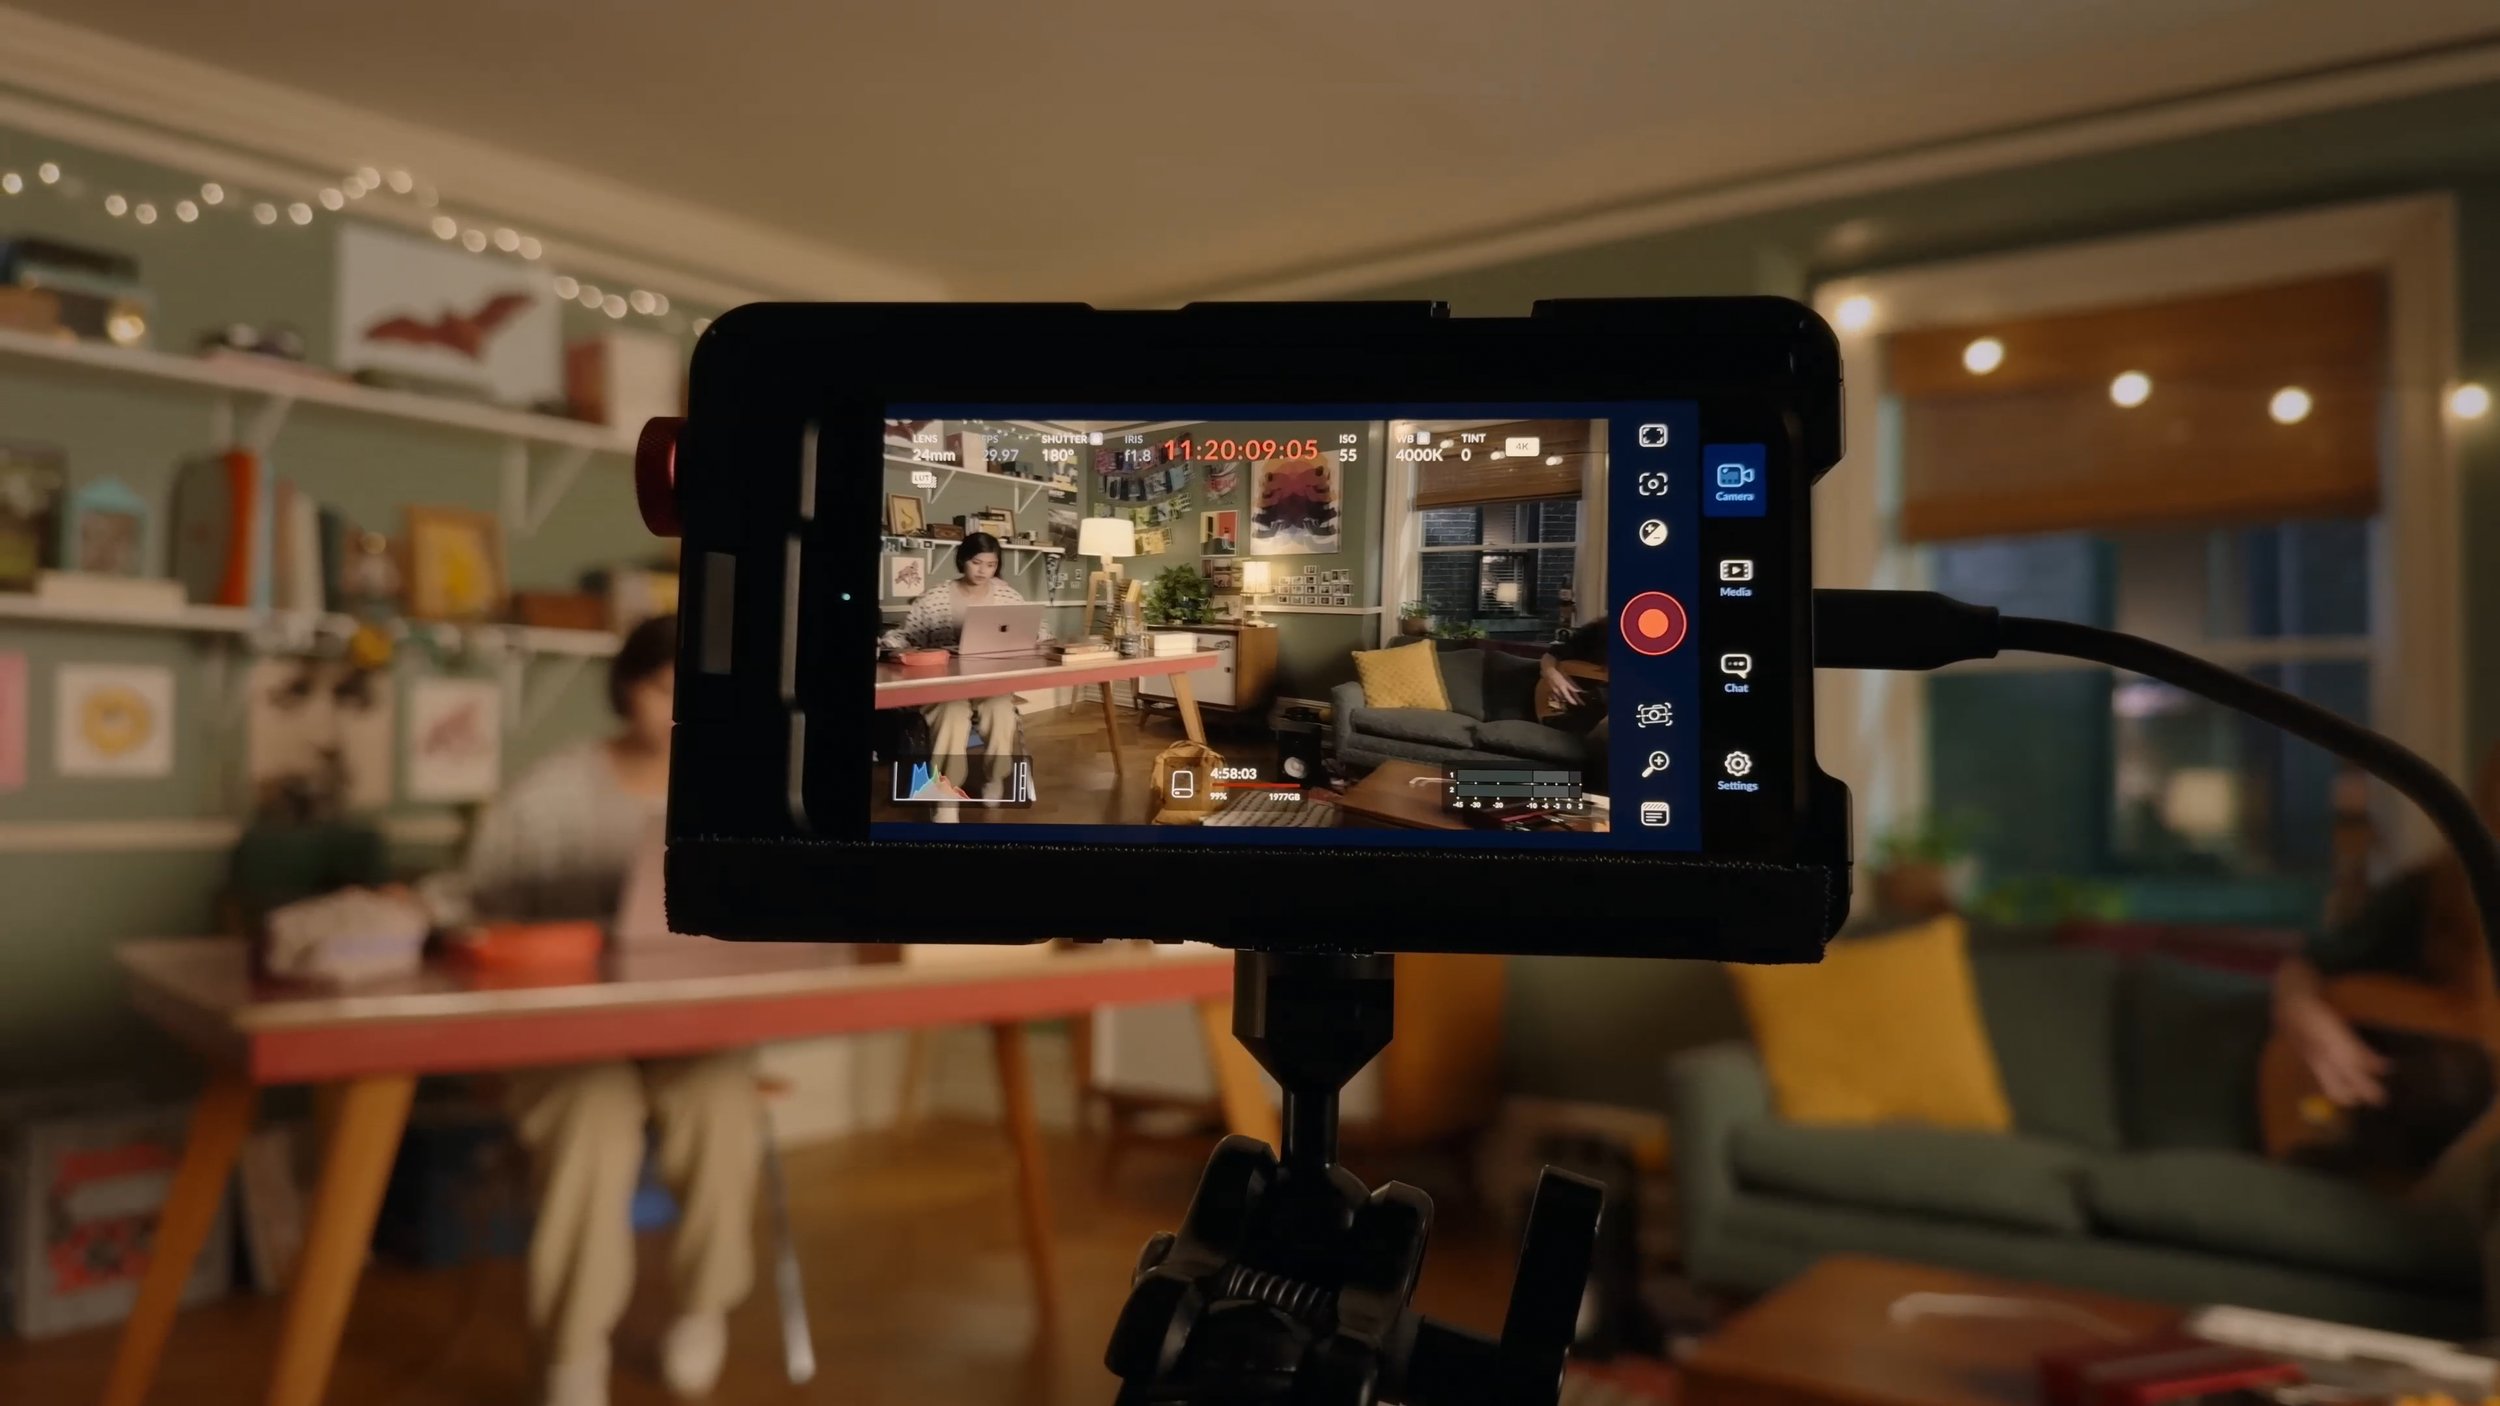
The Blackmagic Camera app is a truly wonderful gift to the Apple Log shooter, addressing all these issues. The only feature it lacks is the ability to pick it up in a rush and quickly make great-looking video. So, confession time: I almost never use it for anything other than the most controlled studio shooting. My Peru and Taiwan travel clips? Almost entirely shot with the native camera app.
There’s a massive gulf between the too-little Apple app and the too-much Blackmagic offering. And my friends at Lux, makers of the wonderful Halide still photo app for iPhone, have created a new video app that lives squarely in this sweet spot.
Kino
Choose from built-in LUTs, or load your own. Bake them in, or just preview through them as you record uncorrected log.
Kino is an app you can pop open and start shooting with right away, with just enough control to maximize the final quality of your iPhone video. It’s fast, fun, and a joy to use thanks to its thoughtful and beautiful design.
Out of the (skeuomorphic) box, Kino is basically an app that shoots better-looking video on your recent iPhone. You can choose from professionally-designed LUTs to dial in the look you want.
On iPhone 15 Pro and Pro Max, Kino becomes a log-shooting powerhouse. You can choose whether to bake the LUT into your footage or not, and you can add your own LUTs.
Maybe my favorite feature is AutoMotion. While Apple’s camera app prefers fast shutter speeds, Kino tries to keep you as close to a cinematic 180º shutter angle as possible.
Kino runs the spectrum from consumer app that just makes iPhone video look better to professional control and options. It’s the perfect DV Rebel video app.
Prolost Brand LUTs
Kino features LUTs created by filmmakers you’ll recognize, but the honor of supplying the most boring LUT fell to me. The Neutral LUT is none other than my Prolost “TECH” LUT that I explained here.
Point and Shoot Experience, Pro Results
Accessibility has always been core to the DV Rebel ethos, and along with that came a focus on tuning not-quite-professional gear to achieve cinematic results. Years ago, this was essential for the indie filmmaker, as professional gear was truly unattainable.
But even when professional tools are abundant and affordable (seriously, what a time to be a filmmaker!), sometimes the right camera for the job is the one that feels great to shoot with. And the same is true for camera apps.


