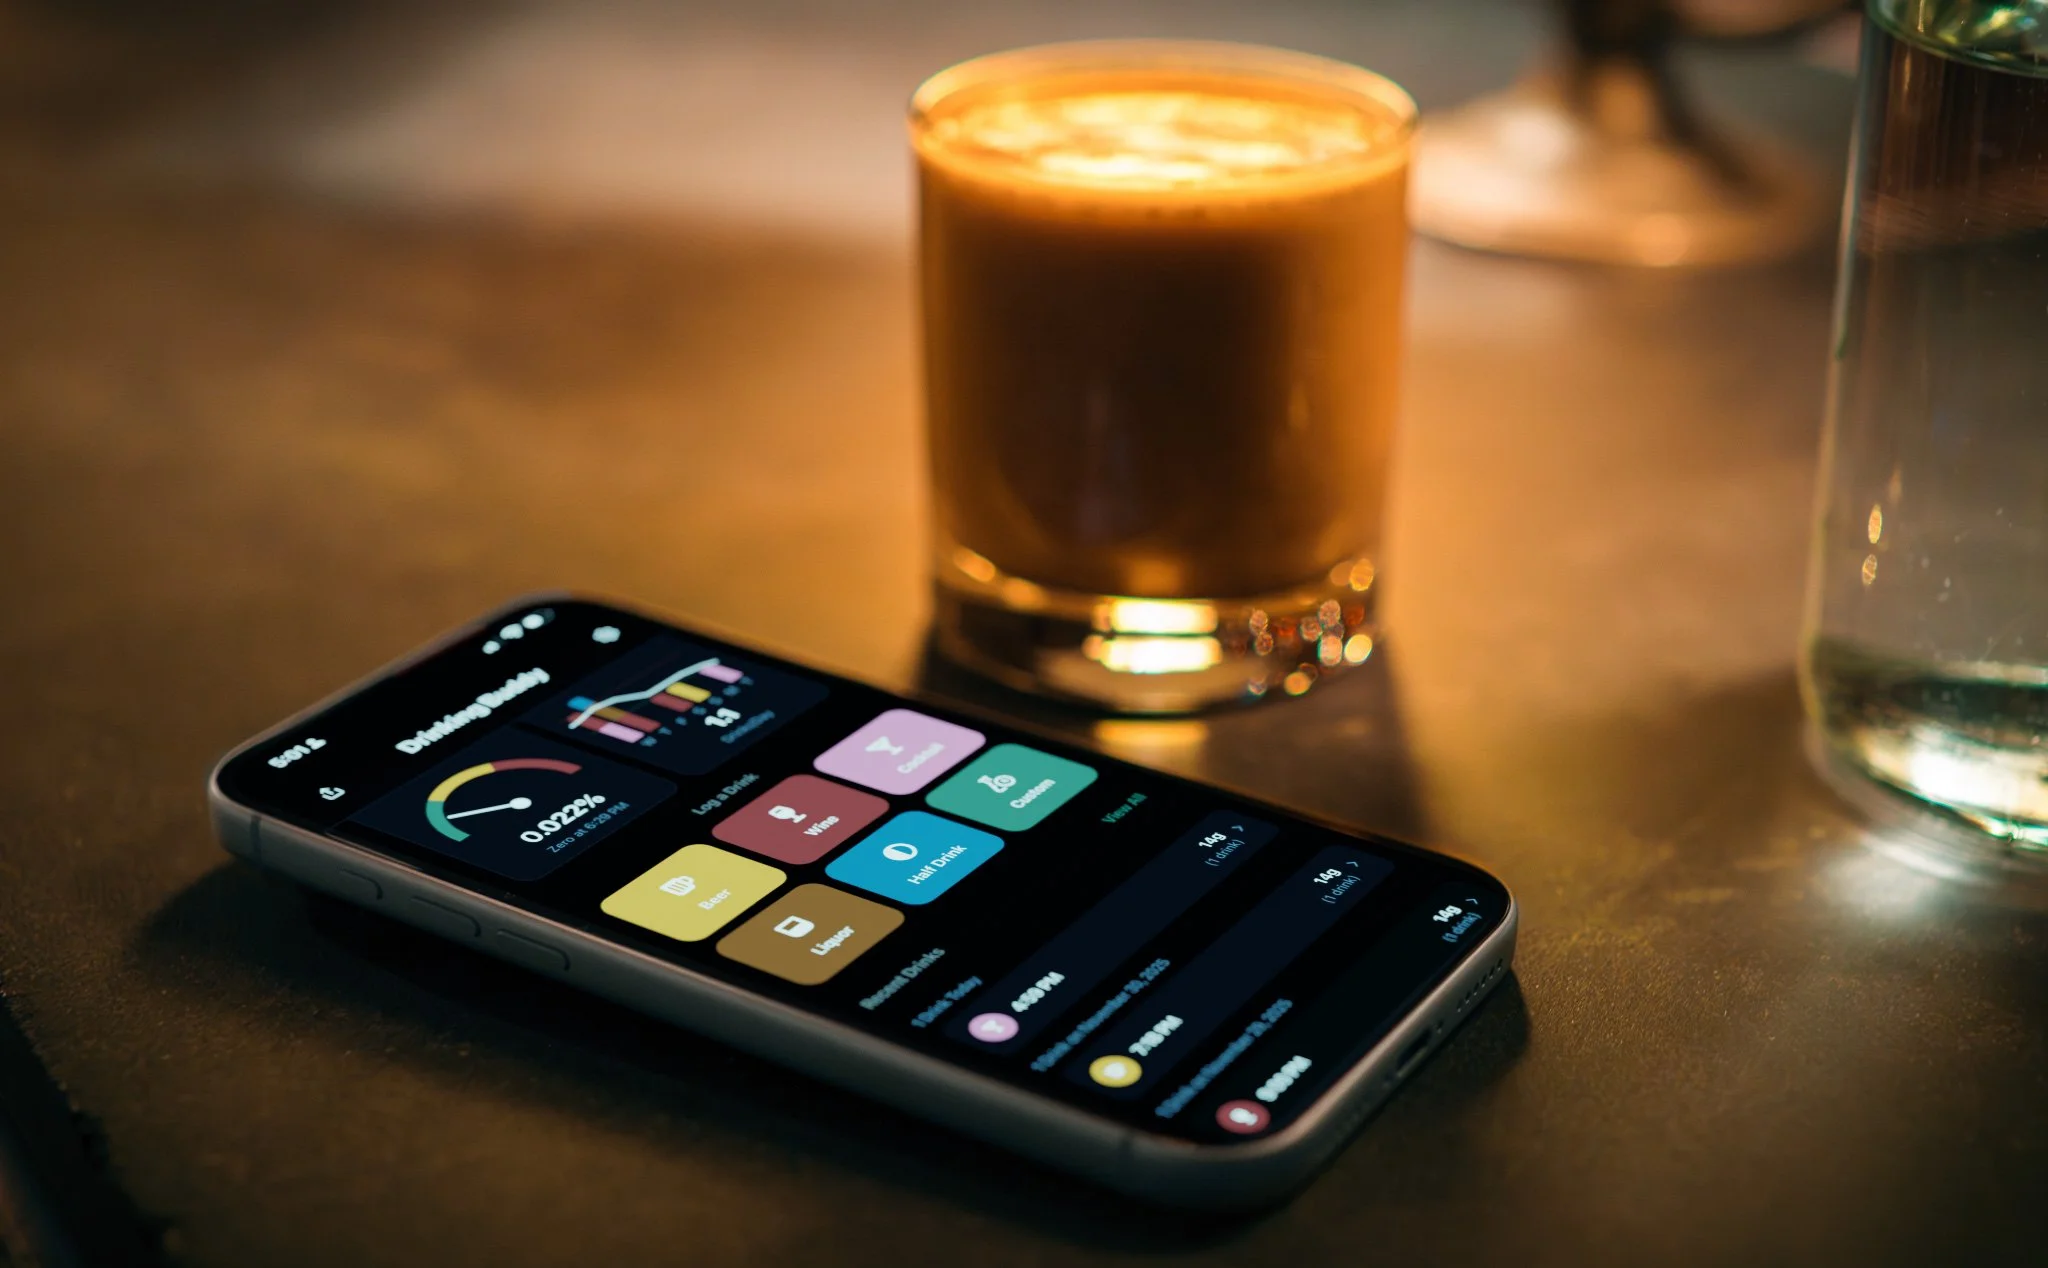
I made an app! A real, native iPhone app coded in Swift and SwiftUI.
It’s a thing of beauty. I love it and use it every day. But I can’t share it with you, because Apple rejected it from the App Store due to “Physical Harm.”
Don’t worry, I figured out a workaround. That’s how determined I am to harm you.
Everyone, Finally, Can Code — by Not Coding
I created this app by “vibe-coding” it — prompting it into existence via AI — using an iPhone app called Bitrig. Bitrig is the brainchild of some folks who helped create the Swift programing language that Apple now favors for all iOS/iPadOS development. There are many AI-assisted app creation platforms out there, but Bitrig has two (currently) unique value propositions: It creates native iPhone apps, and it works on your phone.
Building iPhone apps right on your phone is fun! And, of course, maddening, because AI — but when it works, it’s delightful and rather amazing.
On Vibe Coding, Briefly
Kevlin Henney (via John Siracusa):
The act of describing a program in unambiguous detail and the act of programming are one and the same.
I have complex feelings about AI and creativity, but this quote feels right to me — I created this app using AI, even though I didn’t write one line of code.
If you’ve tried anything like this you know that the process is a mix of the miraculous and the infuriating. You’ll get a working prototype up and running in minutes, and then argue with a cheerful robot for 15 fruitless prompts about the color of a button. Complex features come together with ease, while a bug fix might take dozens of attempts, and risk reverting previous fixes.
It’s a bit like building an app by talking to a polite and well-meaning tech support agent on the phone — only their computer is down, so they can’t test the app themselves.
But power through all these frustrations, and you have an app.
I’m sure I’ll have more to say about that in the future, but let’s get on to what my app is, and why Apple rejected it.
The Many Lives of Drinking Buddy
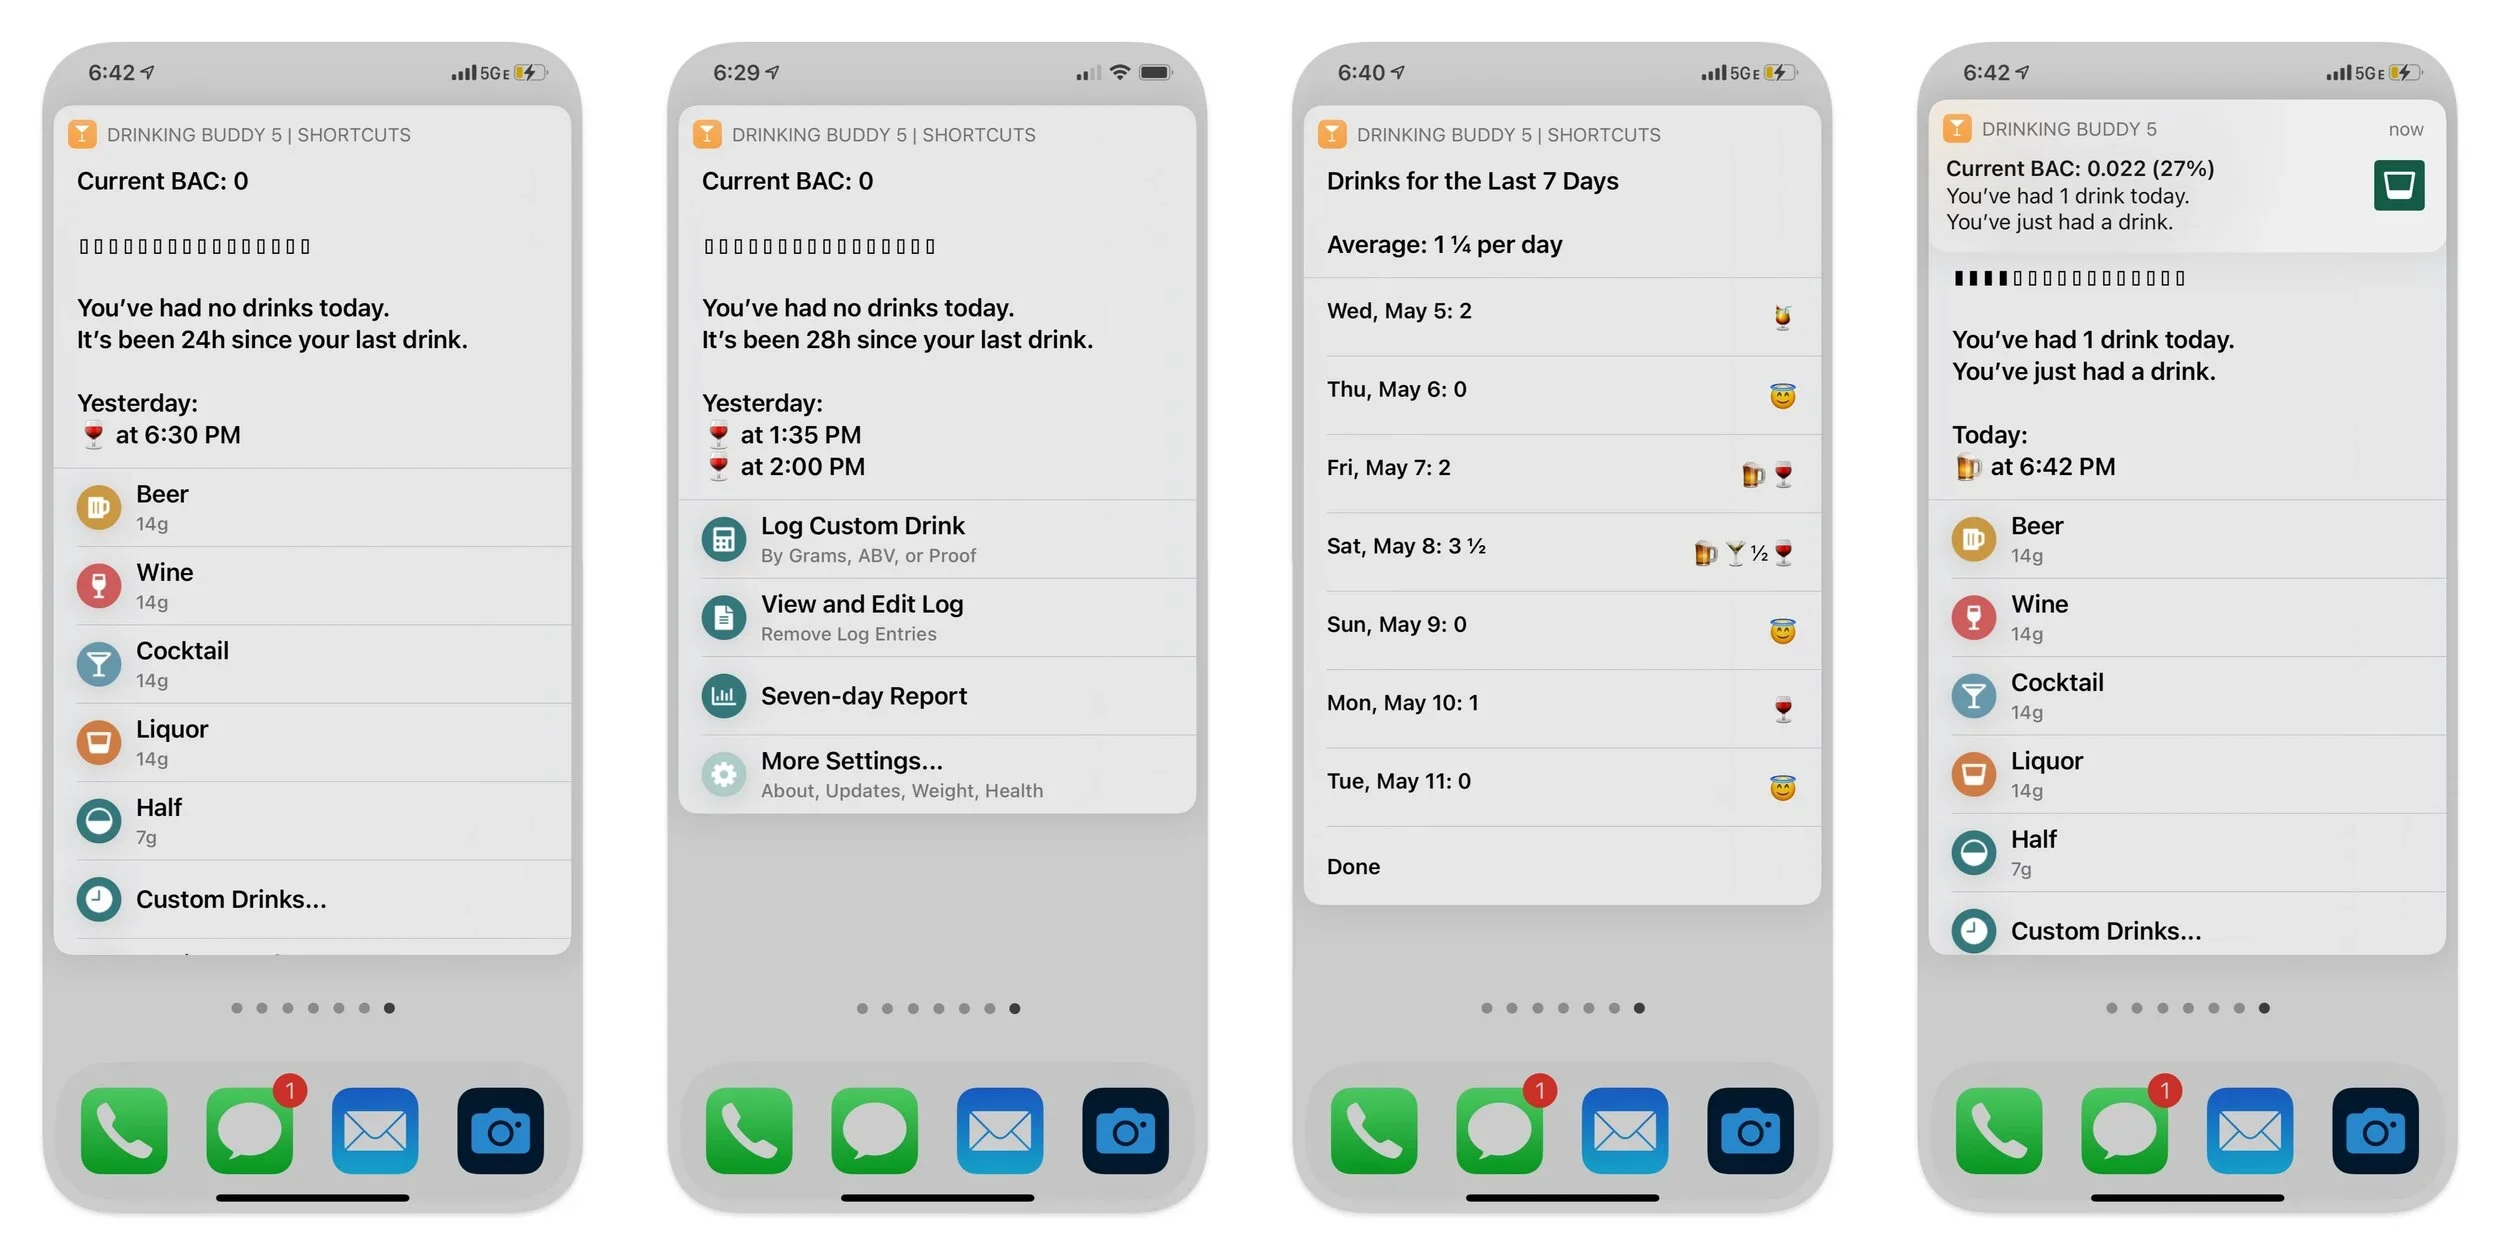
The Drinking Buddy Shortcut, before iOS 26 made Shortcuts menus absolutely hideous.
In 2018 I released a Shortcut called Drinking Buddy that helps you keep track of your alcohol consumption. I mostly share the tools and automations I create to support creative work, but here I was sharing something personal. I enjoy a drink from time to time, and I wanted a tool to help me be thoughtful and intentional about that. Drinking Buddy does this by showing how many drinks you’ve had in the last seven days (a question your doctor might ask), and by estimating your current Blood Alcohol Level based on your recent drinks.
This estimation is done using the Widmark Formula, which has been around since the 1930s. It’s a simple equation that uses your gender and body weight to model how you metabolize alcohol over time.
I’ve updated Drinking Buddy many times in the seven years since I first shared it. It’s a shining/ridiculous example of how I’ve pushed Shortcuts past the point that any reasonable person would consider sane. I wanted to create an app-like experience, but I was always fighting the limitations of a tool designed primarily for simple automations.
Drinking Buddy: The App
This is the version of Drinking Buddy that I created using Bitrig:
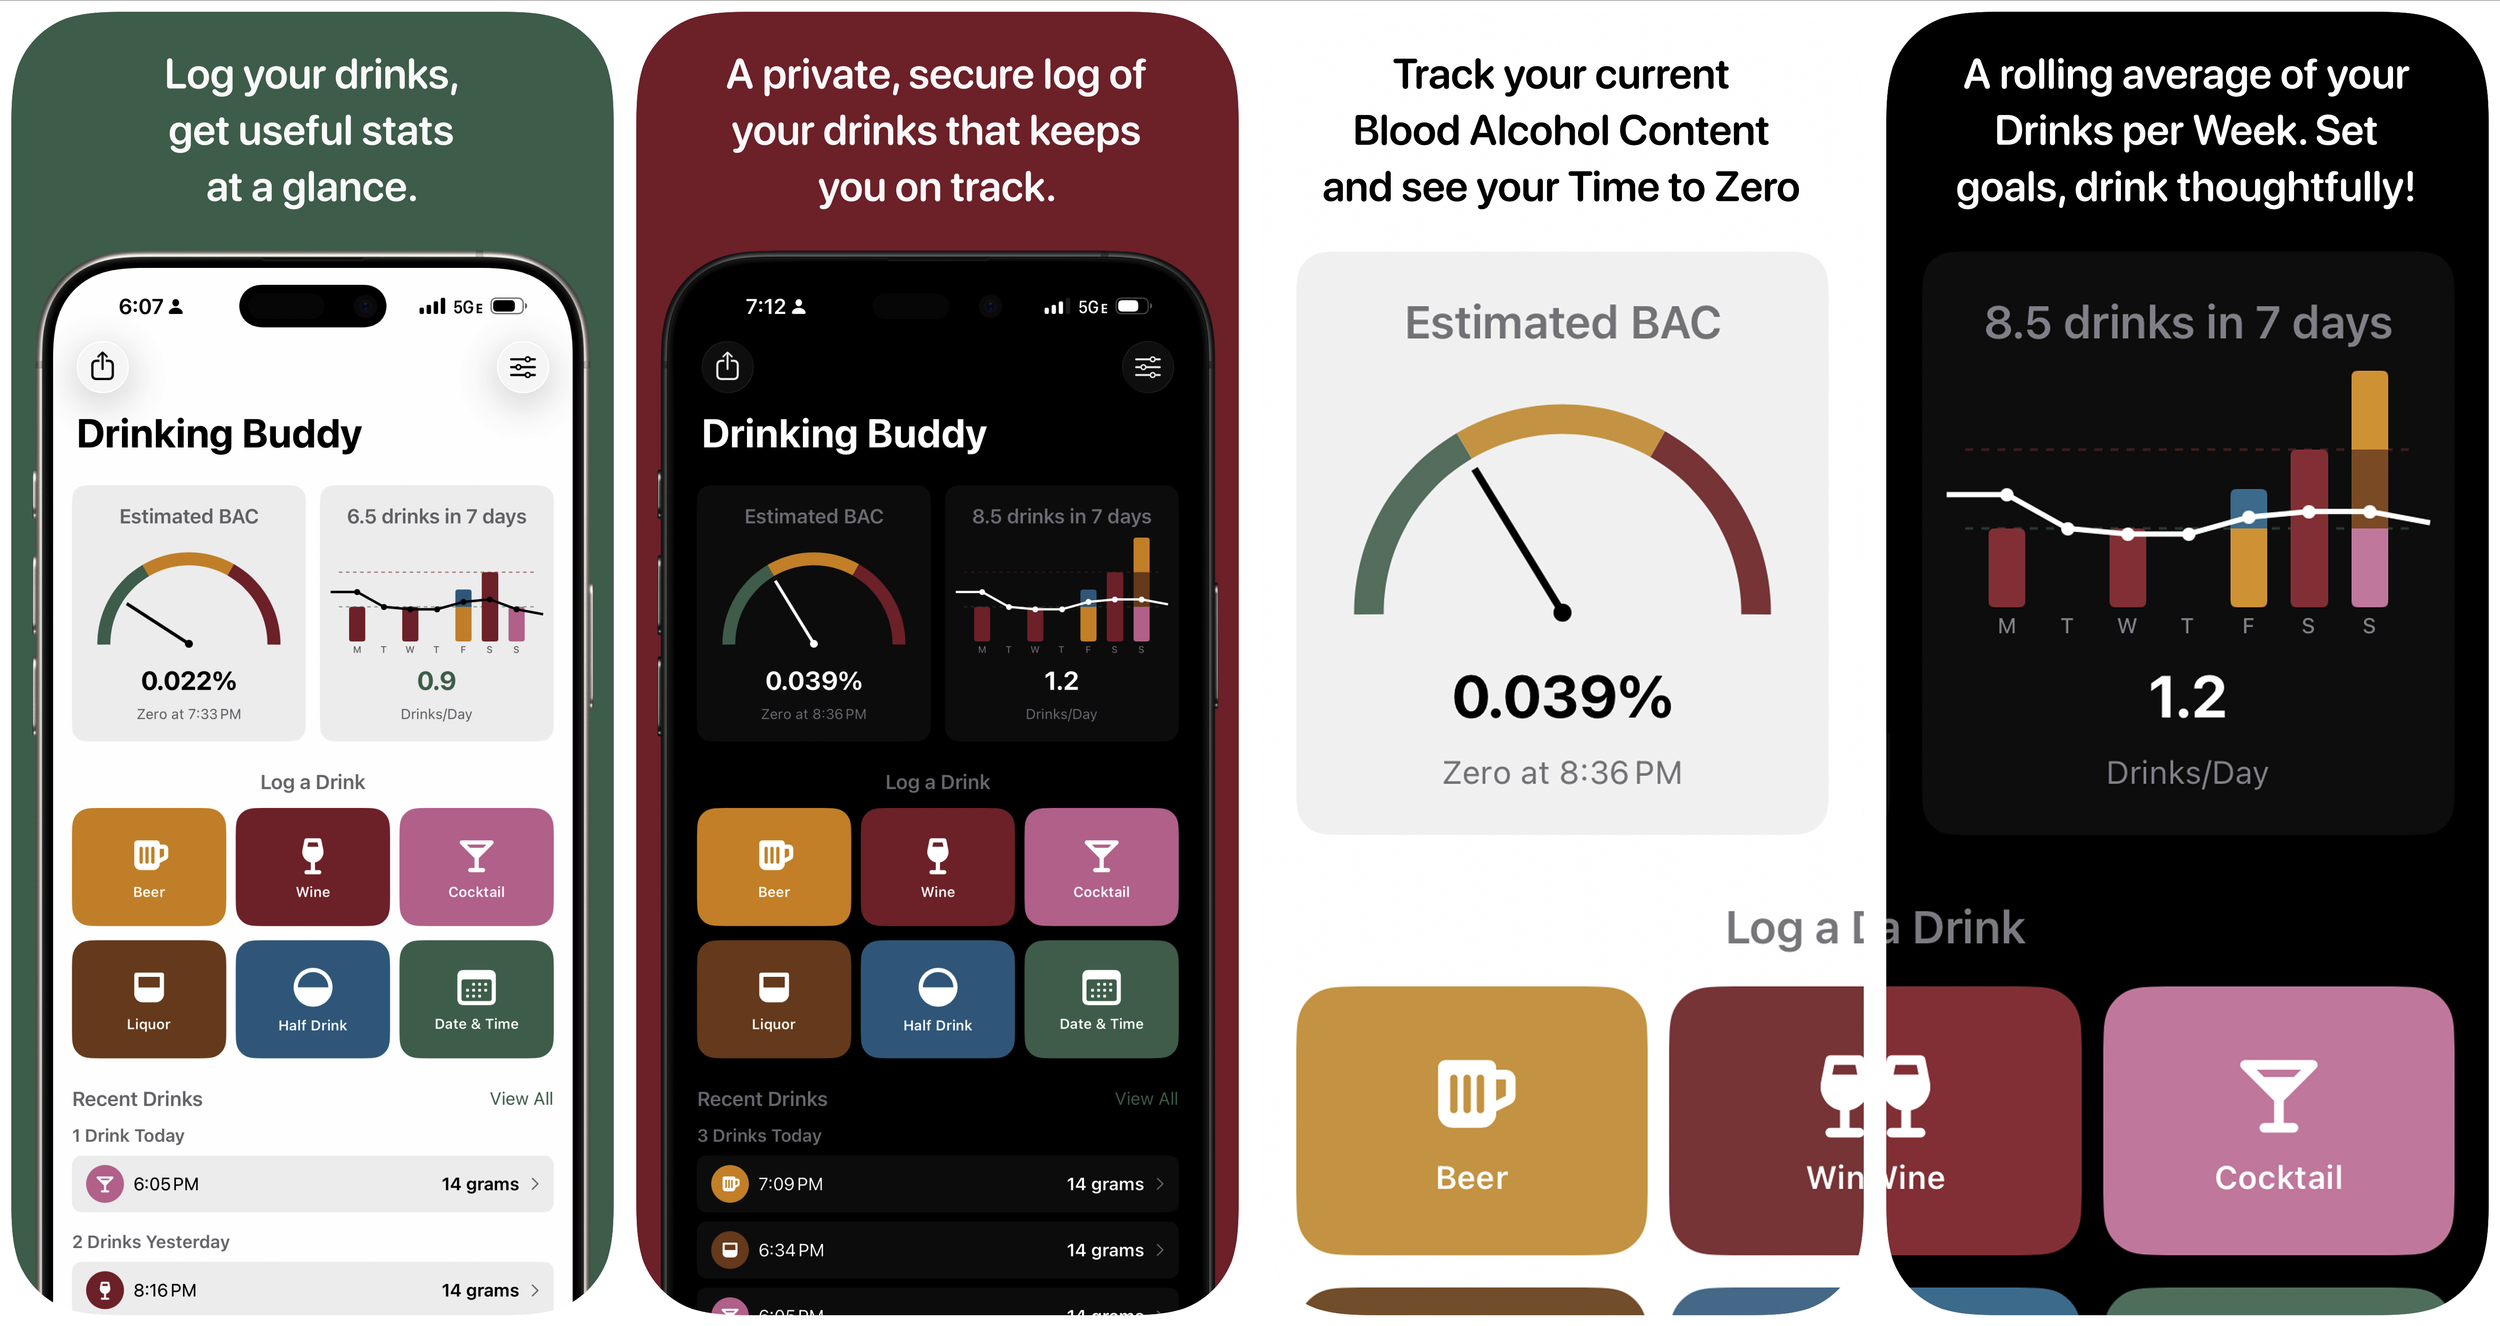
The App Store page that will never be.
Use the big buttons to log drinks. Your estimated BAC appears on the left, in a fun little gauge that animates when it changes. Your weekly drinks are charted on the right, as well as a rolling weekly average of drinks/day.
What started as my first real vibe-coding experiment took me down a rabbit hole of refining this design, tweaking the user experience, and, unfortunately, liking the results enough to want to share them.
Apple Holds the Keys
In 2016 Apple formalized its distaste for dubious health-related apps with strengthened guidelines. Although section 1.4, called Physical Harm, doesn’t specifically call out blood alcohol calculators, the language in my App Store rejection did:
To ensure users' safety, only blood alcohol content calculator apps that pair with hardware capable of offering accurate blood alcohol content measurements are appropriate. Apps that rely solely on software, Widmark formulas, or other mechanisms to calculate blood alcohol content are not appropriate.
Consistency is the Hobgoblin of, Well, Not the App Store
One reason I thought I might be able to get Drinking Buddy onto the App Store is that there are many BAC calculators currently available there. I won’t link them here,1 as I don’t feel it’s my place to rat them out, but their abundance led me to believe it might be possible to pepper one’s app with enough warnings and admonitions that it would be considered “safe.”
So I appealed my rejection, and it was upheld in no uncertain terms.
A Solution so Sweet
Drinking Buddy lives, as a web app. The Forecast view and Custom Drinks are new features never implemented in the native iOS version.
Aside from assuming precedent means anything on the App Store, the big mistake I made in this process was diving deep into the “sweating the details” part of building my app before I’d tested Apple’s commitment to keeping you safe by forbidding simple math. 2
But the time and effort I put into the native Drinking Buddy did not go to waste. I turned my attention to Loveable (a turnkey web app vibe-coding platform), where I was able to rapidly build a near-clone of my SwiftUI app. I had the complete spec already and several screenshots to guide the process, and my experience with Bitrig had given me a good idea of where I was likely to bump into issues.
This greatly sped up the process, and I had a working version in less than a day. A week later, after some beta feedback, I arrived at something even more powerful and feature-rich than the iOS-native version.
So now Drinking Buddy is a Progressive Web App — a web page that can be added to the Home Screen of your Apple or Android phone, where it will behave very much like a native app, even when offline. Your sensitive boozing data stays local and private, but it will be up to you to back up and restore your logs if you lose or replace your phone.
After All This, You Know What I Need?
Cheers. If you’d like to try Drinking Buddy, it’s free, and works on any device you’re likely to have.
But one is literally called “OK to Drive”.
Obviously I understand of Apple’s concerns here. Some 99¢ app says your BAC was at zero an hour ago, so you get behind the wheel of a car and crash into an orphanage. At Apple’s scale, the liability is unmeasurable. While my app is well-intentioned, the App Store is genuinely besieged by bad actors of all kinds. I support Apple’s right to dictate what can and can’t be on their own store. I also believe that Apple would be in a lot less regulatory trouble (and community disfavor) if iOS and iPadOS worked more like the Mac, where apps not suitable for Apple’s explicit endorsement can be installed through other avenues.

