The Binding is a new feature film from writer/director Gus Krieger that was recently released on Blu-ray, and iTunes. It’s a scary and thought-provoking film that also happens to be a great example of DV Rebel feature filmmaking. I helped my buddy Gus out with the Visual Effects and color grading.
From Web Videos to 5k Feature
Gus is an accomplished writer, producer, director, playwright, and probably astronaut (unconfirmed), and has a wonderful group of collaborators with whom he’s made various web videos and short films. I highlighted one of these, a horror short called M is for Marmalade, in a previous post. Gus and company refined their tools and techniques with each video project, and eventually cinematographer Jeff Moriarty traded up his Canon 7D rig for a RED Epic, just in time for The Binding. The result is a film that looks and feels every bit a high-end production, but its roots are firmly in those micro-budget web shorts.
There’s a great lesson here, which is to keep making films with whatever camera you have. Let your filmmaking draw you to a camera upgrade, rather than thinking that any one super-special camera will suddenly uncork all those films you’ve been meaning to make. The skills that Krieger, Moriarty, and the others honed with their Handycams and DSLRs translated perfectly to the RED Epic kit.
Gus Got Tired of Asking Permission
I’ll keep this short and sweet. Gus has been pitching and shopping projects around for years. He’s written produced films and had many paid writing gigs. Despite all this, he, like all of us, was having trouble getting his favorite scripts bought or made. So, in his own words, “I said, ‘Eff it; I’ll just write a screenplay to produce myself.’”
He shopped The Binding around to a few production companies, but rather than ask them to make his movie for him, he informed them that he would be shooting the movie in a few months, and invited them to be involved if they liked. In other words, he was the moving train, rather than the schlub standing on the platform with all his baggage.
No one offered to finance The Binding for Gus. But he did meet up with a like-minded producer who suggested a way they could self-finance principal photography. And that’s how Gus went from ”we love it but it’s not for us” to location scouting, in about a month.
Production Value Do You Speak It
The central tenet of The DV Rebel’s Guide is that production value is not necessarily tied to budget. Yes, The Binding looks slicker than M in part due to the use of a more expensive camera. But what really makes this modestly-budgeted feature feel like a slick Hollywood movie are three things:
- Great production audio
- No attempts to put anything on the screen that the budget wouldn’t comfortably accommodate
- Great performances by accomplished actors
That list is in inverse order of importance, if you ask me. The acting in The Binding is terrific, and it’s a great example of Gus following the DV Rebel guidelines to the letter. Before he wrote a single word of his screenplay, he made — you guessed it...
The Rodriguez List
In The Guide I borrowed this concept from Robert Rodriguez, who famously made a list of every production-value enhancing person, car, location, wardrobe item, and prop he had access to before writing El Mariachi. Gus did the same, and at the top of his list was a small cohort of professional actors. How do you get to be friends with professional actors? Spend the ten years prior to your feature debut making shorts, putting on plays, and even acting yourself.
Also on Gus’s Rodriguez List was that he knew a guy who could do some visual effects.
Visual Effects
The Binding uses visual effects judiciously, but to great effect. I don’t want to show you too much because I hate spoilers, but Gus gave me permission to show this shot in which the character of Bram is seen uncontrollably banging his head against a wall. Gus wanted this moment to be viscerally violent and disturbing, so his crew placed a thick pad on the wall so that actor Josh Heisler could safely hit it with great force.
Gus shot the effect perfectly, including a clean plate of the wall without the pad. Nevertheless, my task of removing the pad was complicated by the shadows on the wall, and Heisler’s hair. I used the Rotobrush Tool in After Effects, with the Refine Edges brush to extract a soft matte for the hair. This was a case where the 5K (5120 x 2160) RED Epic footage was both a blessing and a curse — the level of detail allowed a very high quality extraction, but the overhead of the computationally expensive Rotobrush tool made for slow work. I wound up pre-composing a crop of the plate to work on as few pixels as possible, and rendering a Comp Proxy of the Rotobrush work after each session.
Matting Heisler’s head back onto the clean plate left one big problem: his shadow on the wall. Luckily, Gus consulted with me before the shoot, and I asked him to have the actor pantomime his action in slow-motion against the pad-free wall as a third effects plate. I match-retimed this shot to the hero plate with Heisler hitting the pad, and this gave me a near-perfect contact shadow for the patched-in area.
Finishing touches included a bit of animated Liquefy warp on the wall to show it bowing under the impacts, a bit of blood splatter on the wall (ew), and a super subtle camera shake on each it.
Color Grading Means Color Pipelines
As soon as Gus was ready to hand of the first VFX plates, we had to figure out our complete color correction pipeline. Here’s why:
Moriarty shot to RED Raw using REDcolor3 color gammut and REDgamma3 gamma. This provided a pleasing, contrasty Rec709 viewing image on set, with plenty of exposure headroom in raw. Editor Matthew Herrier cut in Premiere Pro, working directly with the camera original R3D files, using the camera default color settings. So far so good — the film looks great, and the rough cut matches what was seen on set.
But if we had used this as a starting point for the VFX work, we would have severely limited our post and distribution options. We’d have baked-in this low dynamic range video look.
I had already consulted with Herrier about color workflows after the edit, and we agreed that the best path would be to set each clip to RedLog Film, and export the uncorrected cut in log, for a traditional film-style DI. This would take advantage of the rich Red Raw digital negative and afford them the ability to make a film print if needed, as well as an HD master in Rec709.
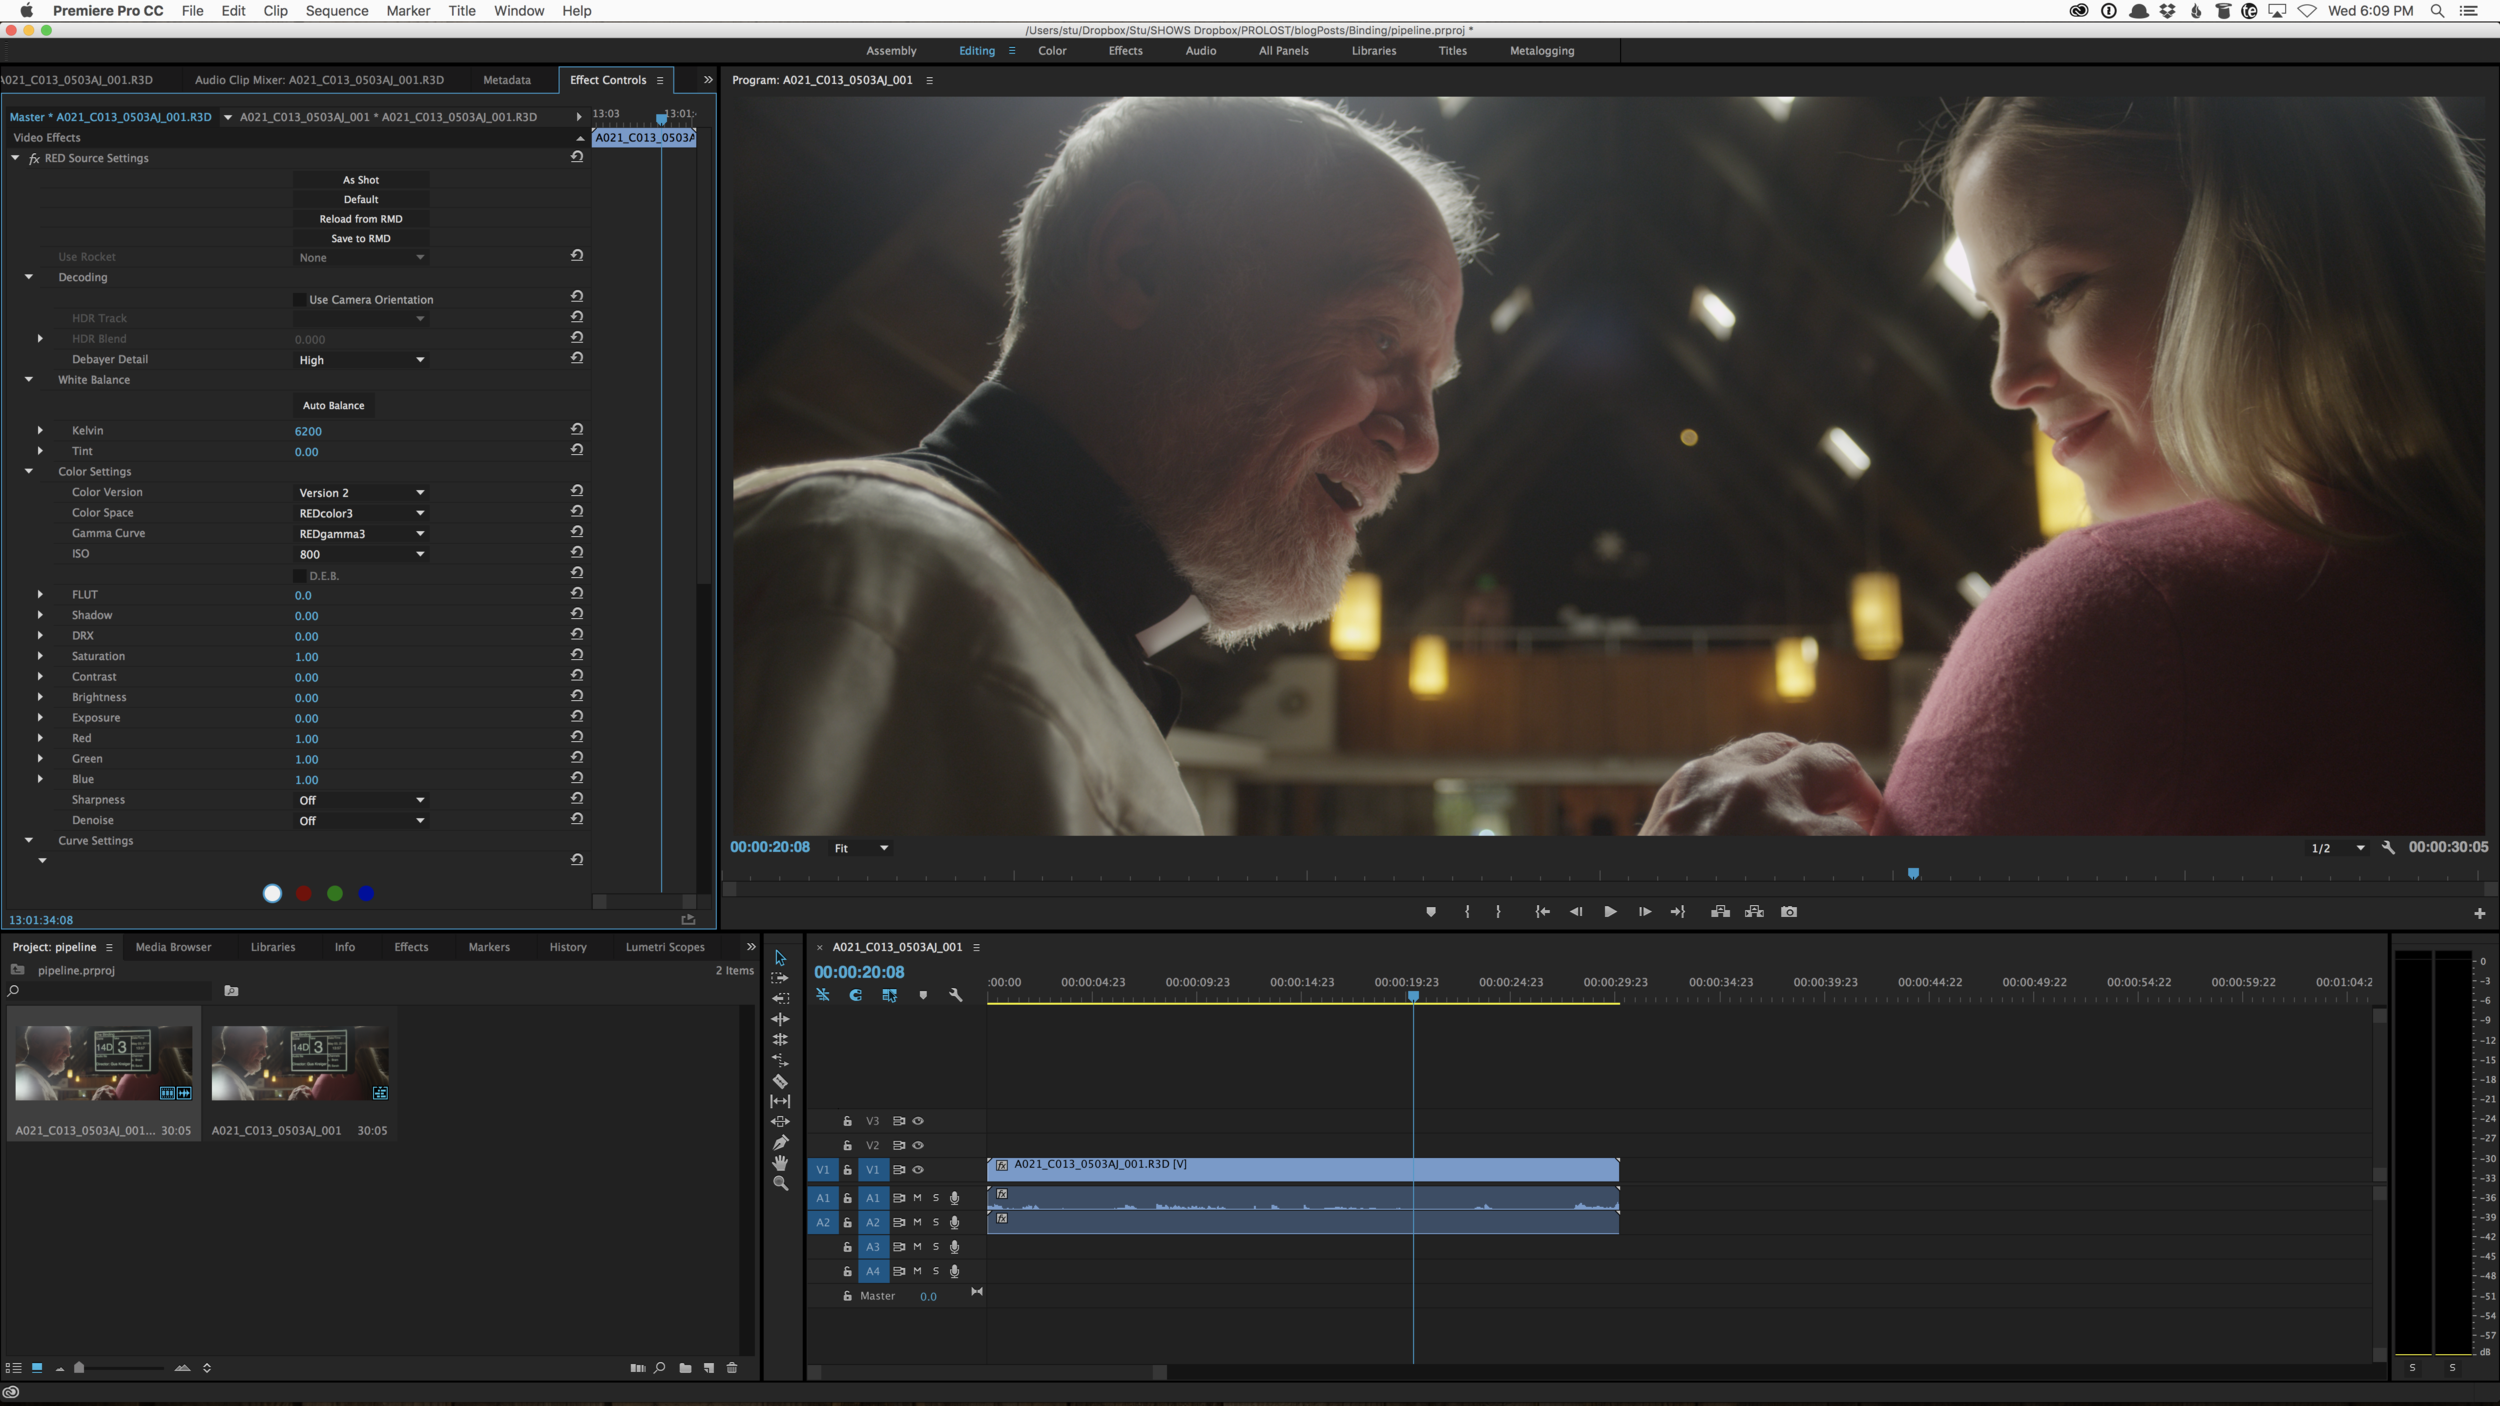
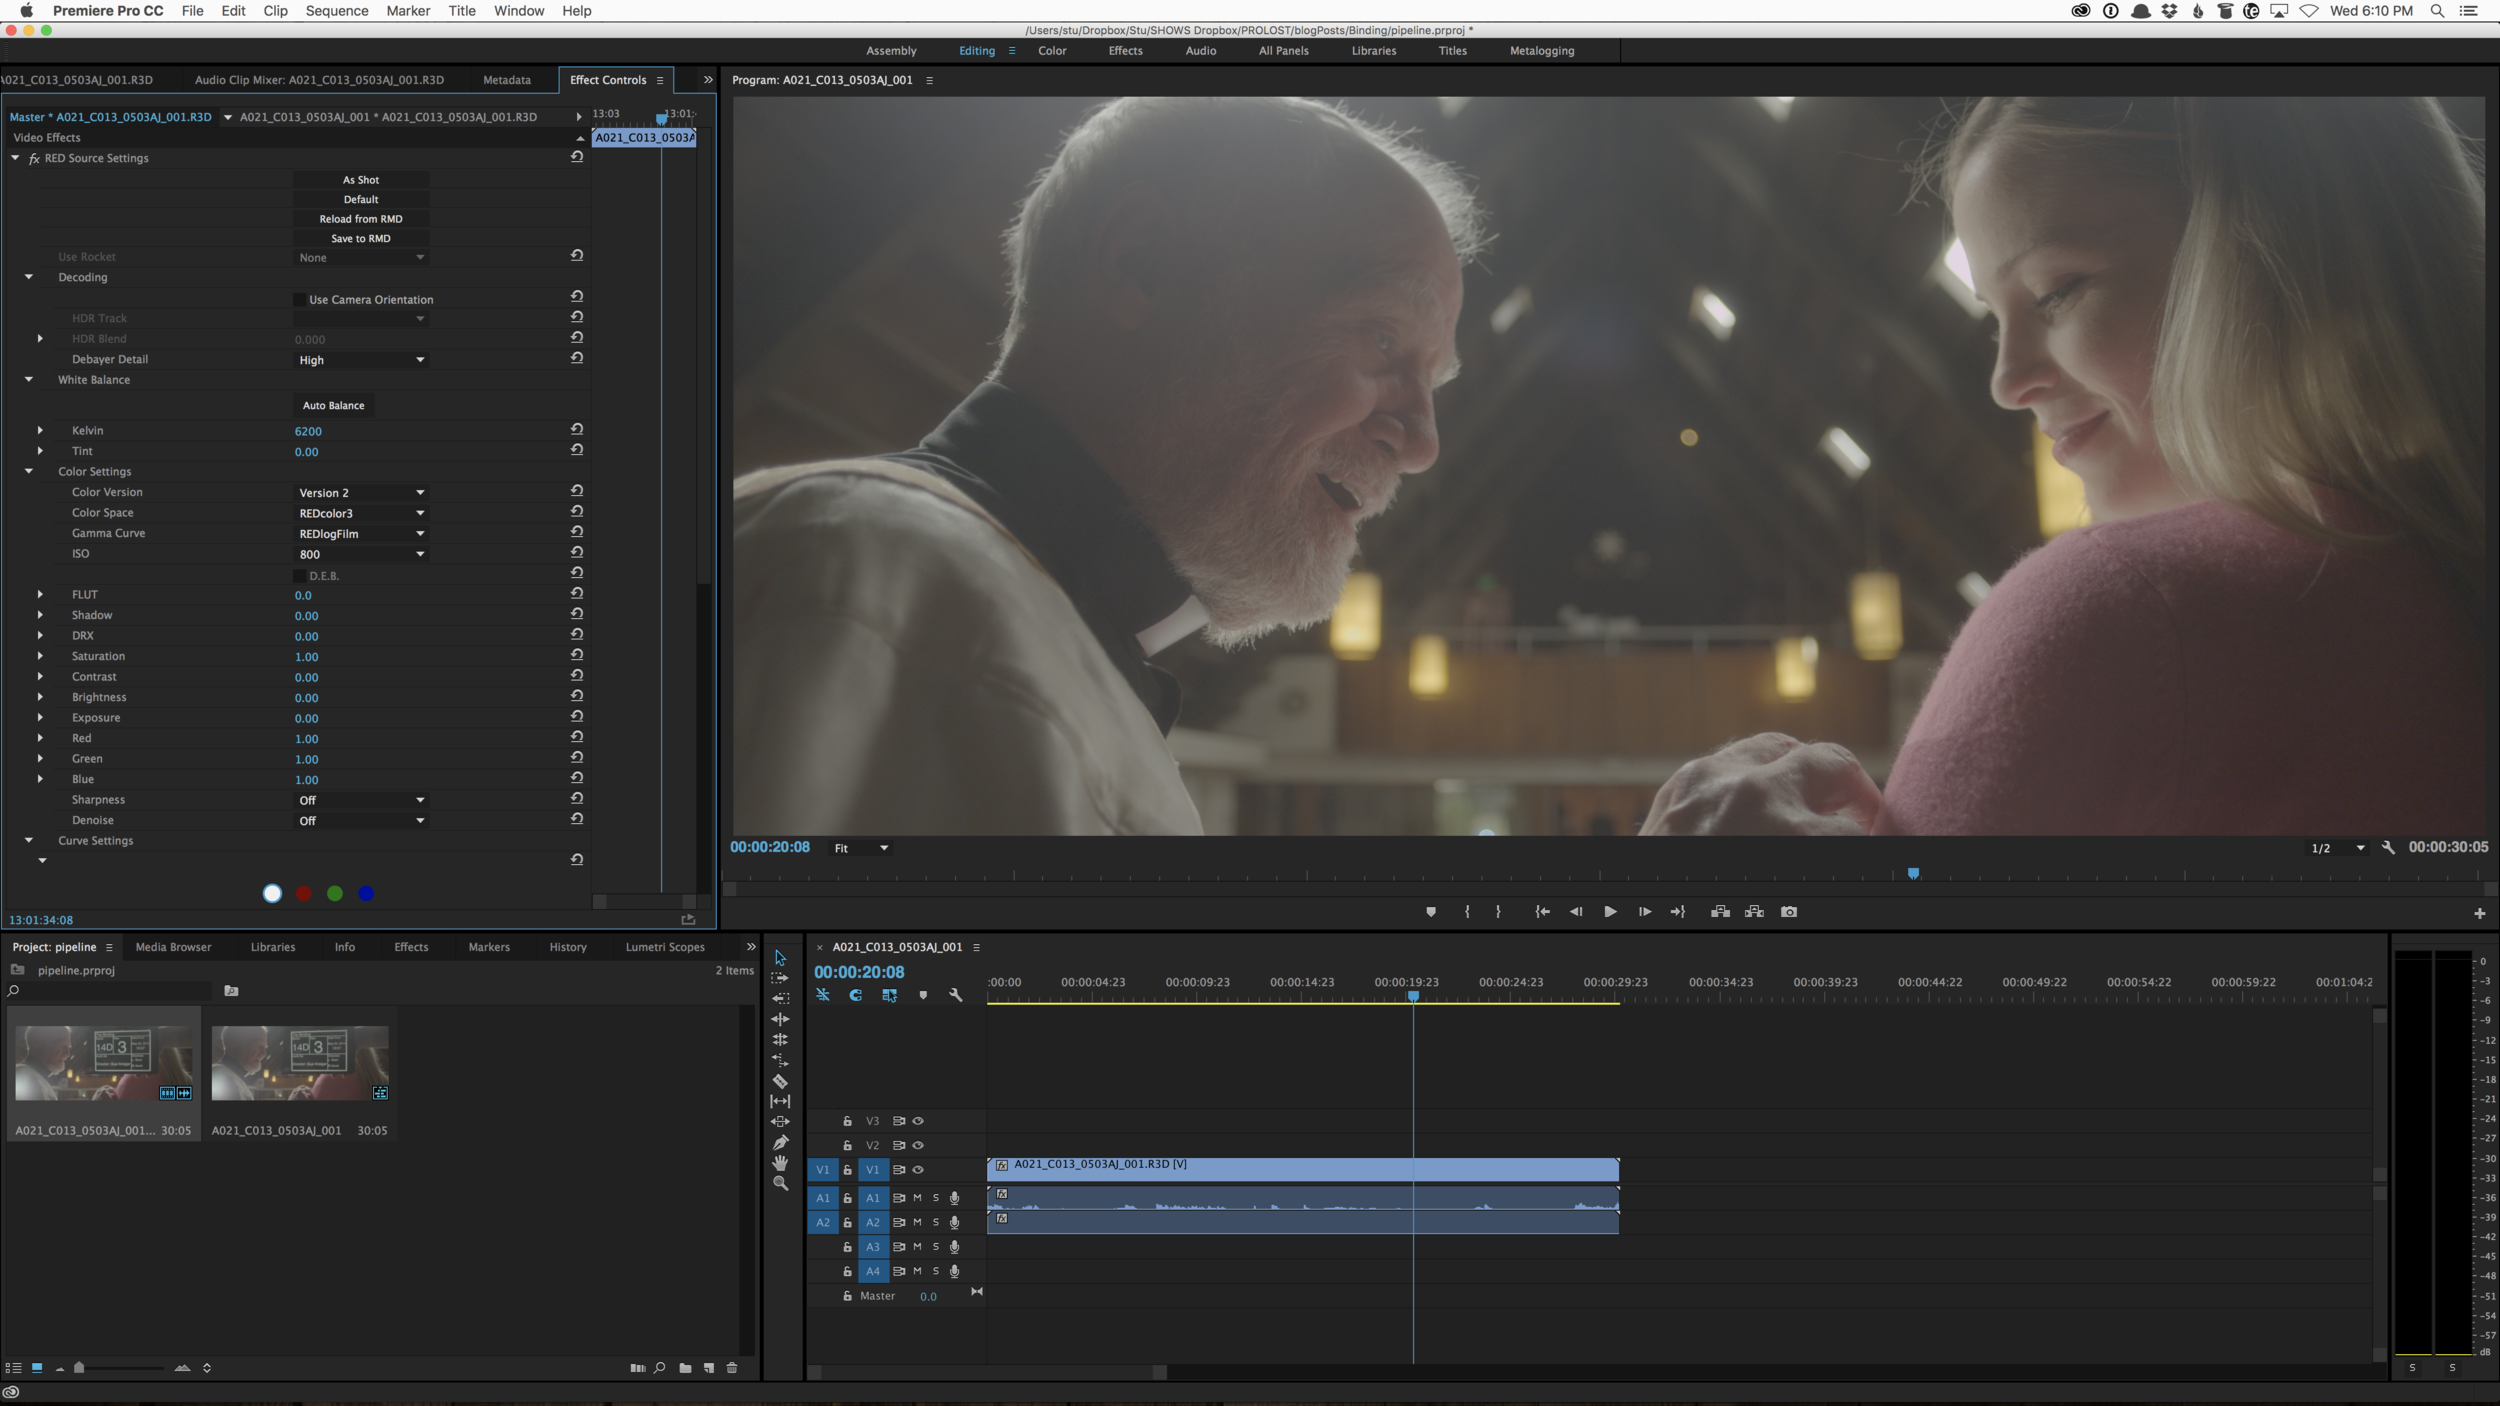
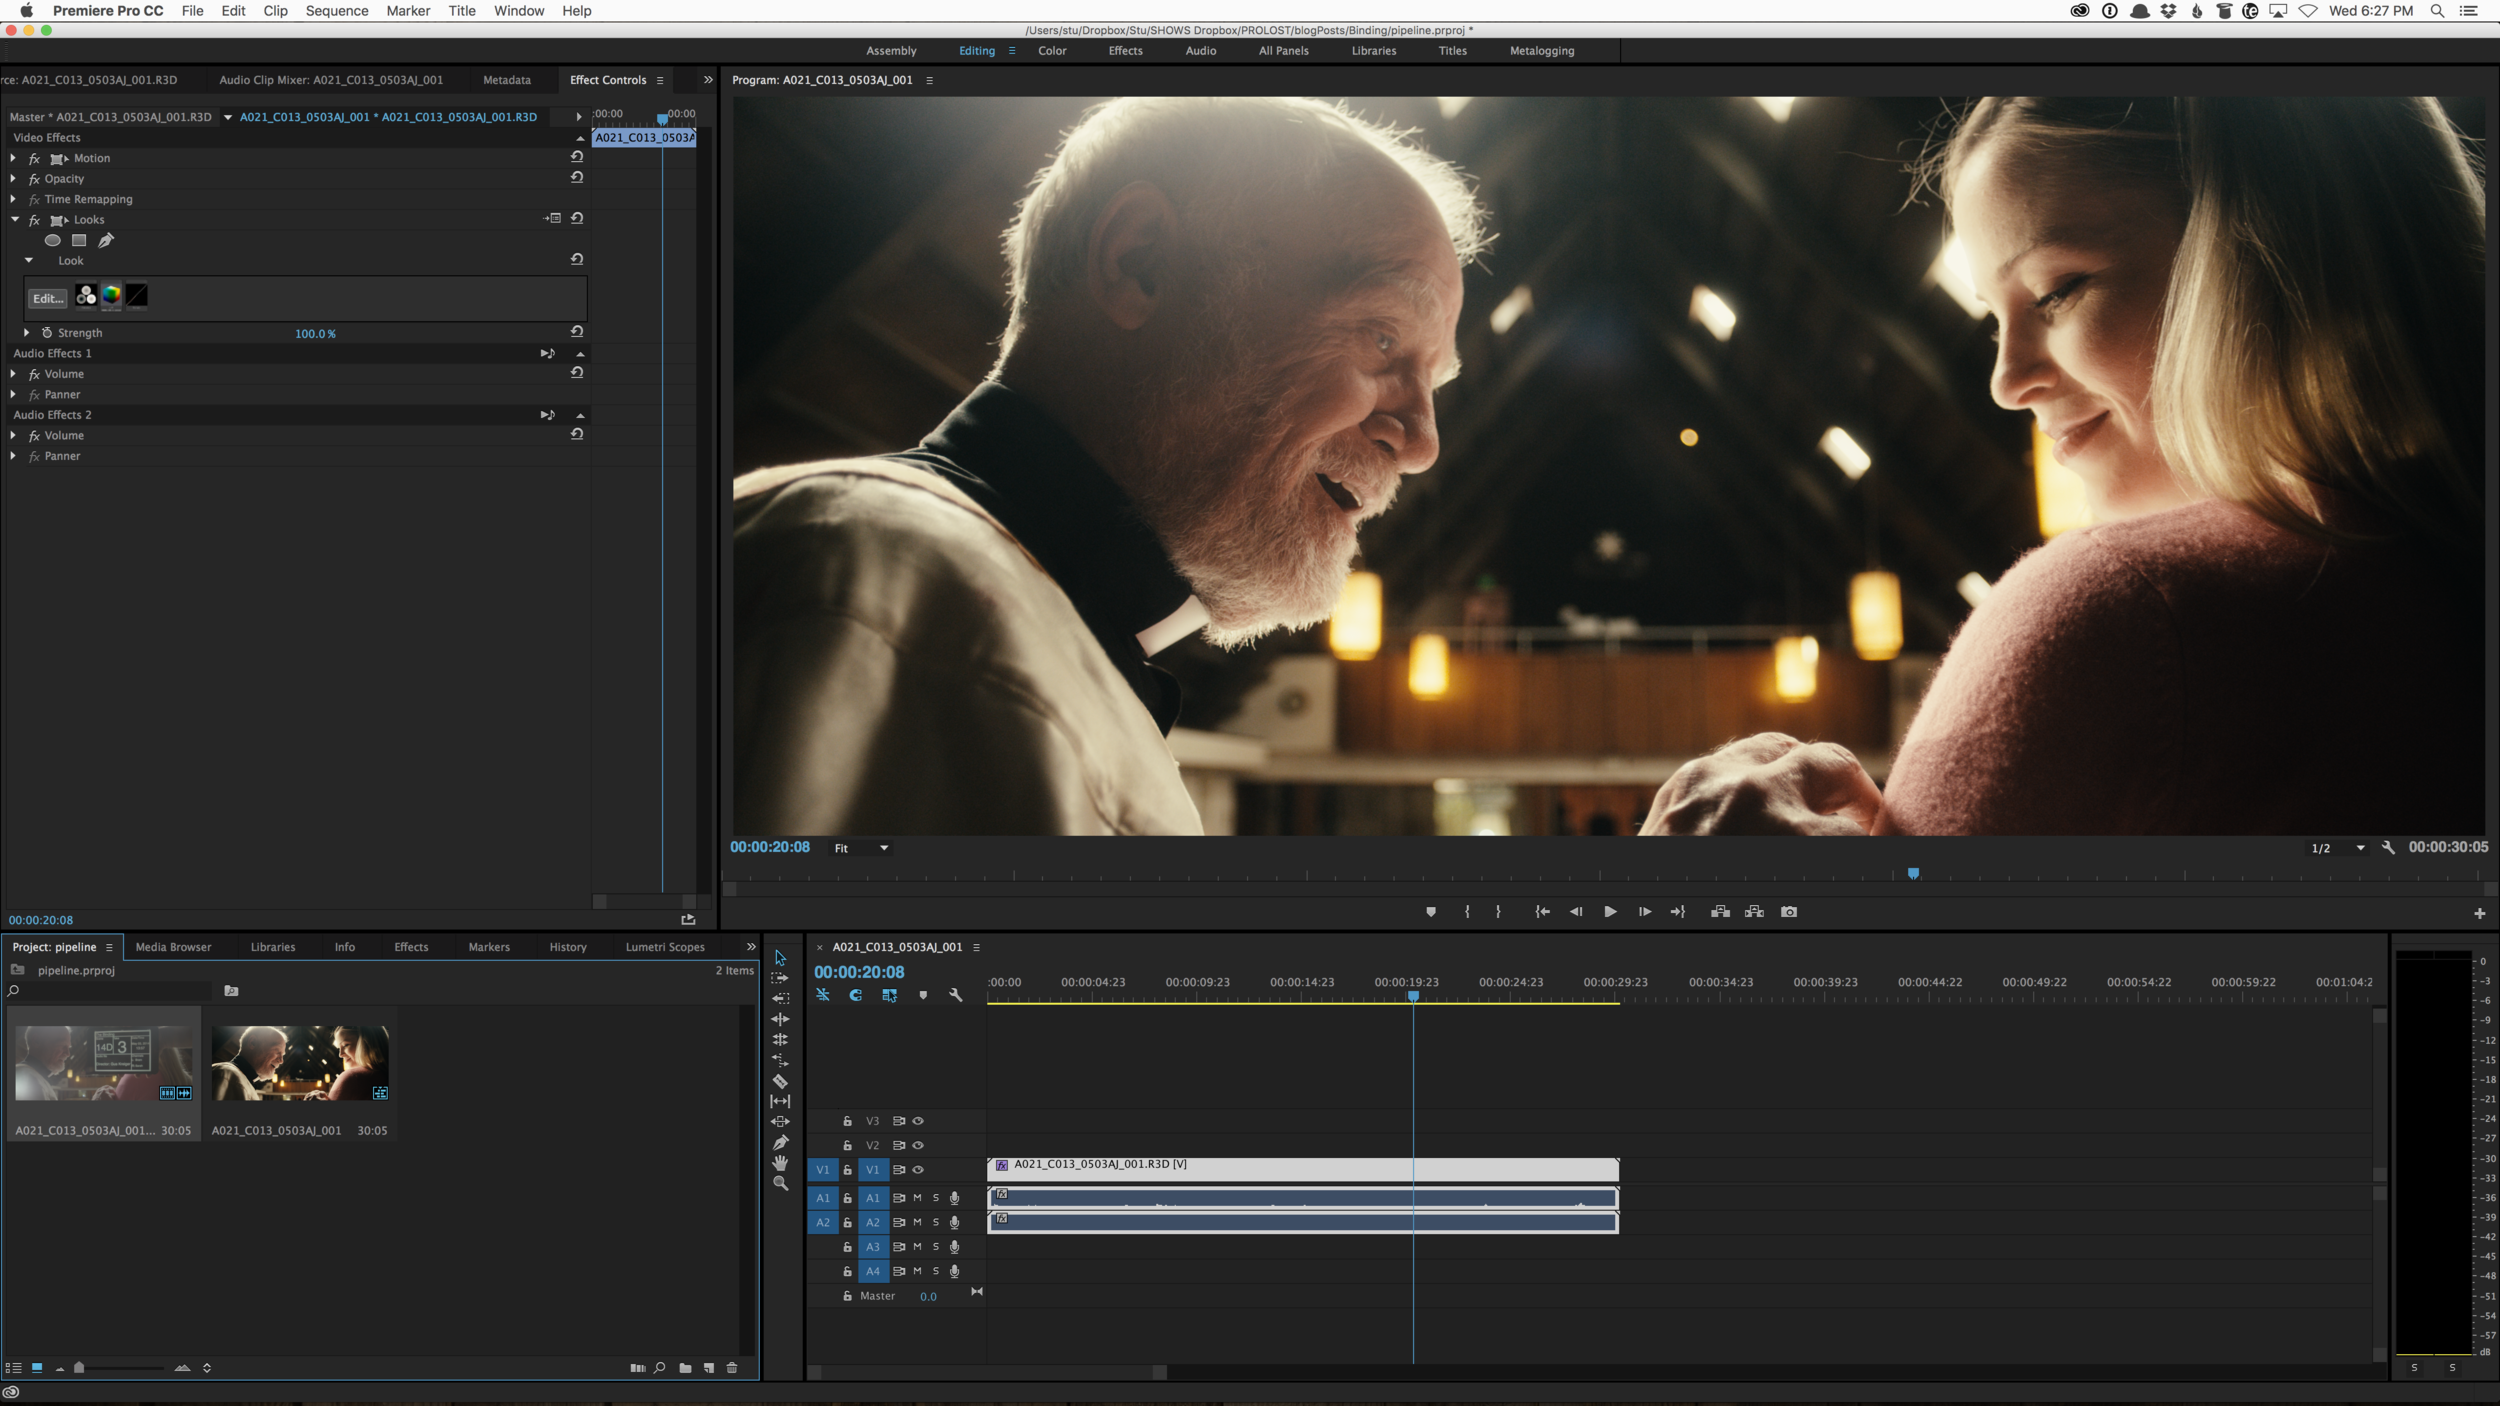
This meant that the VFX would also be done in REDlogFilm, which was ideal. I used the Prolost EDC log conversion presets to convert plates to linear-light and back for some compositing operations, and set up two output compositions: one with a color correction curve that matched the Rec709 cut, and another for log. I delivered Rec709 takes until Gus finaled the shot, at which point I handed off the log version, which cut in perfectly over the DI-prepped REDlogFilm edit.
VFX work must be done on RGB pixels. Raw gives you lots of options in post, but you need to decide what flavor of RGB you’re going to standardize on before you do any sensitive VFX work. Do this right and your VFX will cut into your DI perfectly. Do this wrong, and you’ll pay, in time, dollars, and a very different kind of banging your head against the wall.
Coloring 5k At Home
With the film fully prepped for DI, we explored various options for color grading. Prepped as we were with a complete 5k cut in log color, we could have gone anywhere, but in the spirit of DIY, we brought the project to Gregory Nussbaum at Pictures in a Row. Gregory and I have worked together on numerous projects over the years, and I see him as a model for the direction the color industry is going. The number of professional colorists working on locked cuts with assistants to do their conform work for them is, I’m betting, a tiny fraction of the number of people like Nussbaum — editors who also do color, and frequently both at once.
So we kept the project in Premiere, and set out to color correct a 5K feature film on a single trashcan Mac Pro using Magic Bullet Colorista and Looks.
Gregory’s setup is very much like what you might have at home, with the exception of a 50-inch professionally-calibrated Panasonic Plasma display for client viewing. Because I trusted the calibration of this monitor, I was able to build a LUT that allowed us to preview our work as it would appear filmed out to Kodak Vision film stock, using a combination of Red Giant and Adobe tools. The rationale behind creating this LUT is a little complicated, but I’ll explain it in the comments if anyone asks.
Click to see the whole mess.
We loaded this LUT into Magic Bullet Looks, applied to an Adjustment Layer in Premiere. Gregory also had a separate Adjustment Layer with Magic Bullet Mojo’s Skin Overlay applied, so that we could always be checking skin tones as we worked.
Then each shot got at least one Colorista III effect, sometimes more. We placed them on Adjustment Layers as well, as is Gregory’s preference, and would sometimes span one layer across many clips for a “look,” while adjusting individual shots with layers placed below that. For a handful of shots, we tracked in masked color corrections using Premiere’s built-in effects masks and tracking.
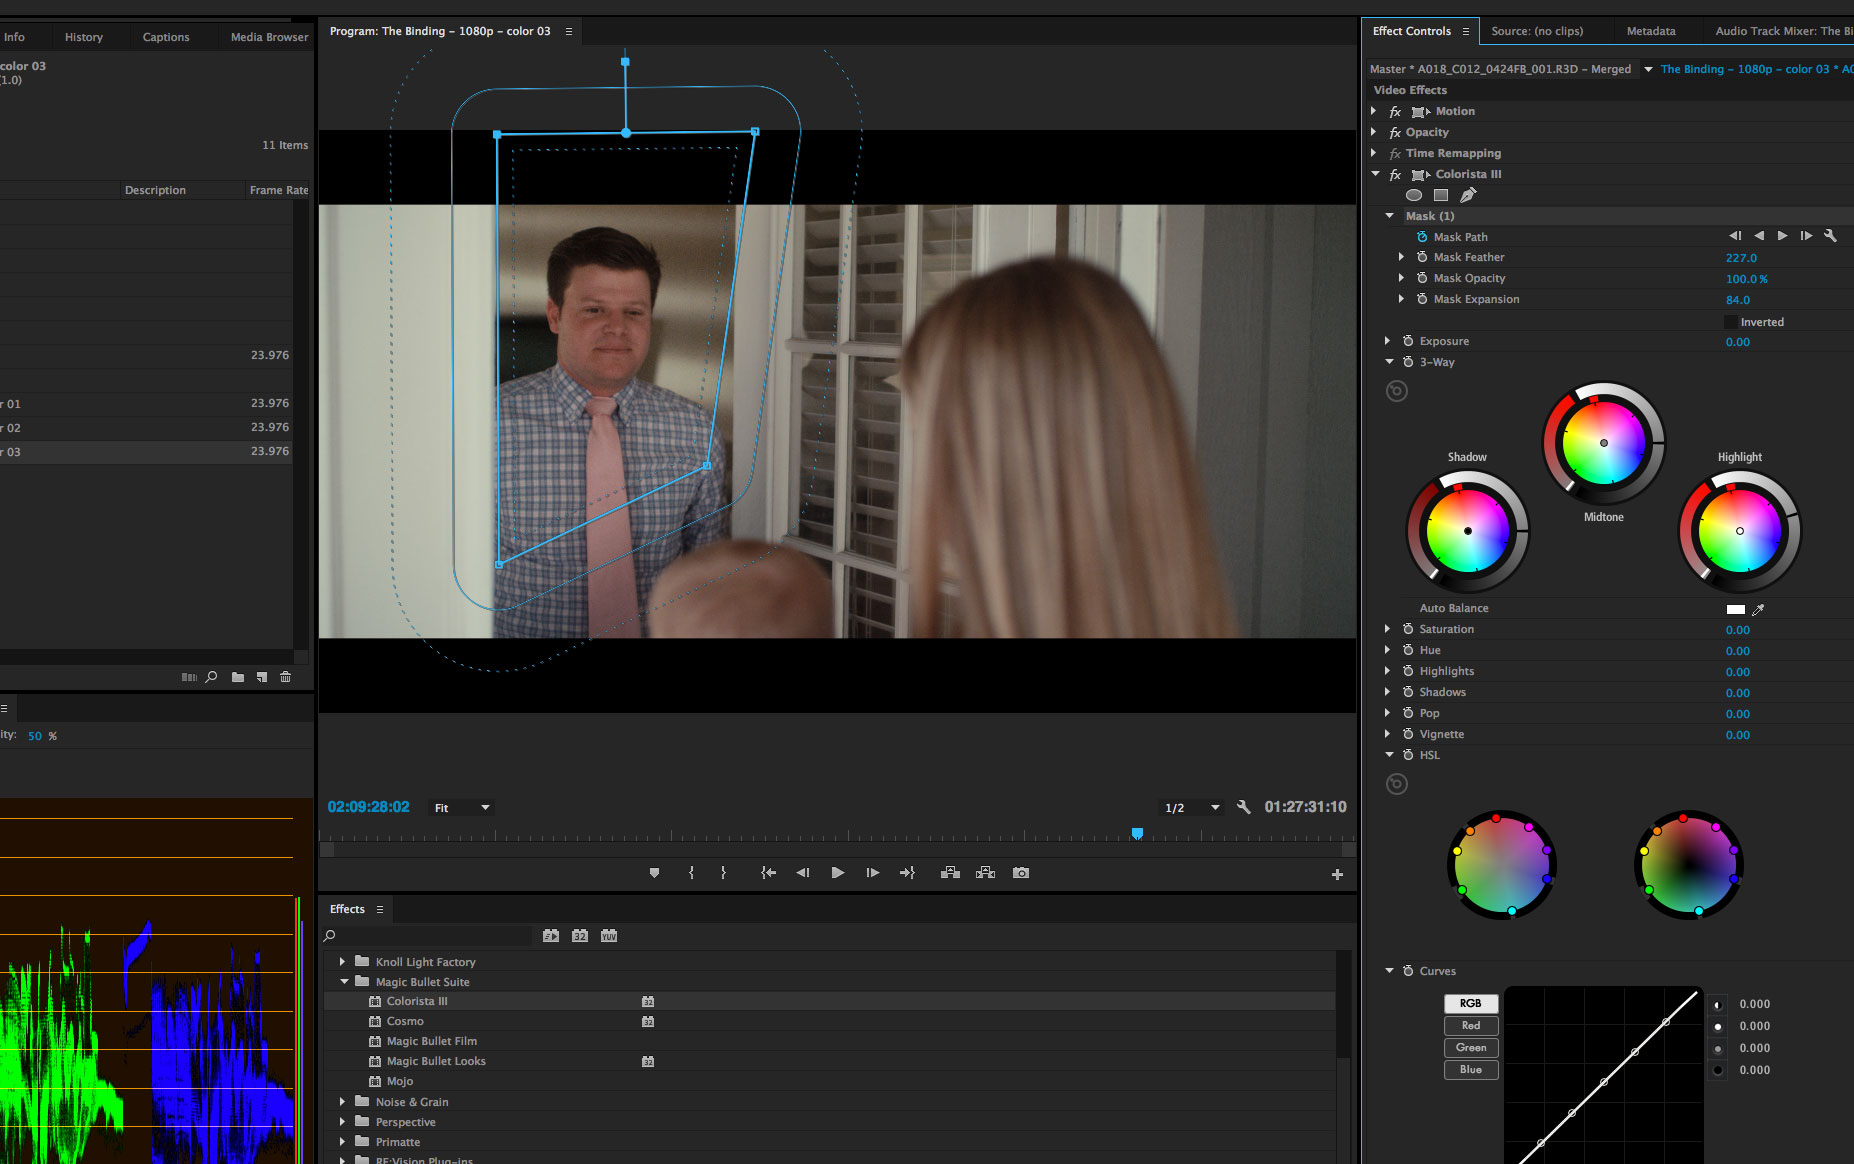
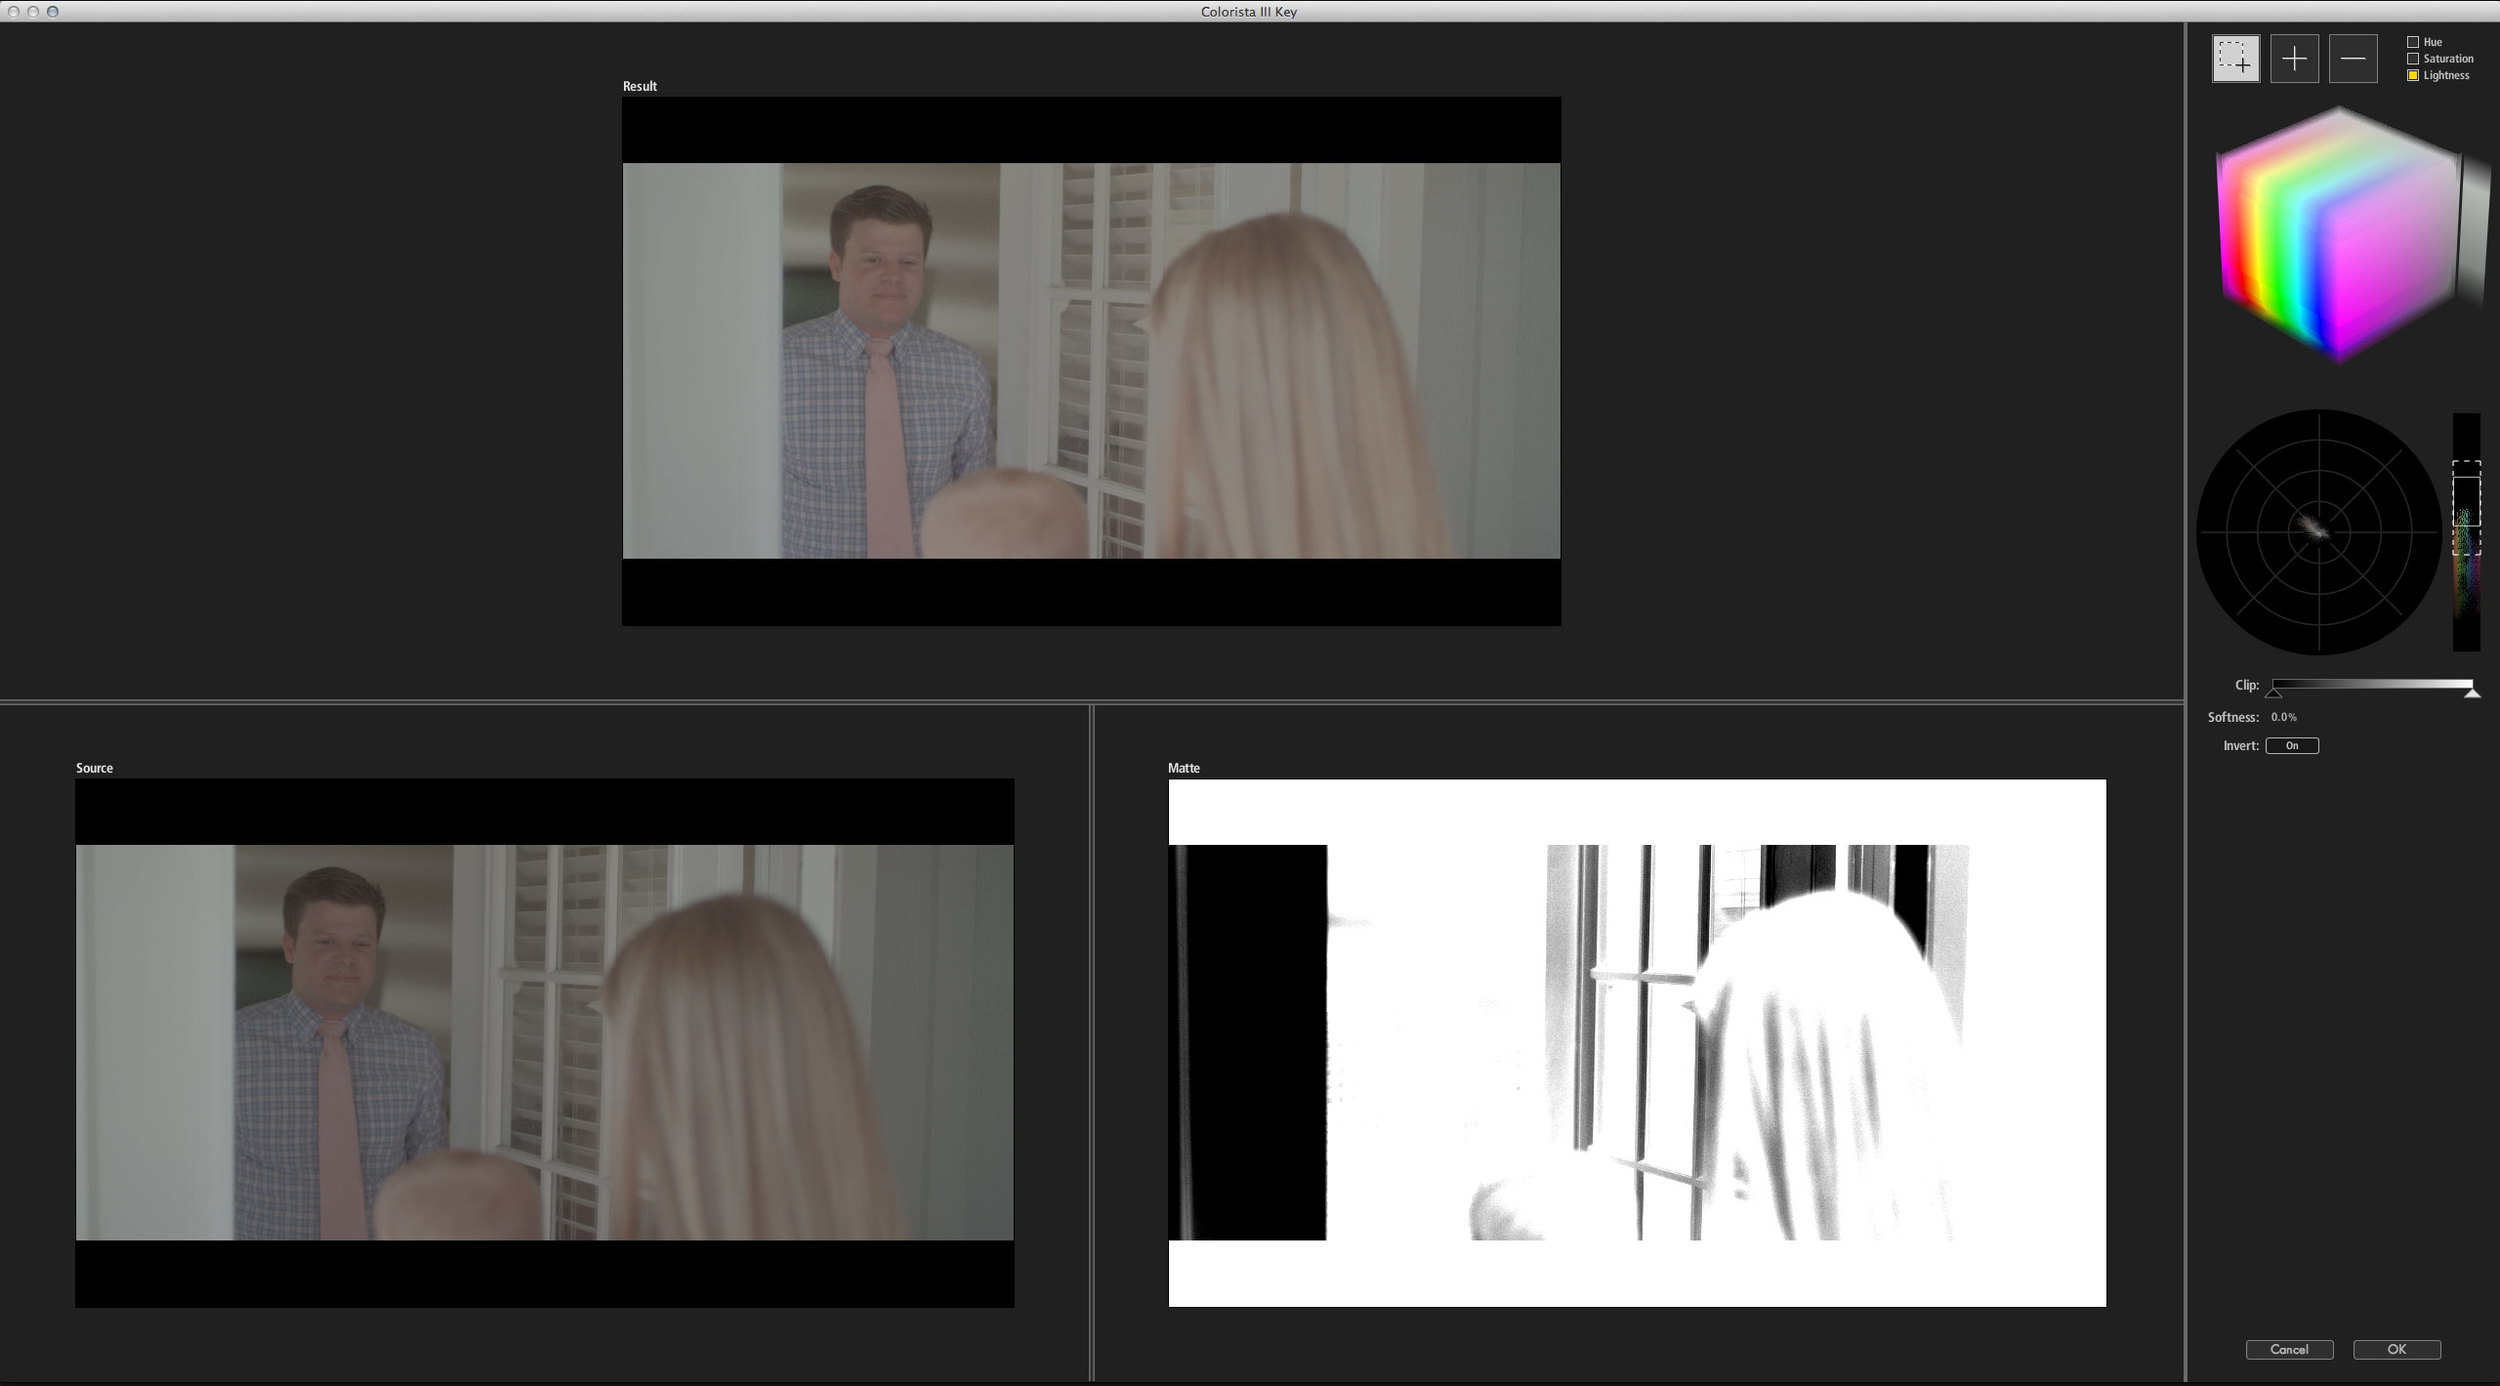
Even with multiple instances of Colorista and Looks running in 5k, we were able to get consistent real time performance by setting our playback resolution to half or quarter res in Premiere Pro. Quarter res sounds extreme, but one-quarter of 5120 x 2880 is exactly 720p, which looks great on a 1080p plasma.
Being Smart is Cheap
What a strange post this is. It starts with stuff about web shorts and camera upgrades, and ends with LUT making and nerdy color space talk.
What's the takeaway? How do I sum it all up?
Let's go back to that part about Gus and his filmmaking team pooling their resources and self-financing their film. Nothing inspires efficiency like spending your own money.
And that's something I don't think I've ever said in so few words: The DV Rebel ethos is all about efficiency. And that is a major advantage against any Hollywood production.
The best way to save time and money, both on set and in post, is to avoid doing things over again. The modern DV Rebel needs to be both a filmmaker and a film pipeline maker. In an age where the camera and post gear that a microbudget feature uses is exactly the same as a major Hollywood feature, it's this commitment to working smarter that sets the DV Rebel apart.
