And I’ve got some free LUTs for you.
The iPhone 15 Pro and Pro Max feature log video recording. This is a big deal, but there’s already some confusion about it. Where consumer devices and pro video overlap, that’s where the Prolost Signal gleams brightest in the night sky. So let’s get to work.
First, what exactly is log? It’s short for logarithmic encoding, which is a math thing, but what does it mean to videographers?
It really boils down to two things: Log is flat, and log is known.
Flat is Good, and Log is the Best Flat
Standard iPhone video is designed to look good. A very specific kind of good that comes from lots of contrast, punchy, saturated colors, and ample detail in both highlights and shadows.
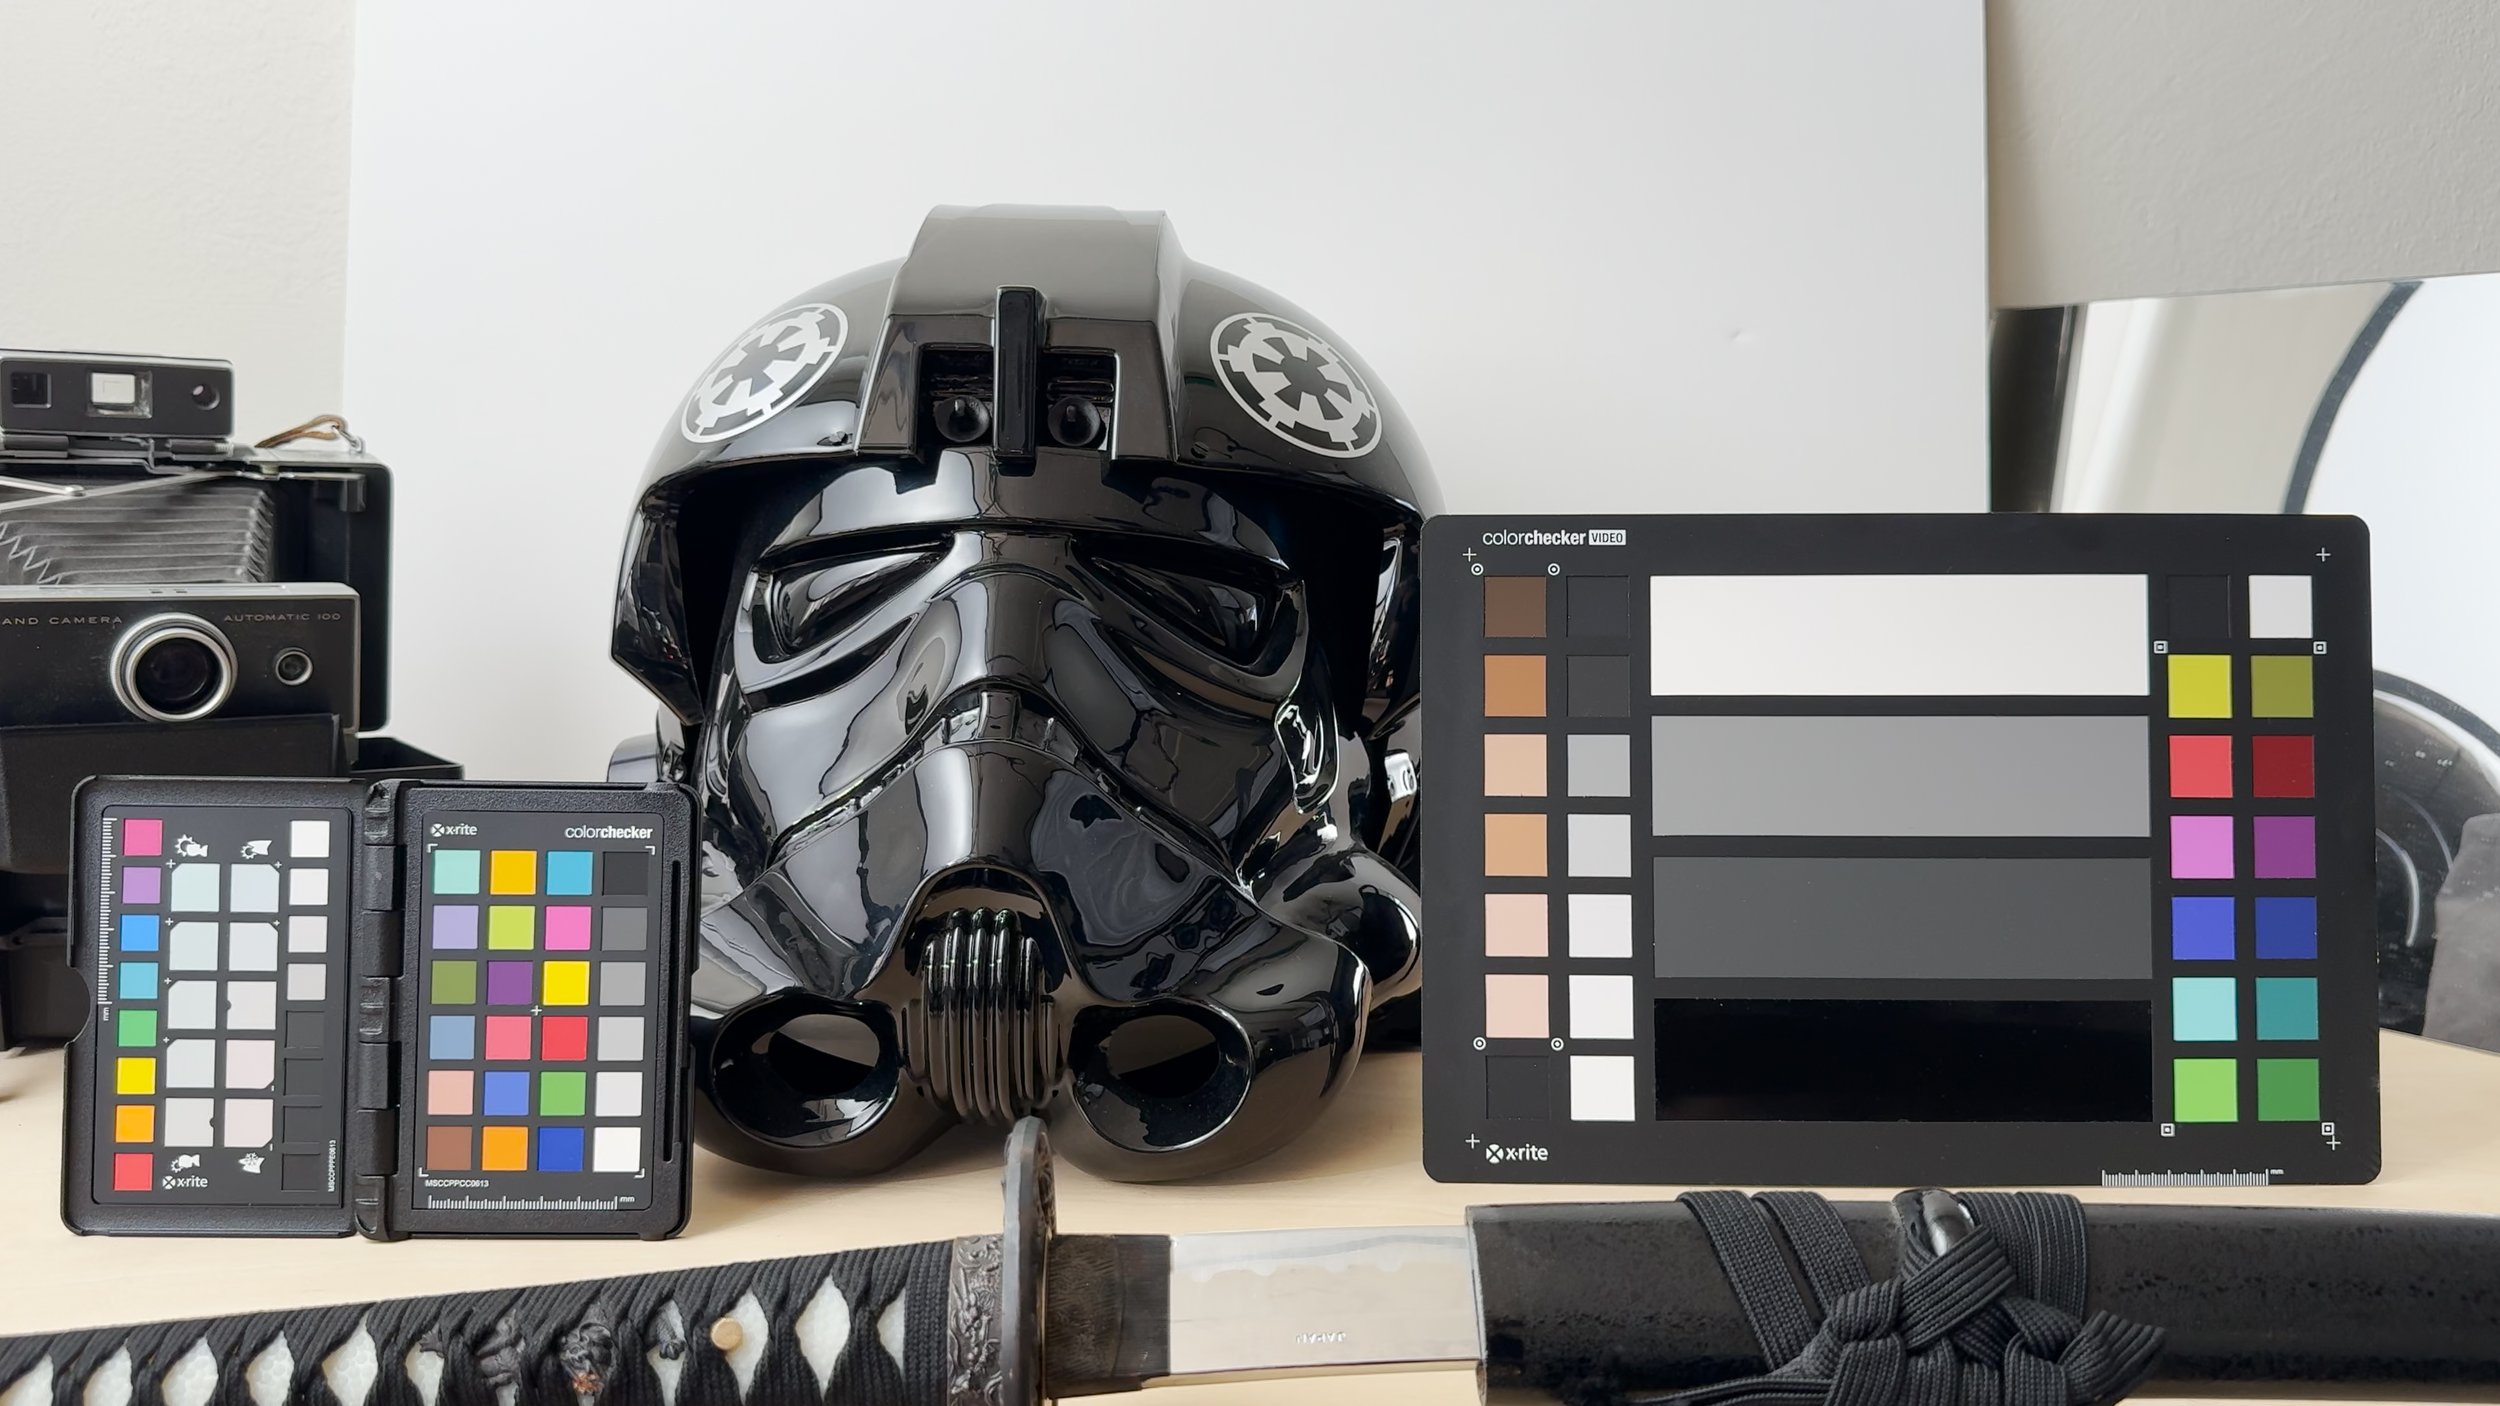
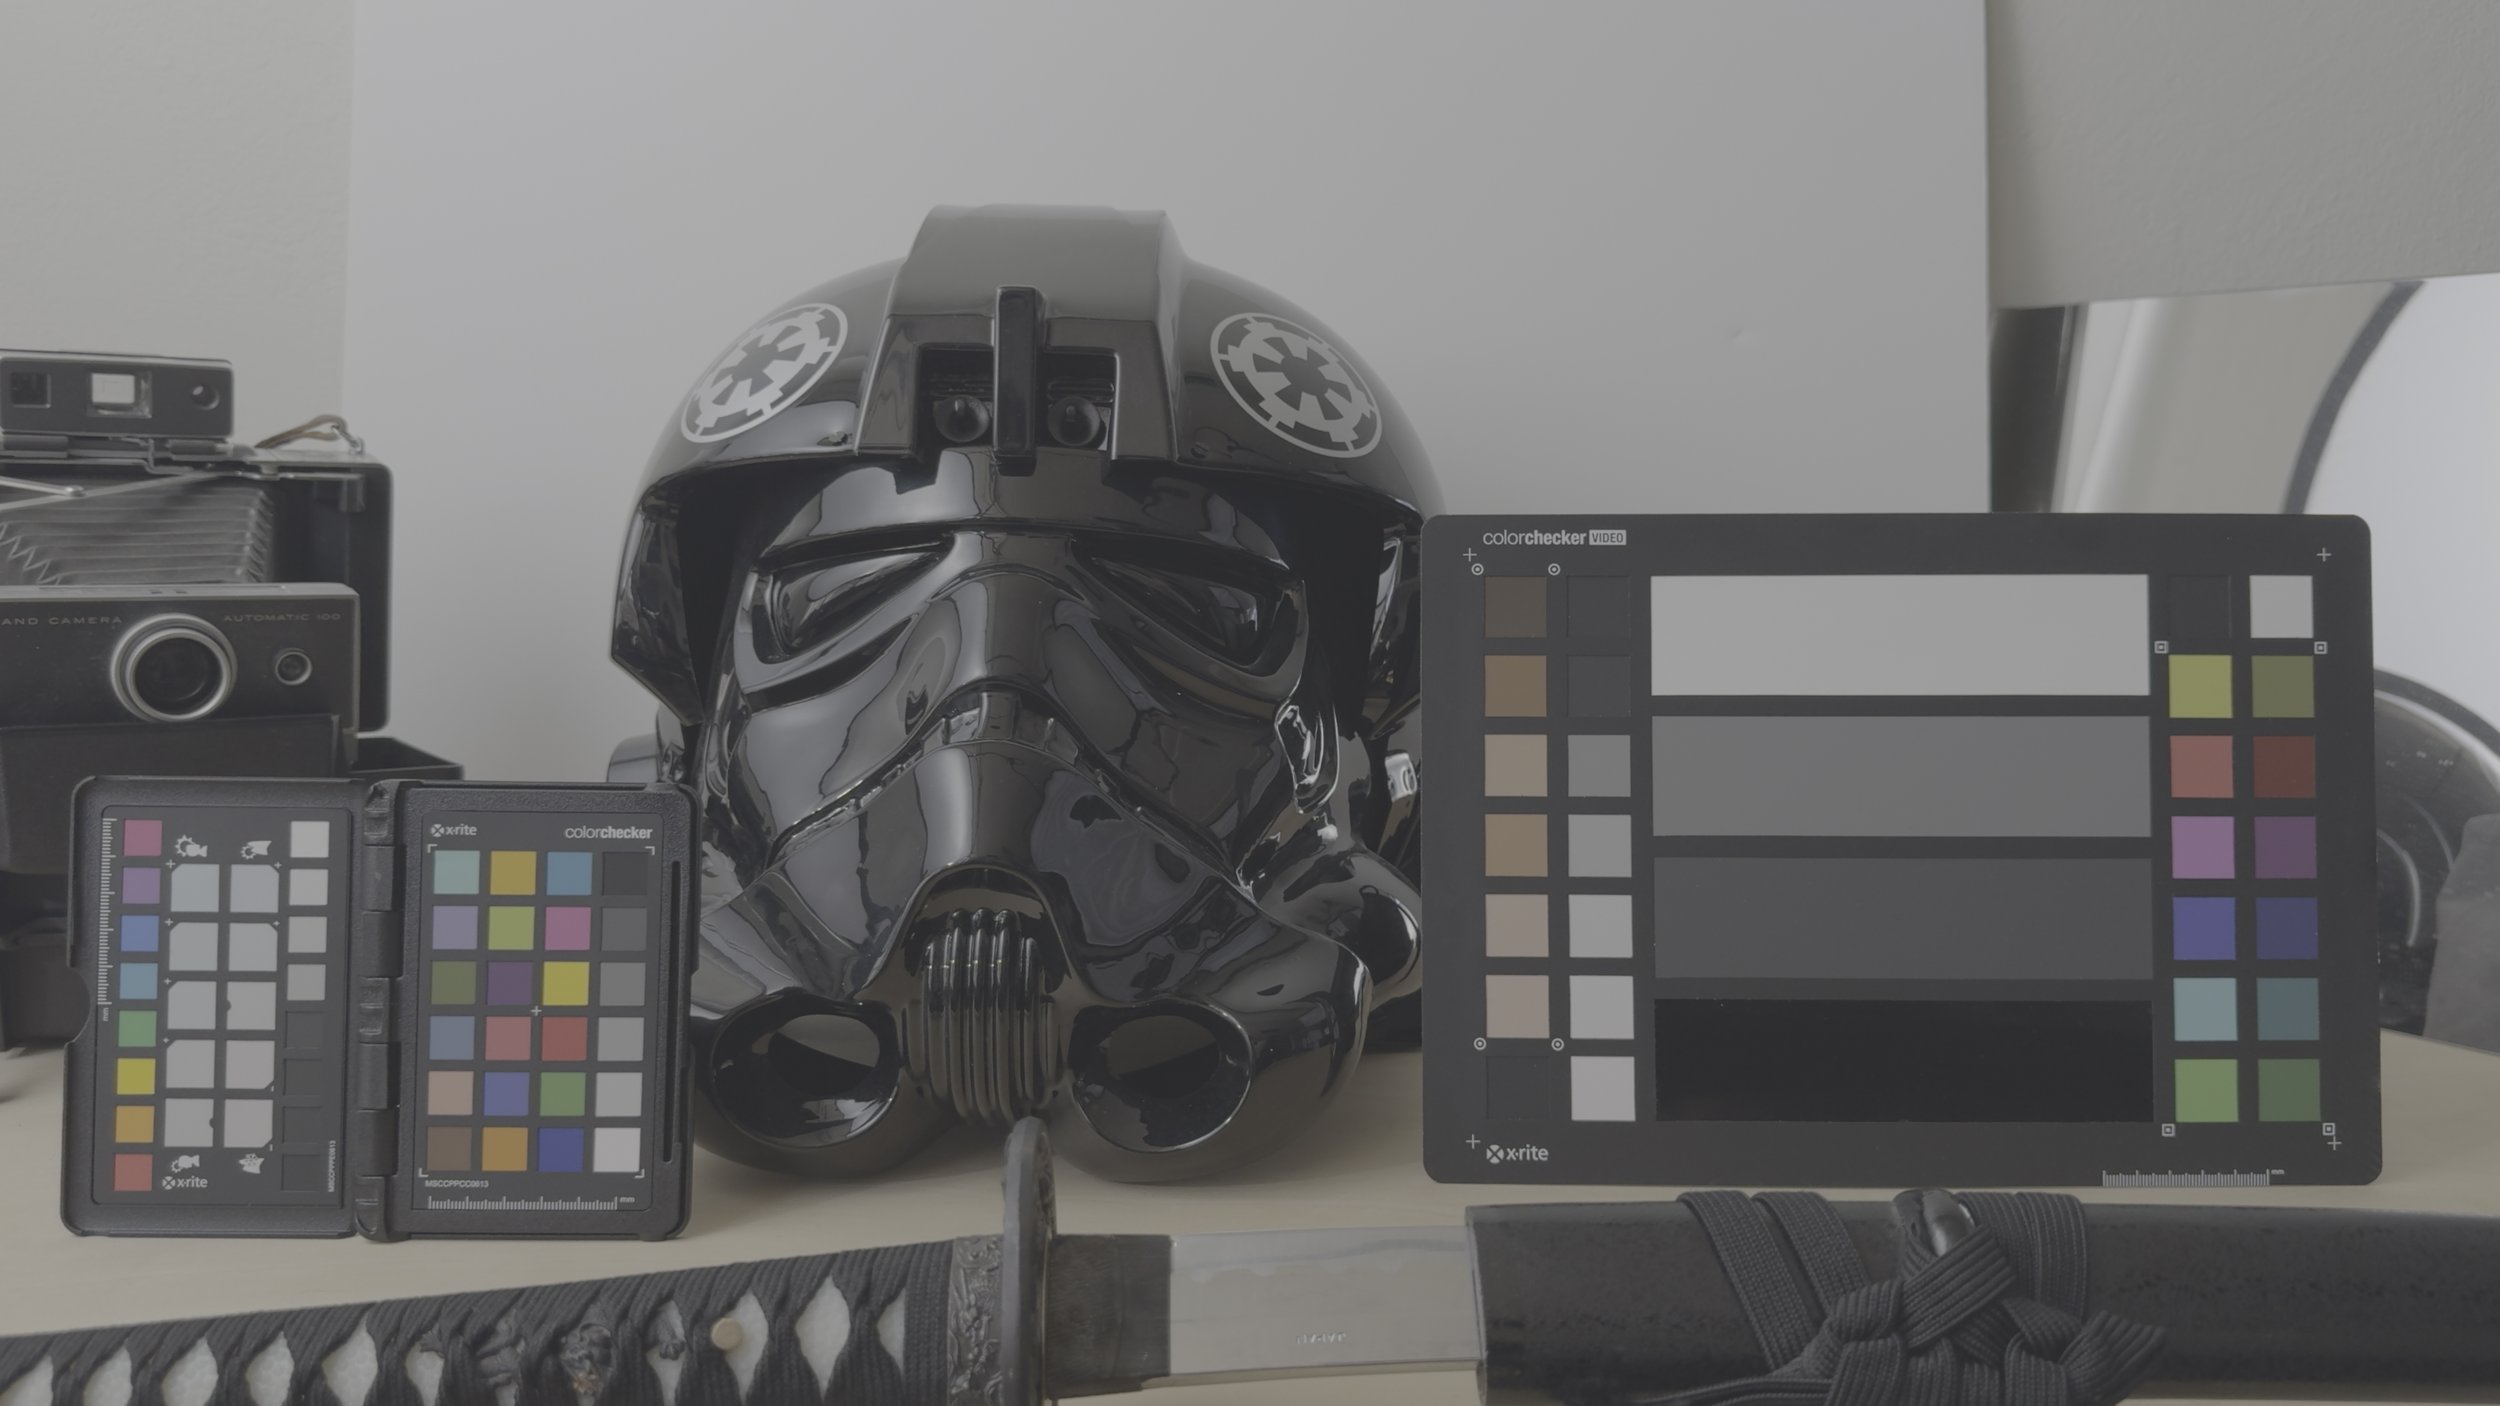
Log video looks flat. All the dynamic range and detail are there, but gone is that candy-coated punch. To make log footage look right, you have to color manage it in some way, often with a Look-Up Table, or “LUT.”
A LUT is just a color adjustment baked into a single file. Some LUTs add creative looks, others are more utilitarian, converting images from one color space to another — like from log to video.
If all we’re going to do with log footage is apply a LUT to make it look normal, what’s the big deal? Why add this extra step?
The power log gives us lies within that extra step, because:
- You pick the LUT! So log footage can look however you want. Sure, you can apply LUTs or color grading to regular iPhone footage, but the problem is it already has its own very punchy look baked in. With log you can pick the look that works for you, and even more importantly...
- You can color grade under the LUT. So you can adjust the color of the footage in a natural and organic way.
- And this workflow matches what you’re doing with your digital cinema camera already, so you can color-manage this footage right into a timeline with your Canon, Sony, Arri, or whatever else you’ve got.
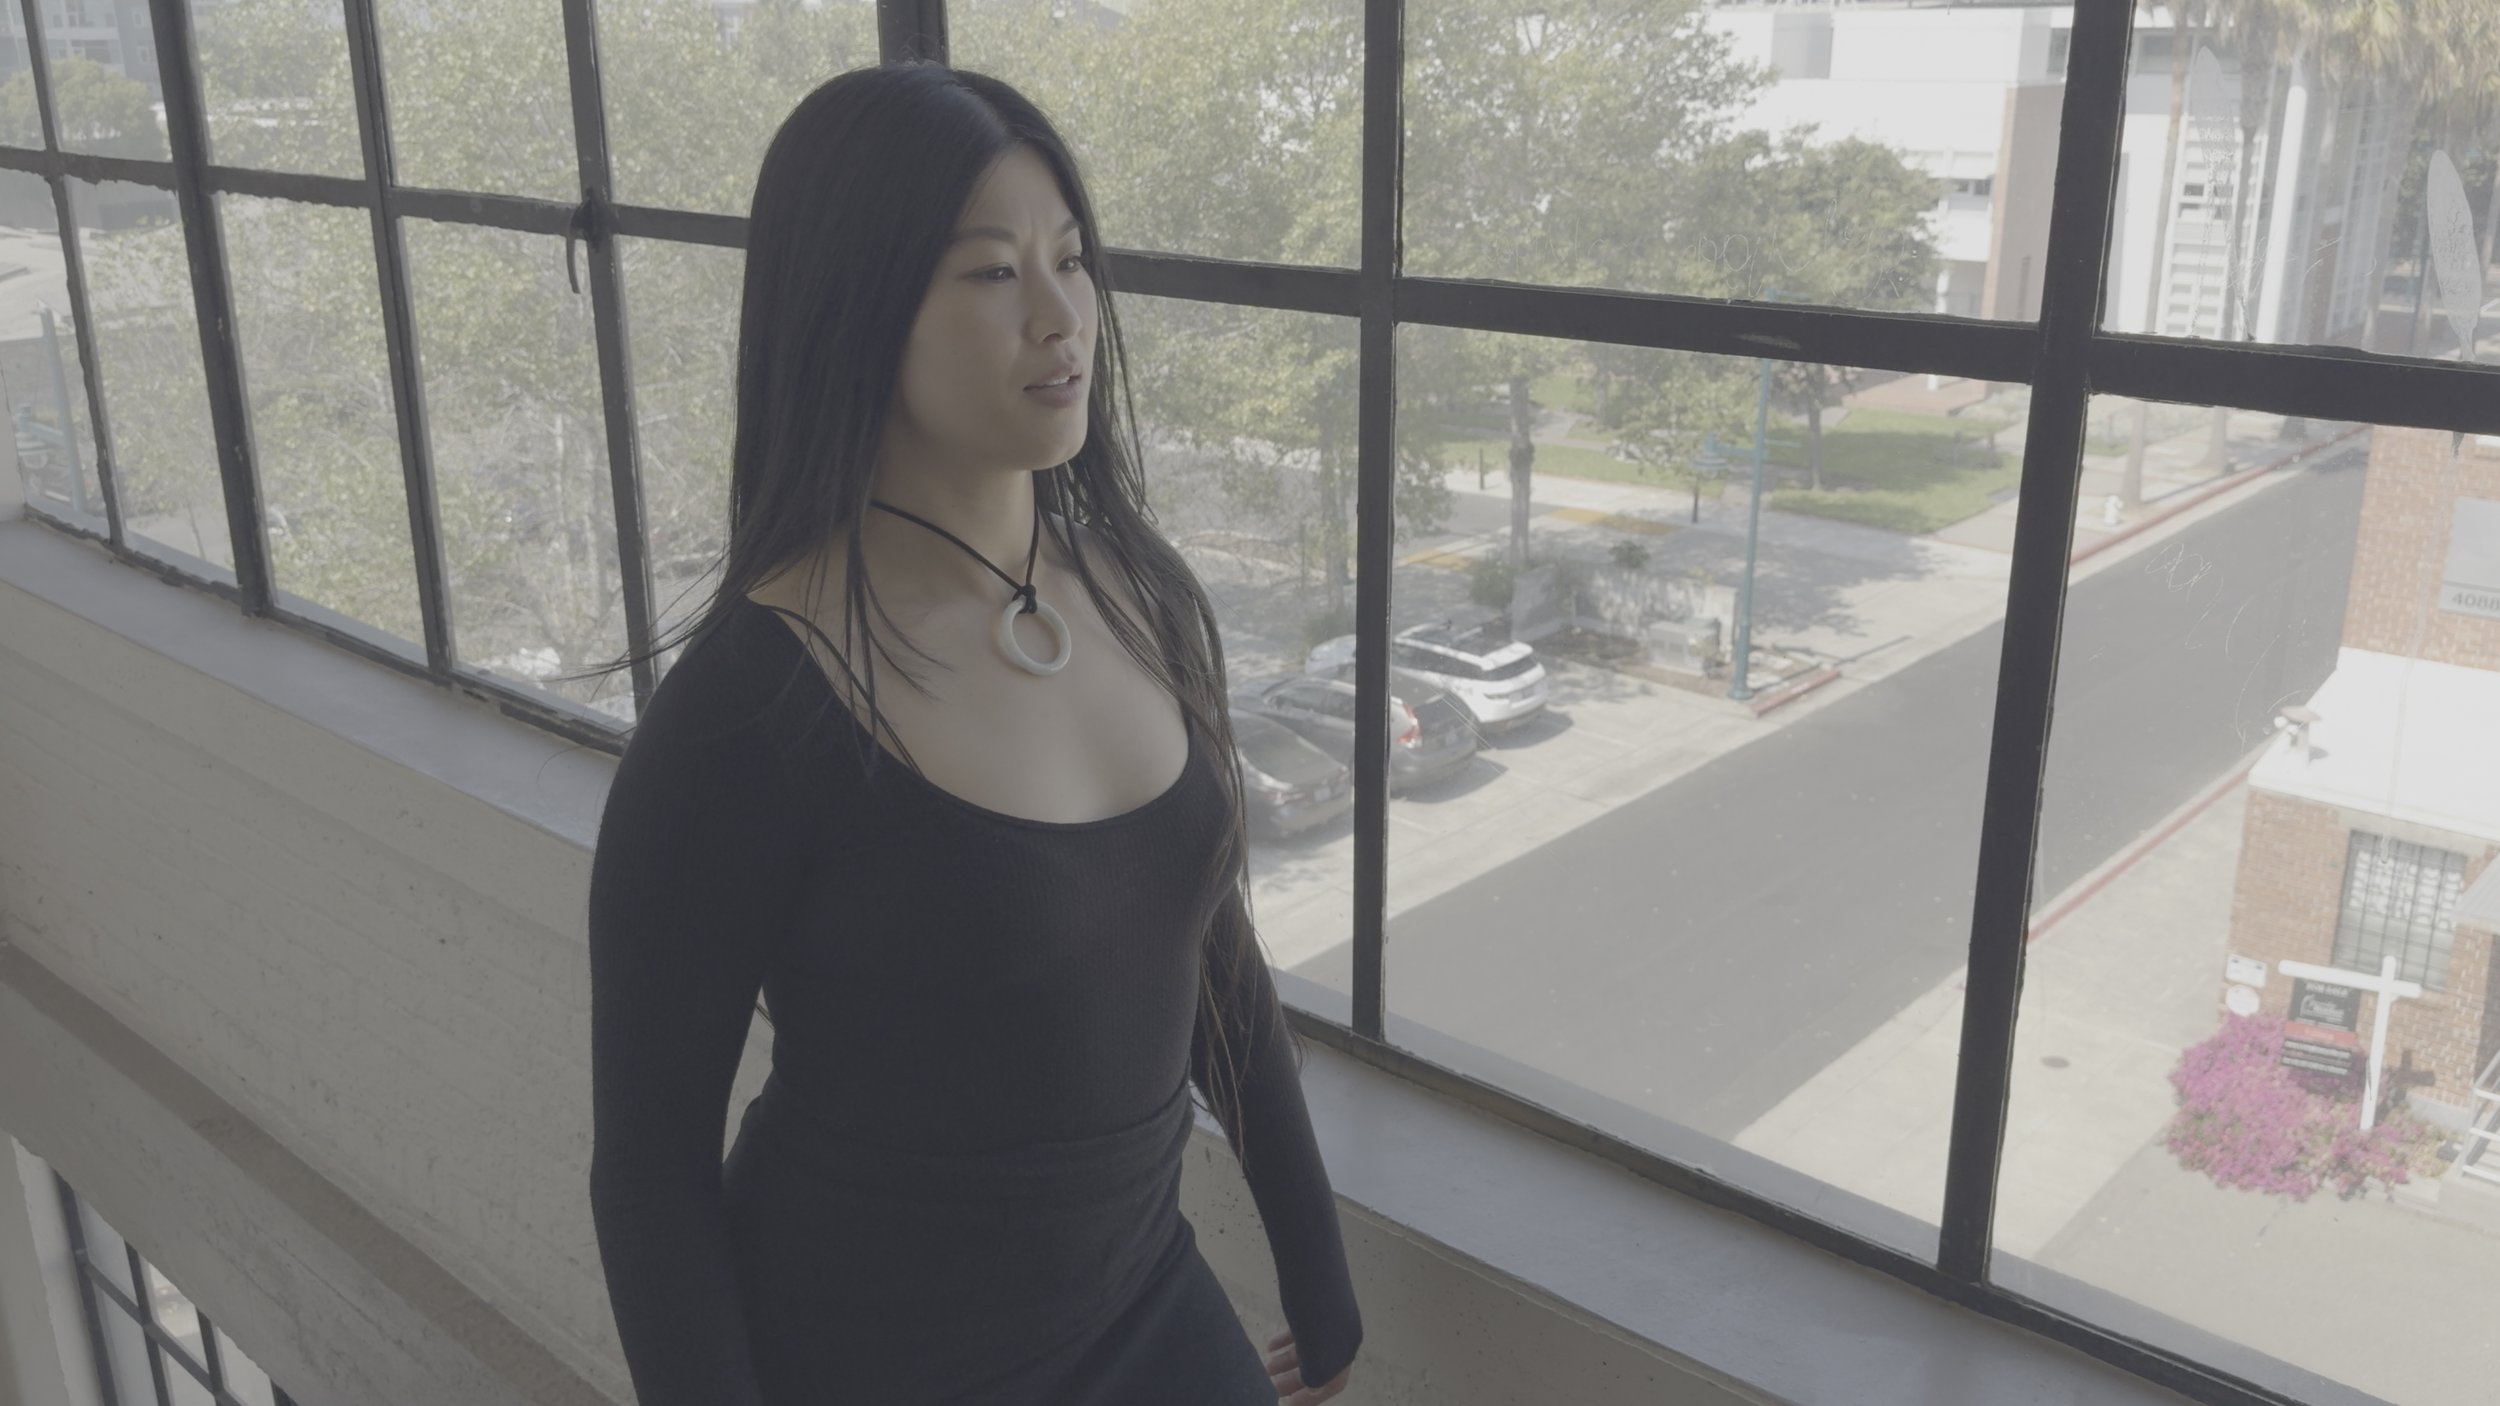
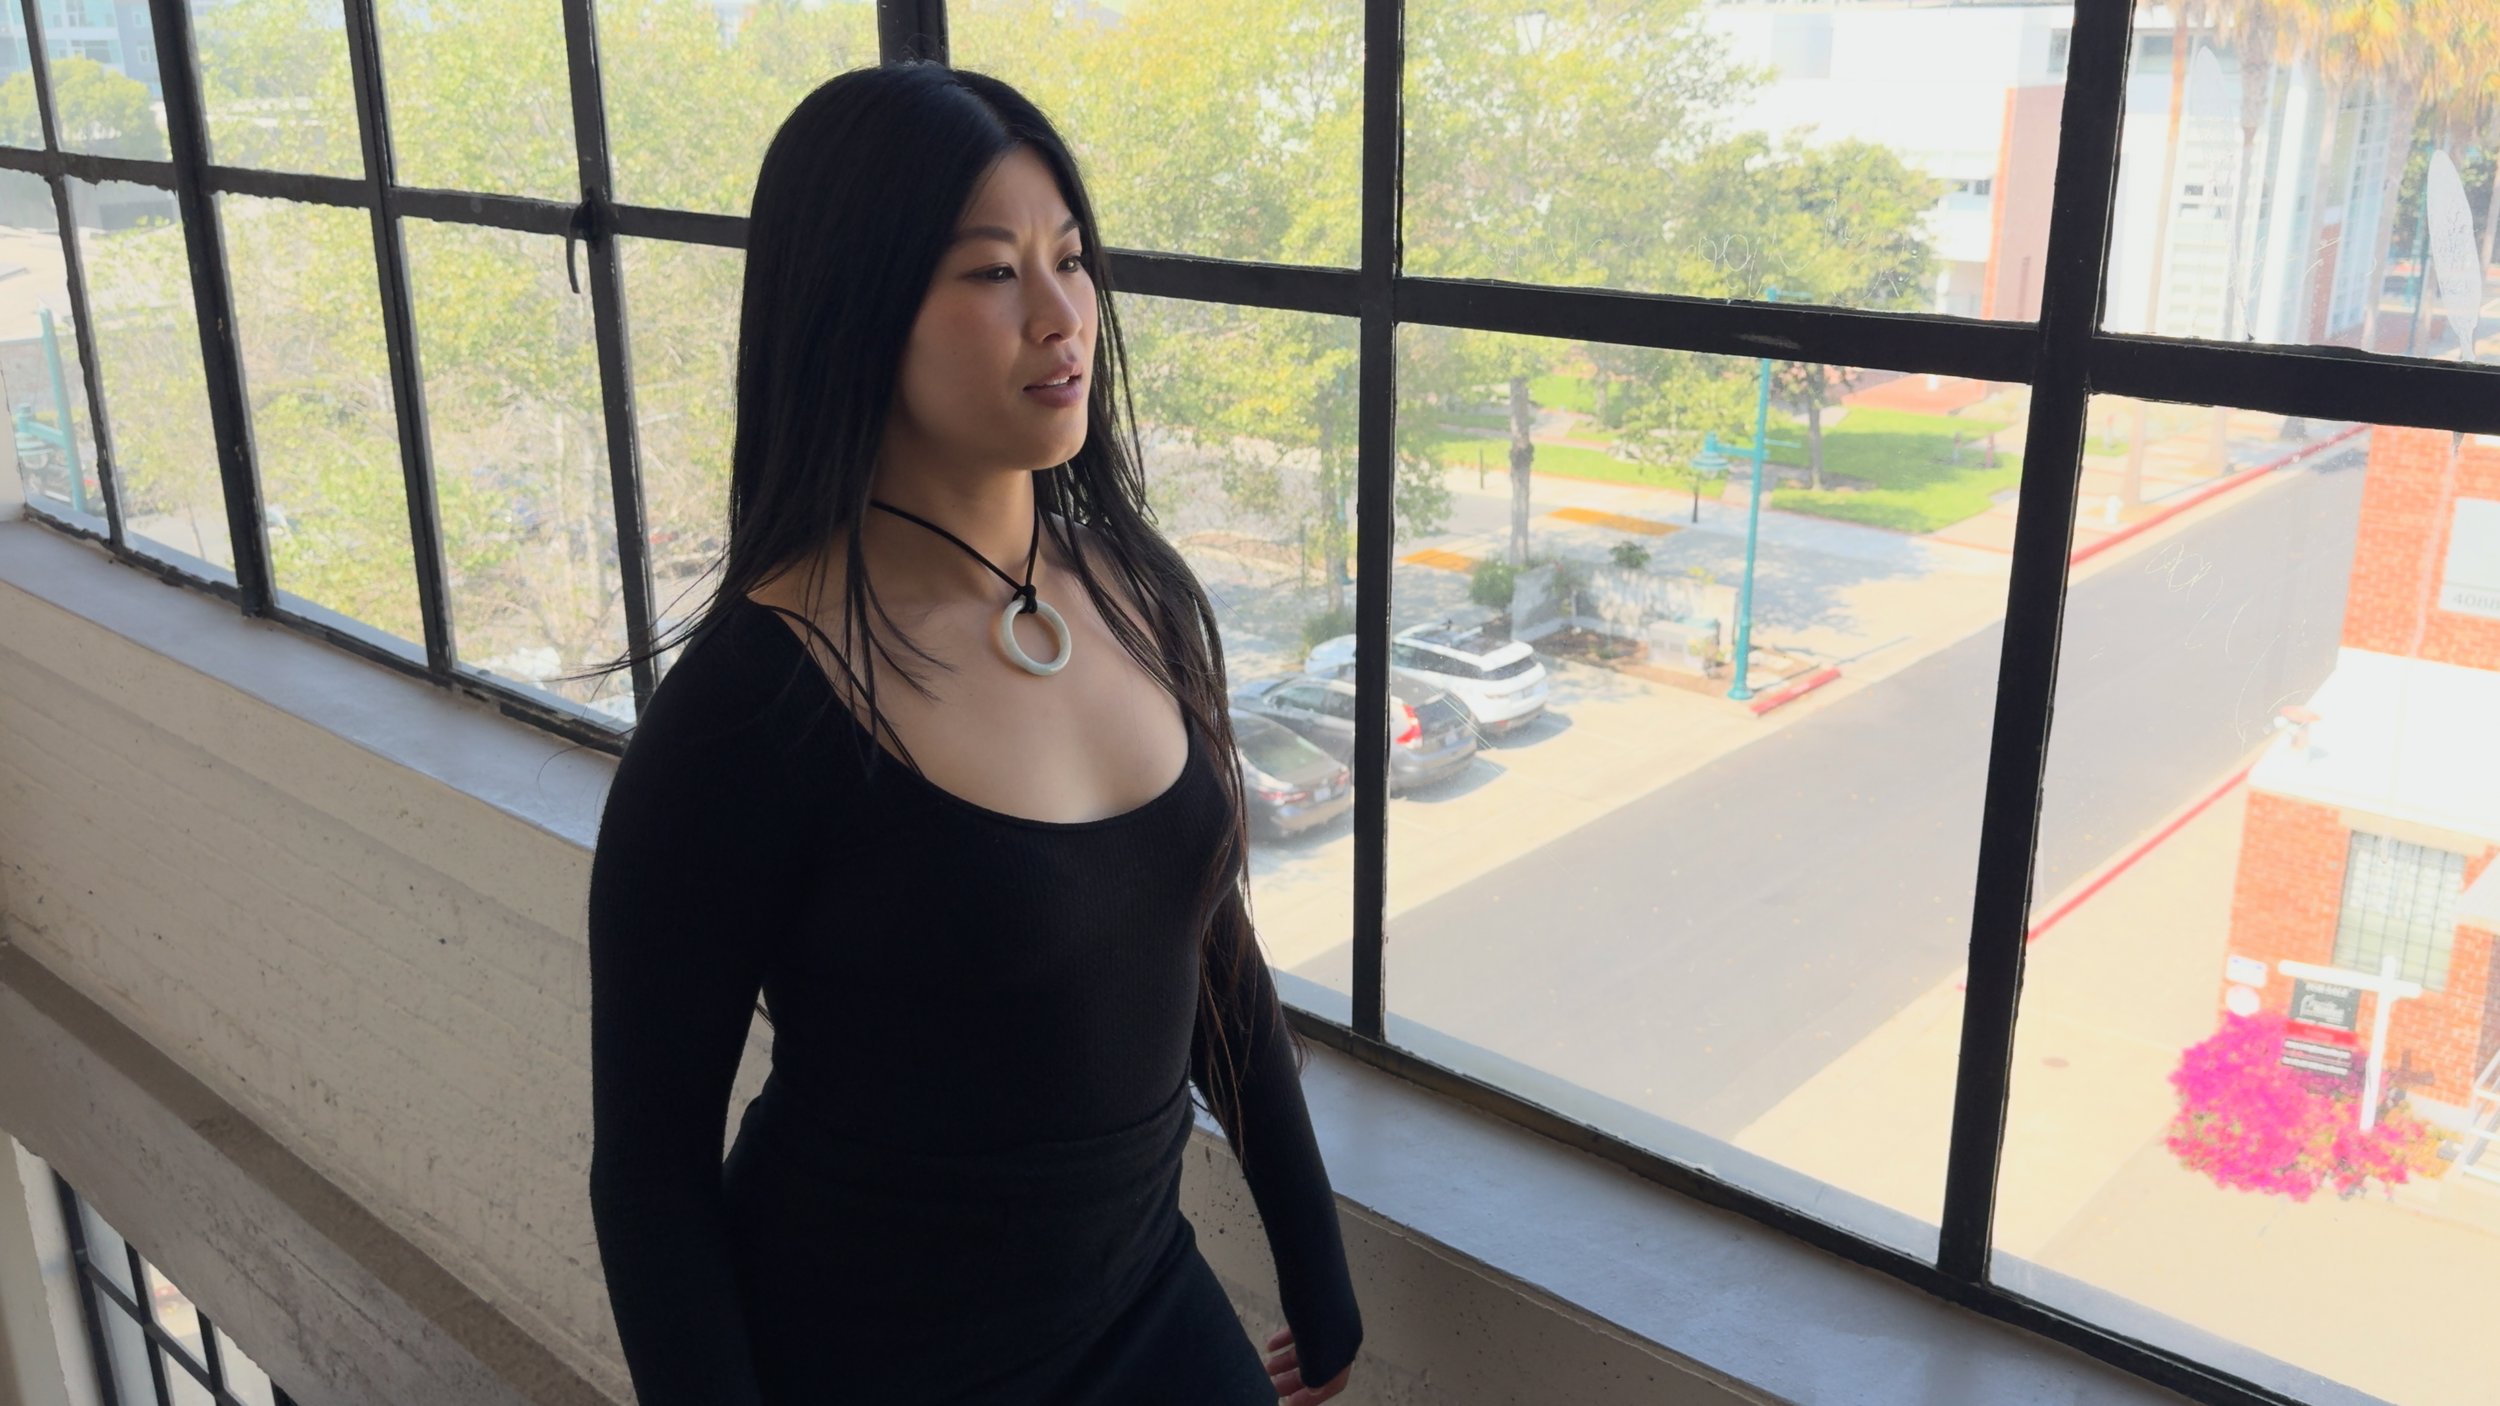
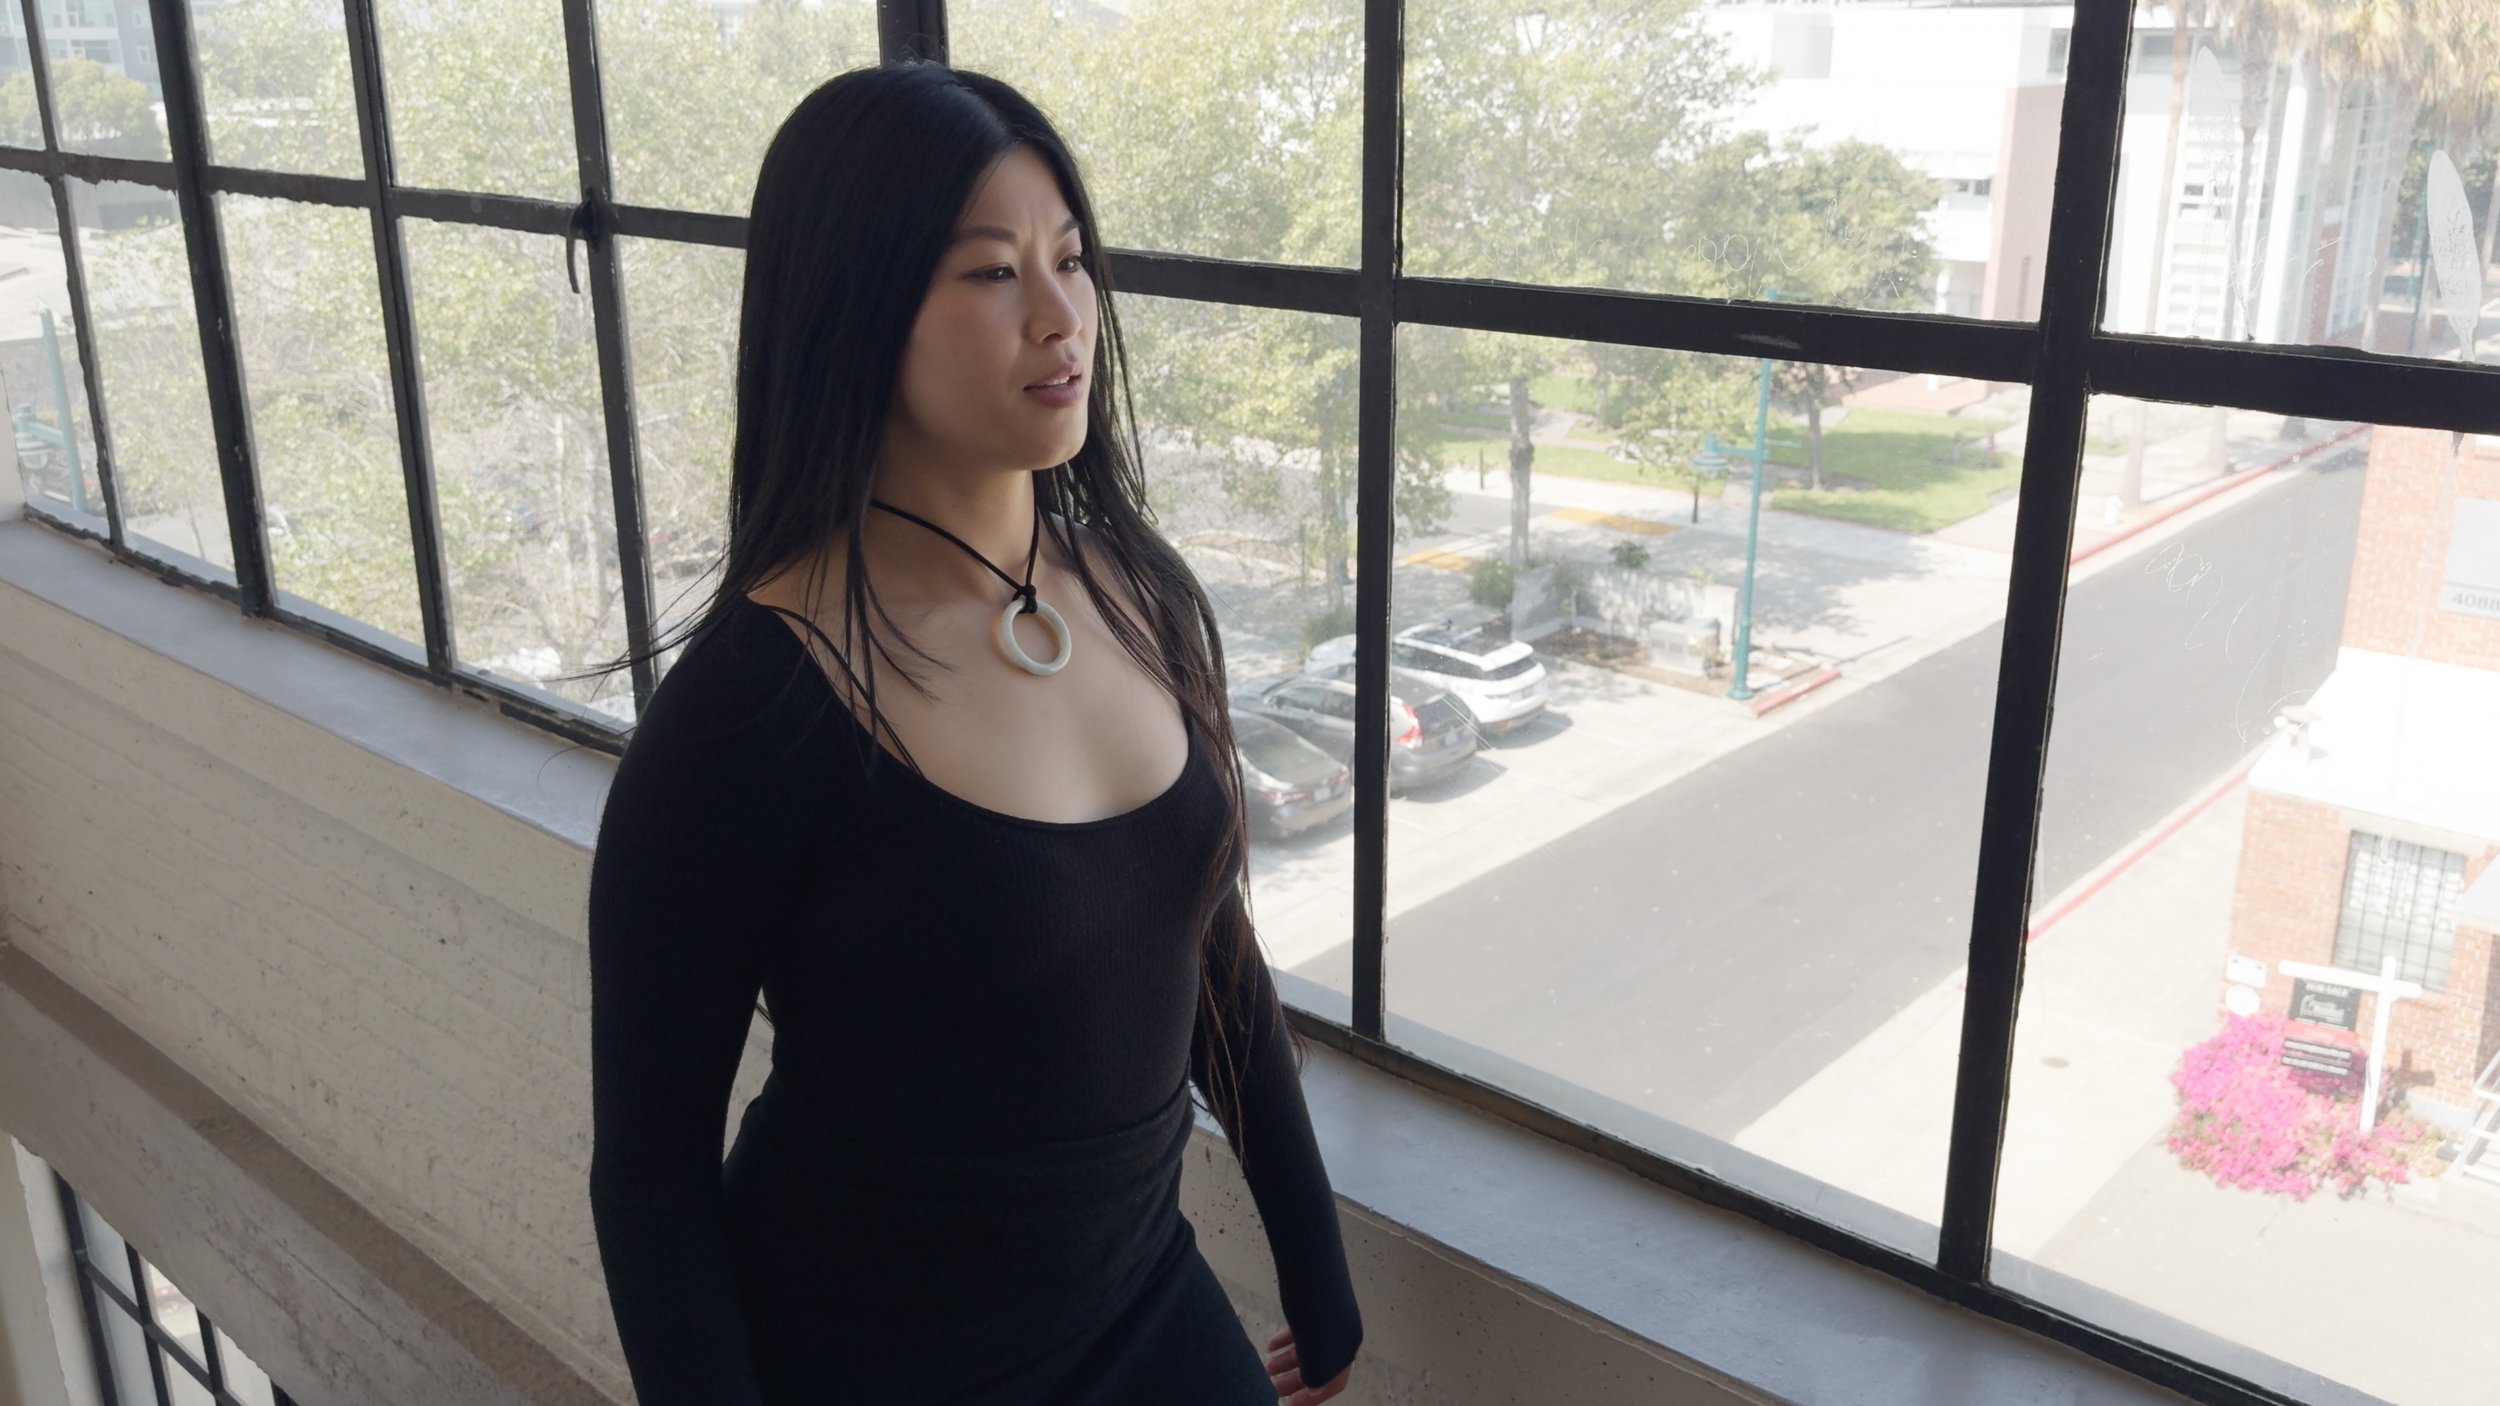
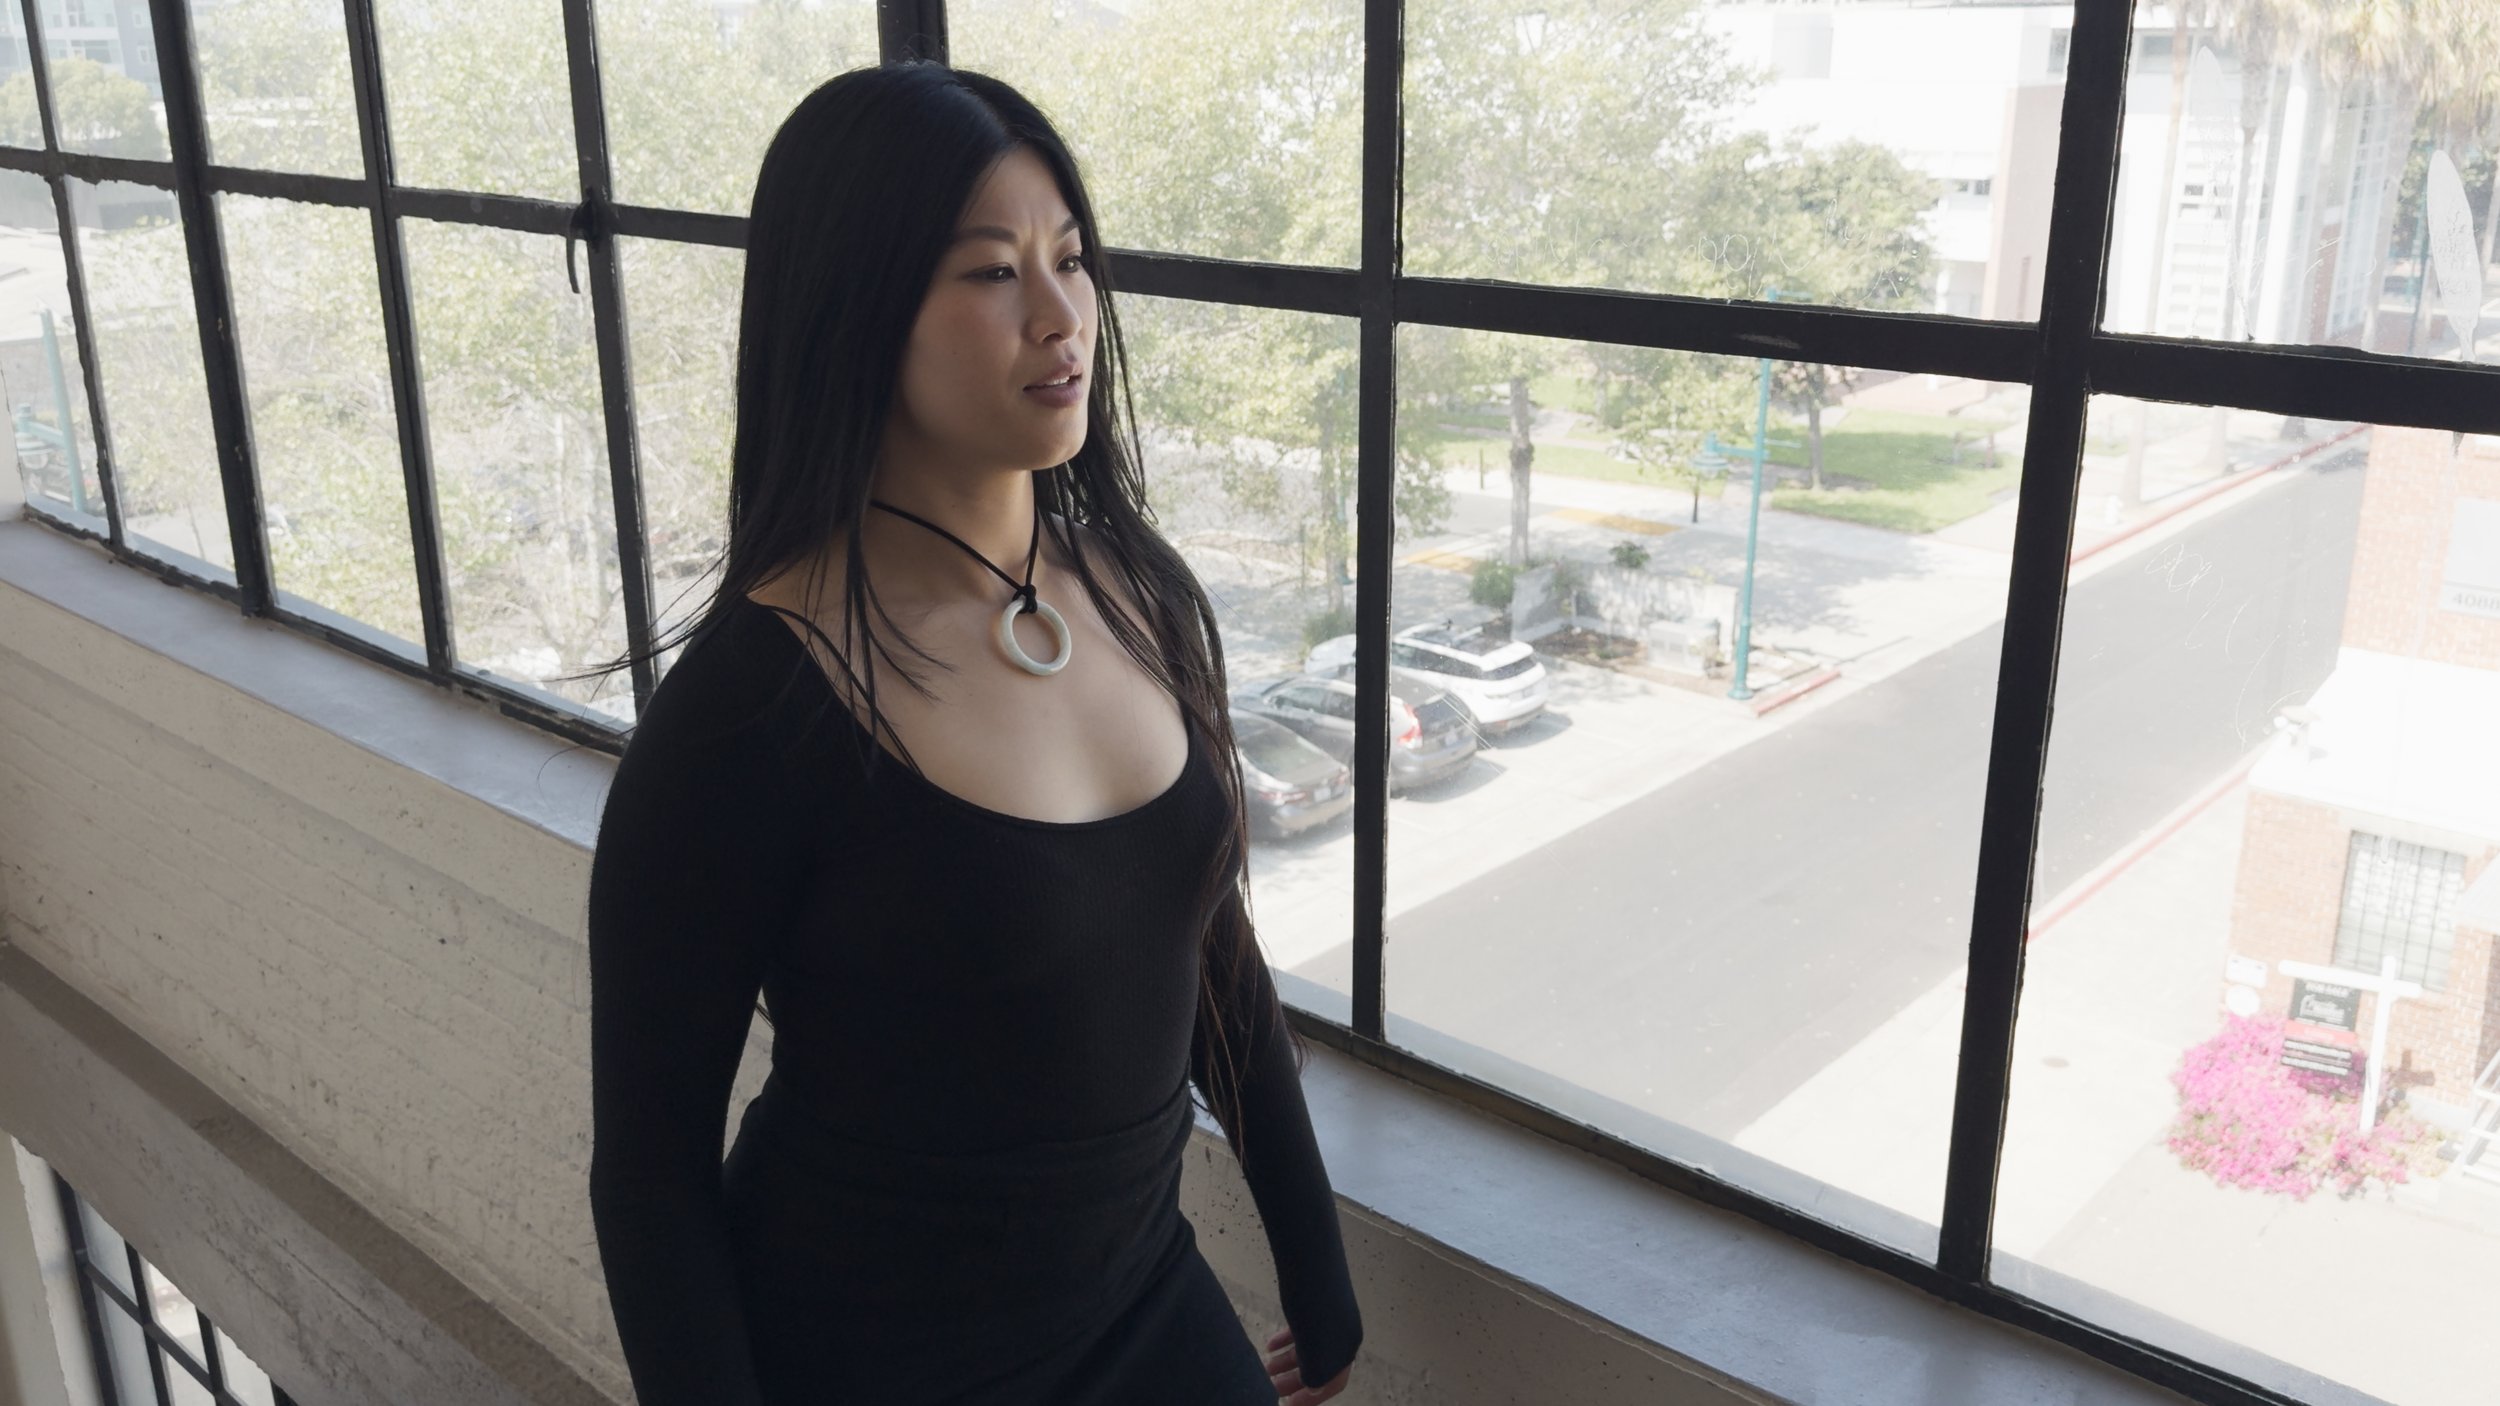
Log footage from iPhone 15 Pro Max with various LUTs and looks applied. Model: Karen Lum (@womanlystateofmind)
You Didn’t Explain What Log is Though
But what is the log of log? What does this math concept mean to me?
The essence of log (in its purest form) is that every stop of light gets the same amount of data. Ten-bit footage holds 1,024 shades of gray. To represent 12 stops of light values (or dynamic range), that means each stop gets about 85 shades of gray.
This means highlights and shadows all have detail that you can access for basic color corrections like exposure and white balance. You can recover some shadow and highlight detail, and make substantial color adjustments that look natural.
In this hypothetical example, we spread 12 stops of light evenly over 1,024 shades of gray.
In Log We Offset
It also means that these basic color adjustments are dead simple to perform. Since each stop (in our semi-made-up example) is 85 shades of gray, adding 85 to the value of each RGB pixel is the same as increasing the exposure by one stop.
We call this adding and subtracting Offset, and Davinci Resolve has a whole color wheel devoted to it. In Magic Bullet Looks, the Global color wheel in the 4-Way Color Tool does an offset adjustment in ACES log, even if your source footage isn’t log. With log footage, Offset is the most natural way to correct, tint, or re-expose your footage.
These kinds of simple corrections look terrible when done after the LUT, or to video-space footage, but when you do them to the log pixels before the LUT, the results look so natural, it almost appears that they happened in-camera. This makes it much easier to achieve consistent color across shots, as they all get the same last step. This is why it’s such a common workflow to put Magic Bullet Looks, for example, in an adjustment layer over all the shots in a sequence.
Sun Dog
Log corrections look natural in part because the simple color-grading math lines up with how light works. They also look great because of the available dynamic range.
If I try to recover some of the detail in my dog’s sun-lit fur, this iPhone 12 footage rapidly falls apart. The iPhone added contrast, and in doing so smooshed the white values into a uniform overexposed patch. Nearby colors are posterized, and the clipped highlights give the shot away as consumer video.




Source: Kodak
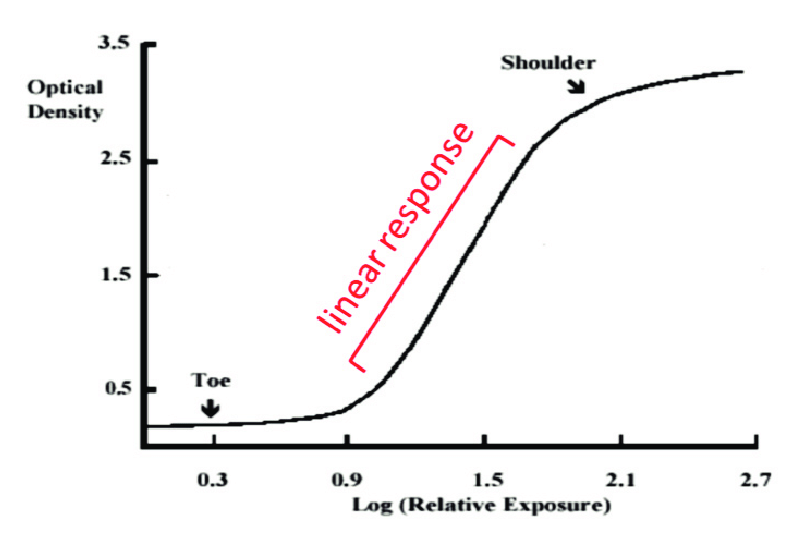
But with this iPhone 15 Pro Max footage shot in Apple Log, I can recover all the detail — or just let it overexpose gracefully into this ACES output transform, for a smooth, film-like look. This soft highlight rolloff in the log-to-video conversion is called a “shoulder” in film, describing the upper part of the classic s-curve. A nice shoulder for your highlights is a big part of what makes footage look “pro” — especially when your grading happens underneath it.
Because log footage uses the same amount of data for every stop, it’s not the most efficient way to store an image. So log is best when it’s at a high bit depth and data rate. Apple Log is only available when recording in ProRes, which is typically 10 bits-per-channel. Apple added ProRes with the iPhone 13, but without log it wasn’t very “pro,” and I almost never used it. The baked-in look made grading difficult, so there was no reason to take on the burden of the massive files.
Heavy is the ProRes, Dangly is the Drive
Apple and Samsung, sitting in a tree.
Yes, massive. 4K ProRes files are big, and recording them to your phone can create some weird workflow challenges. Apple shocked us all by addressing this head-on: The iPhone 15 line charges via USB-C instead of Lightning, and this standard USB port can do a lot. When you connect a USB-C drive, your ProRes Log video automatically gets recorded there instead of to the phone’s photo library.
Recording this way also unlocks 4K 60fps recording in Apple’s Camera app, enabling some gorgeous slow motion effects when played back at 24 fps.
In just two years, Apple has gone from refusing to sell you a pro laptop with an SD card reader to making a camera that records to external media. We’ll all be looking for iPhone rigs with places to strap these little drives.
Drive 1, Drive 2
Log is Half Baked
In this unprocessed log clip, the purple light reflections appear over-saturated.
With its high bit depth and dynamic range, log footage has many of the benefits of raw. But Apple Log is not raw, and not even “straight off the sensor.” It’s still heavily processed — denoised, tone-mapped, and color adjusted. You can see this big time if you shoot bright, colorful lights. Even though Apple has turned their sharpening and tone mapping way down for Apple Log, there’s still some of that telltale overdriving of super-bright, super-saturated colors.
It’s also important to note that log does not mean you’ll never overexpose. It’s still an iPhone with a tiny sensor, so don’t expect the dynamic range of an Arri Alexa or a Sony Venice.
Blackmagic Camera App
The other way Apple doesn’t quite live up to the “pro” promise of log is by not offering much manual control in their camera app — and that’s totally fine. Because all the control you could want is found in the wonderful new Blackmagic Camera app. It’s a free download, presumably meant as a gateway drug to Blackmagic’s paid products and services. It’s a terrific app with a gorgeous UI and pro features like a live histogram, display LUTs, HDMI out via USB-C, and choices of different ProRes formats.
Note that the shutter speed is set in degrees! What a time to be alive.
VFX Log
The flatness of log gives you the power to make it your own in the grade. The other huge advantage of log is that it is known, meaning it’s possible to convert it to and from various color spaces accurately. This is a huge advantage for VFX artists and colorists alike. Colorists can convert Apple Log to whatever color space they like to work in, and accurately incorporate iPhone footage into any color timeline. VFX artists can convert their log footage to scene-refererred linear and create accurate composites that include color-matched 3D renders.
In this example, I converted the footage to EXR and camera-mapped it onto simple geometry in Cinema 4D. In Redshift, those HDR pixel values cast light and reflections onto the 3D model, doing 90% of my lighting for me:
ACES Compatible?
Apple’s log format being known is all it takes for compatibility with ACES, the Academy of Motion Picture Arts and Sciences color management system. But it’s important to note that Apple Log does not match any pre-existing ACES format.
The log curve is Apple’s own, which they’ve documented, and it’s already available in DaVinci Resolve. In the CST node, choose Apple Log for the Input Gamma, but choose Rec. 2020 for the Input Color Space, because Apple Log uses the Rec. 2020 primaries.
With these as your inputs, you can either convert to Rec. 709 video, or to an ACES format like ACEScc — which is also log, but a different log.
Remember when I said log uses the same amount of data for each stop? That’s not entirely true with Apple Log. The darker stops are compressed a bit, to control noise. If you’re familiar with ACES, this makes Apple Log more similar to ACEScct than to ACEScc. Many colorists prefer working with ACEScct because of the way it handles shadows, so Apple is in good company here.


Along with documenting their unique transfer function, Apple has supplied a LUT for converting from Apple Log to Rec. 709 video. Apple’s LUT is very rich in contrast and saturation. This is useful if your goal is to match the look of non-log iPhone footage, but I found it too colorful for some applications, so I created my own LUTs that roll highlight colors off more naturally.
While Resolve and Final Cut Pro both offer built-in support for Apple Log, some other tools don’t yet. So I also made LUTs for converting Apple Log to ACEScc and ACEScct — the ACES log formats designed for creative color work. With these LUTs, you can incorporate Apple Log footage into an existing ACES workflow without losing any color fidelity.
To some, true ACES compatibility would require Apple Log’s inclusion in widely-distributed ACES OCIO configs. Until that happens, Apple Log is ACES-compatible as long as you have a color-space conversion bridge — something like either the CST node in Resolve or the Prolost Apple Log LUTs, available below as a free download.
Magic Bullet Magic
With this workflow, I was able to run some iPhone 15 Pro Max footage through the ACES-compatible Magic Bullet Looks, using our new Diffusion filters modeled after real-world filters from Tiffen and others. Along with some basic grading, I also added some film halation and grain. The results have a rich, cinematic look that in no way betrays that it was shot on a consumer phone.
Rebel Without an Excuse
The argument about whether it makes any sense to shoot professional video on a consumer device dates back to before my book, The DV Rebel’s Guide. I love small, accessible cameras that allow us to shoot unnoticed in public places, but for years I discouraged the use of phones for this, because the ability to control and author the image just wasn’t there.
Now that the iPhone can shoot log, is the best camera the one you literally always have with you, or, you know, an actual good camera? The iPhone 15 Pro Max is going to tempt you to shoot real stuff with your telephone, and for the first time ever, I’ll be right there with you, thanks to log.


