After my experience being rejected from the App Store, I was left with an unscratched itch to ship a native iPhone app. Staying well away from my day-job turf of tools for motion artists, I created an app to support a hobby I fell into.
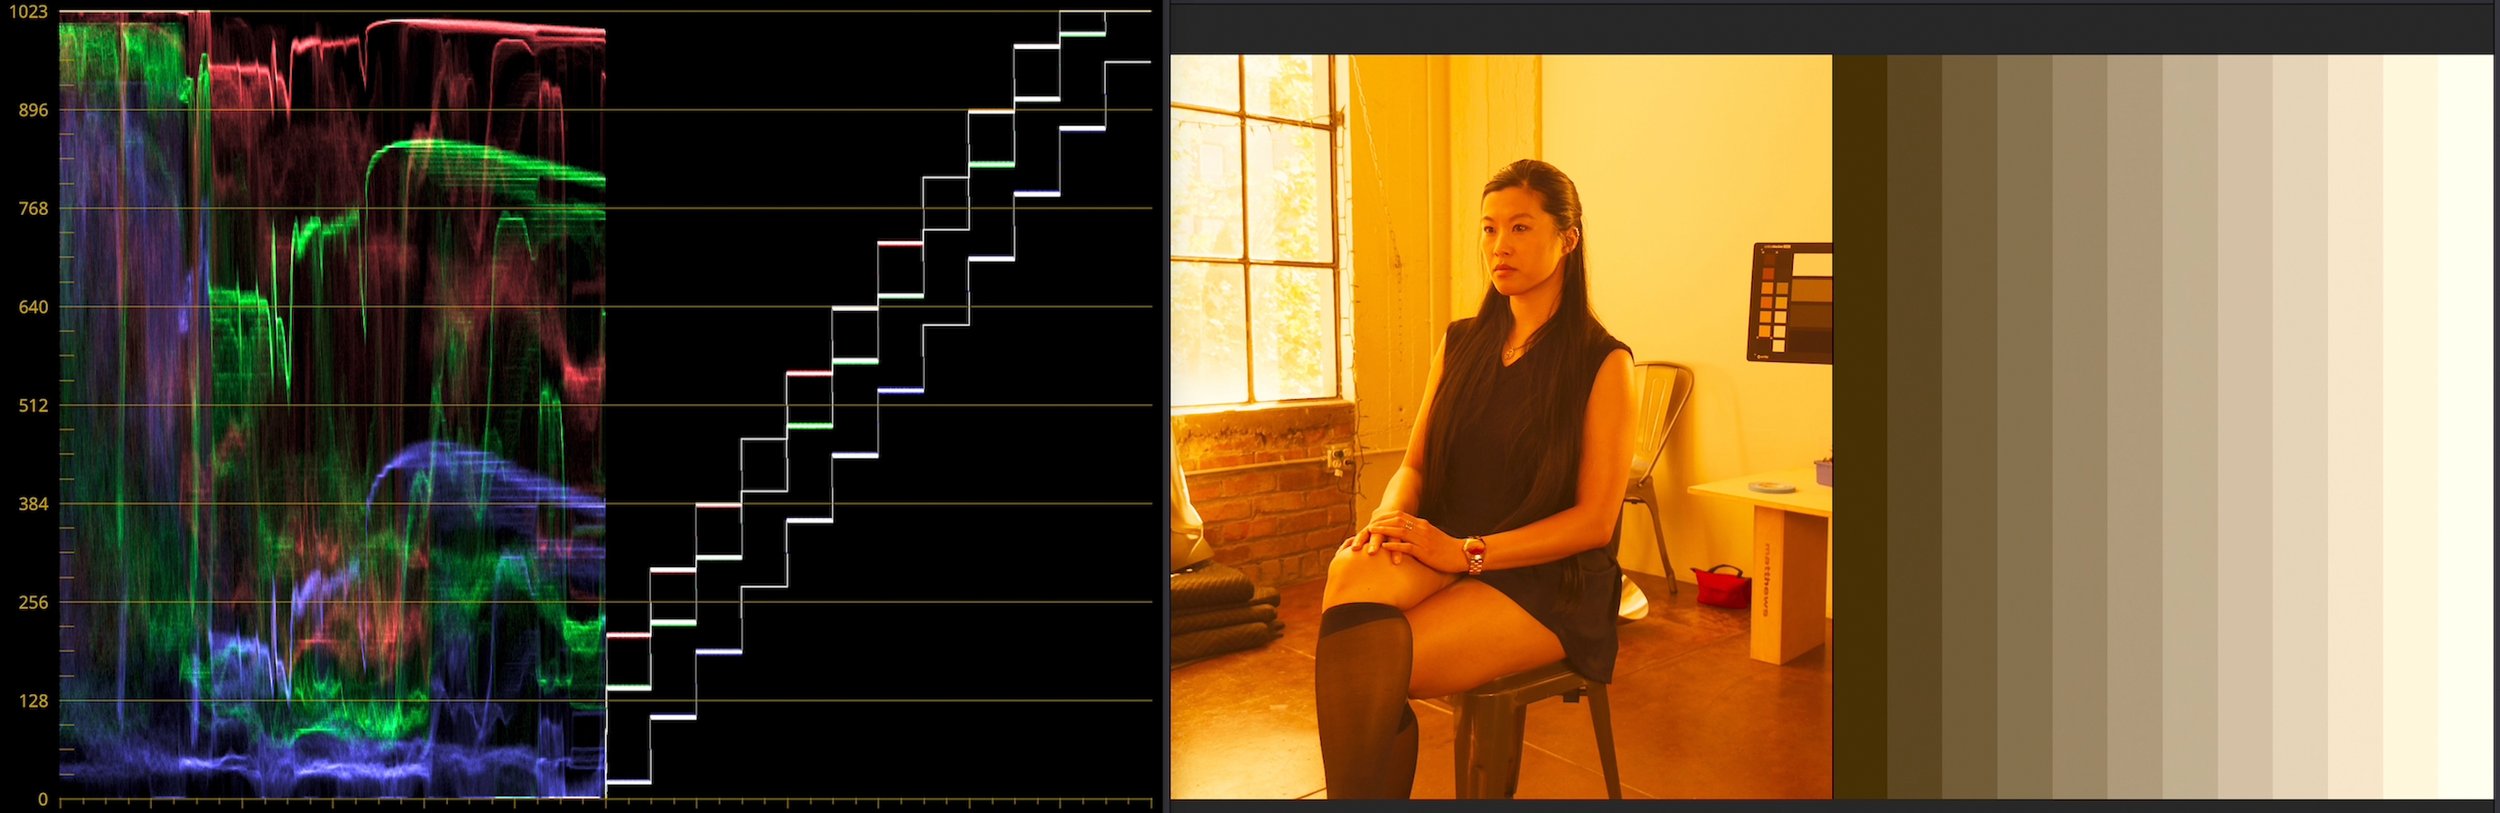
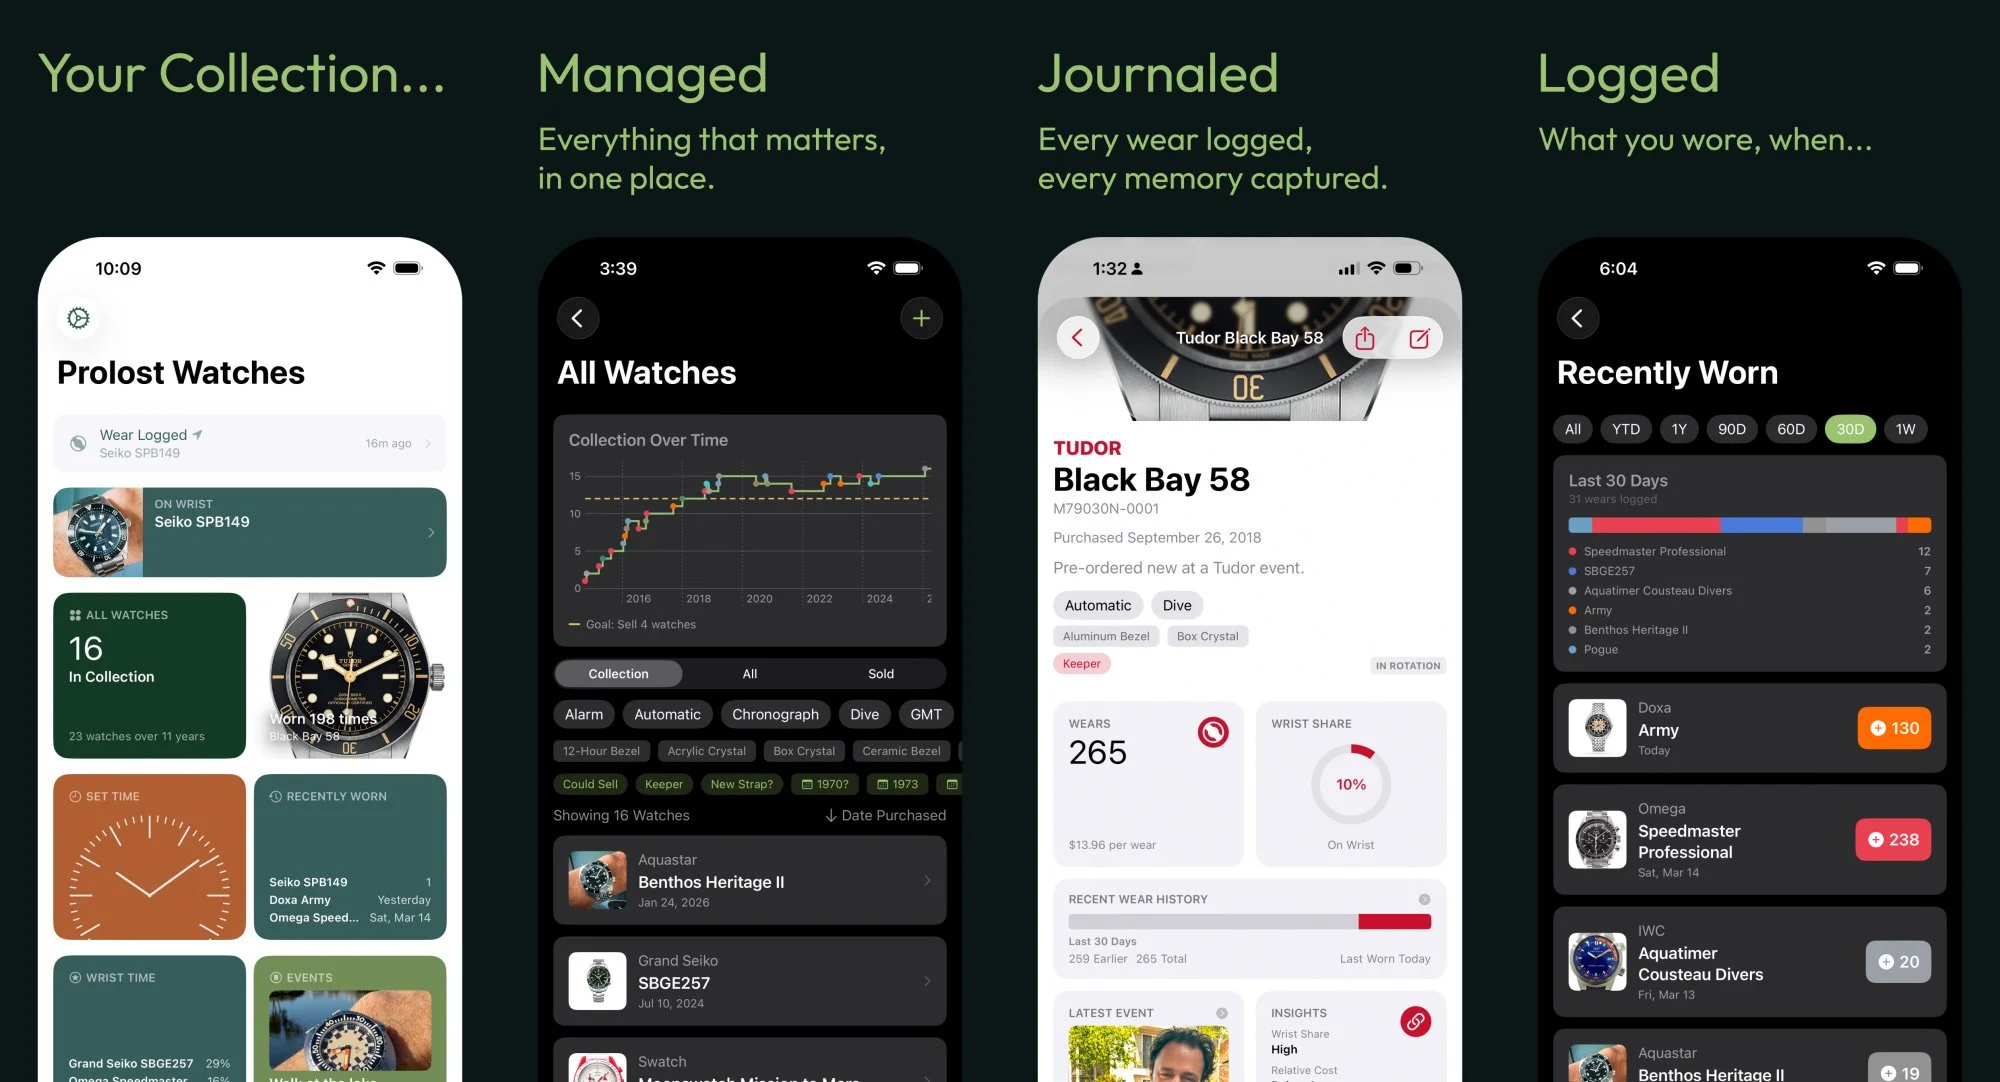
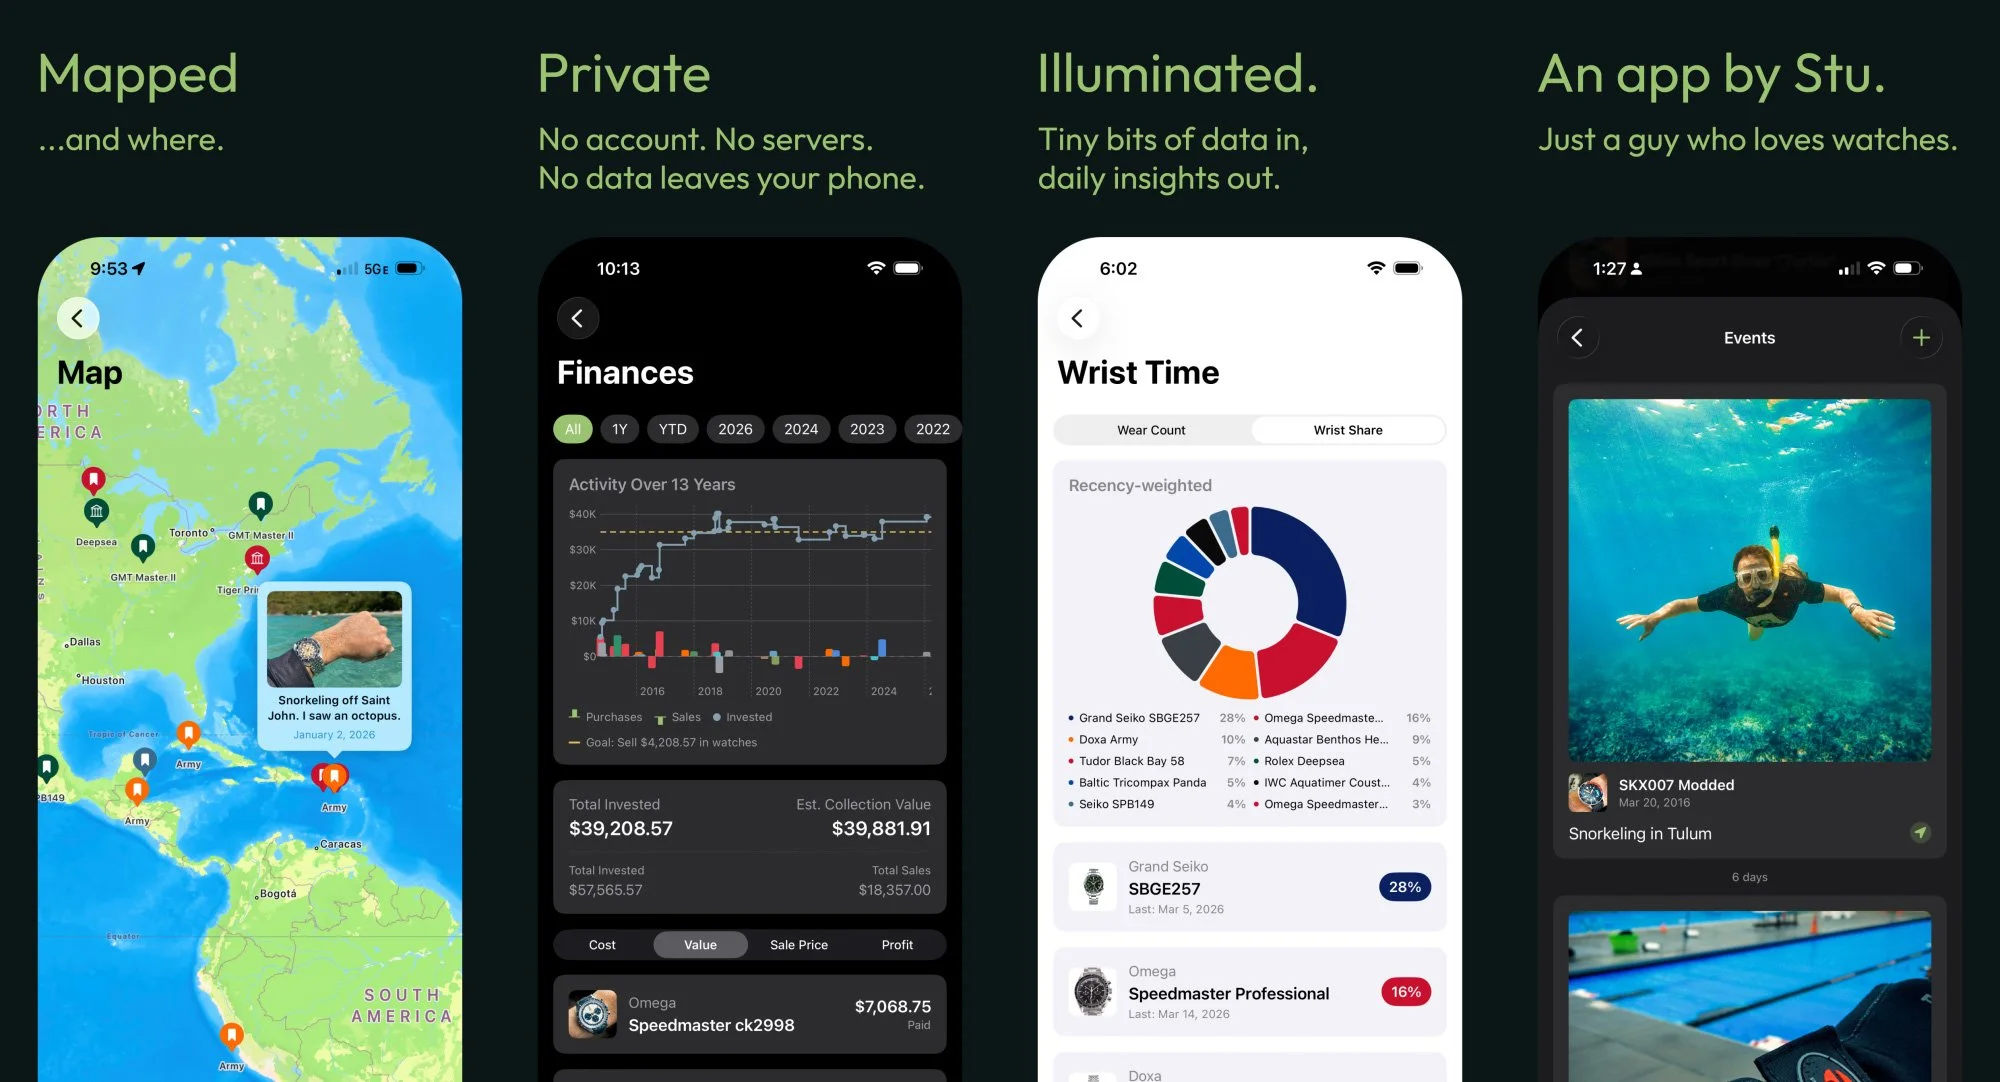
Prolost Watches is an iPhone app for managing your watch collection. It’s part database, part journal; designed for the detail-obsessed mind of the watch fanatic. As you log each day’s choice of watch, insights are revealed. Wear logs trace a path on the map. Events from the past are resurfaced at opportune times. Finances mange themselves as you buy and sell. Your entire collection lives in your pocket, and you get to enjoy all your watches, even the ones you’re not wearing.
Vibe-coding is starting to get a bit of a reputation as just more AI slop, and it’s not totally undeserved. You see daily breathless AI-bro posts declaring an entire industry “cooked” because of something built with “a single prompt.” This would be easy to dismiss as pure hype if it wasn’t so harmful to, well, everything.
But I also see daily feed of people laboring with care and craft on apps designed to solve niche problems. My mission with Prolost Watches is to create one of these counter-examples: a luxurious, native iPhone experience. I’ve responded to user feedback from dozens of active beta testers, added creature comforts and Easter eggs, optimized performance and squashed bugs, and packed as much “it just works” in as I can. I’ve also said “no” a few times, just for good measure. Prolost Watches is my first app, and I’m proud to release it on the App Store.
Prolost Watches is a one-time purchase. There’s no subscription, no ads, no account, and no server. Your data is secure and private, and never leaves your device. Pre-order now for US$14.99, with expected release on June 16 2nd at US$19.99.
Making Prolost Watches with Bitrig
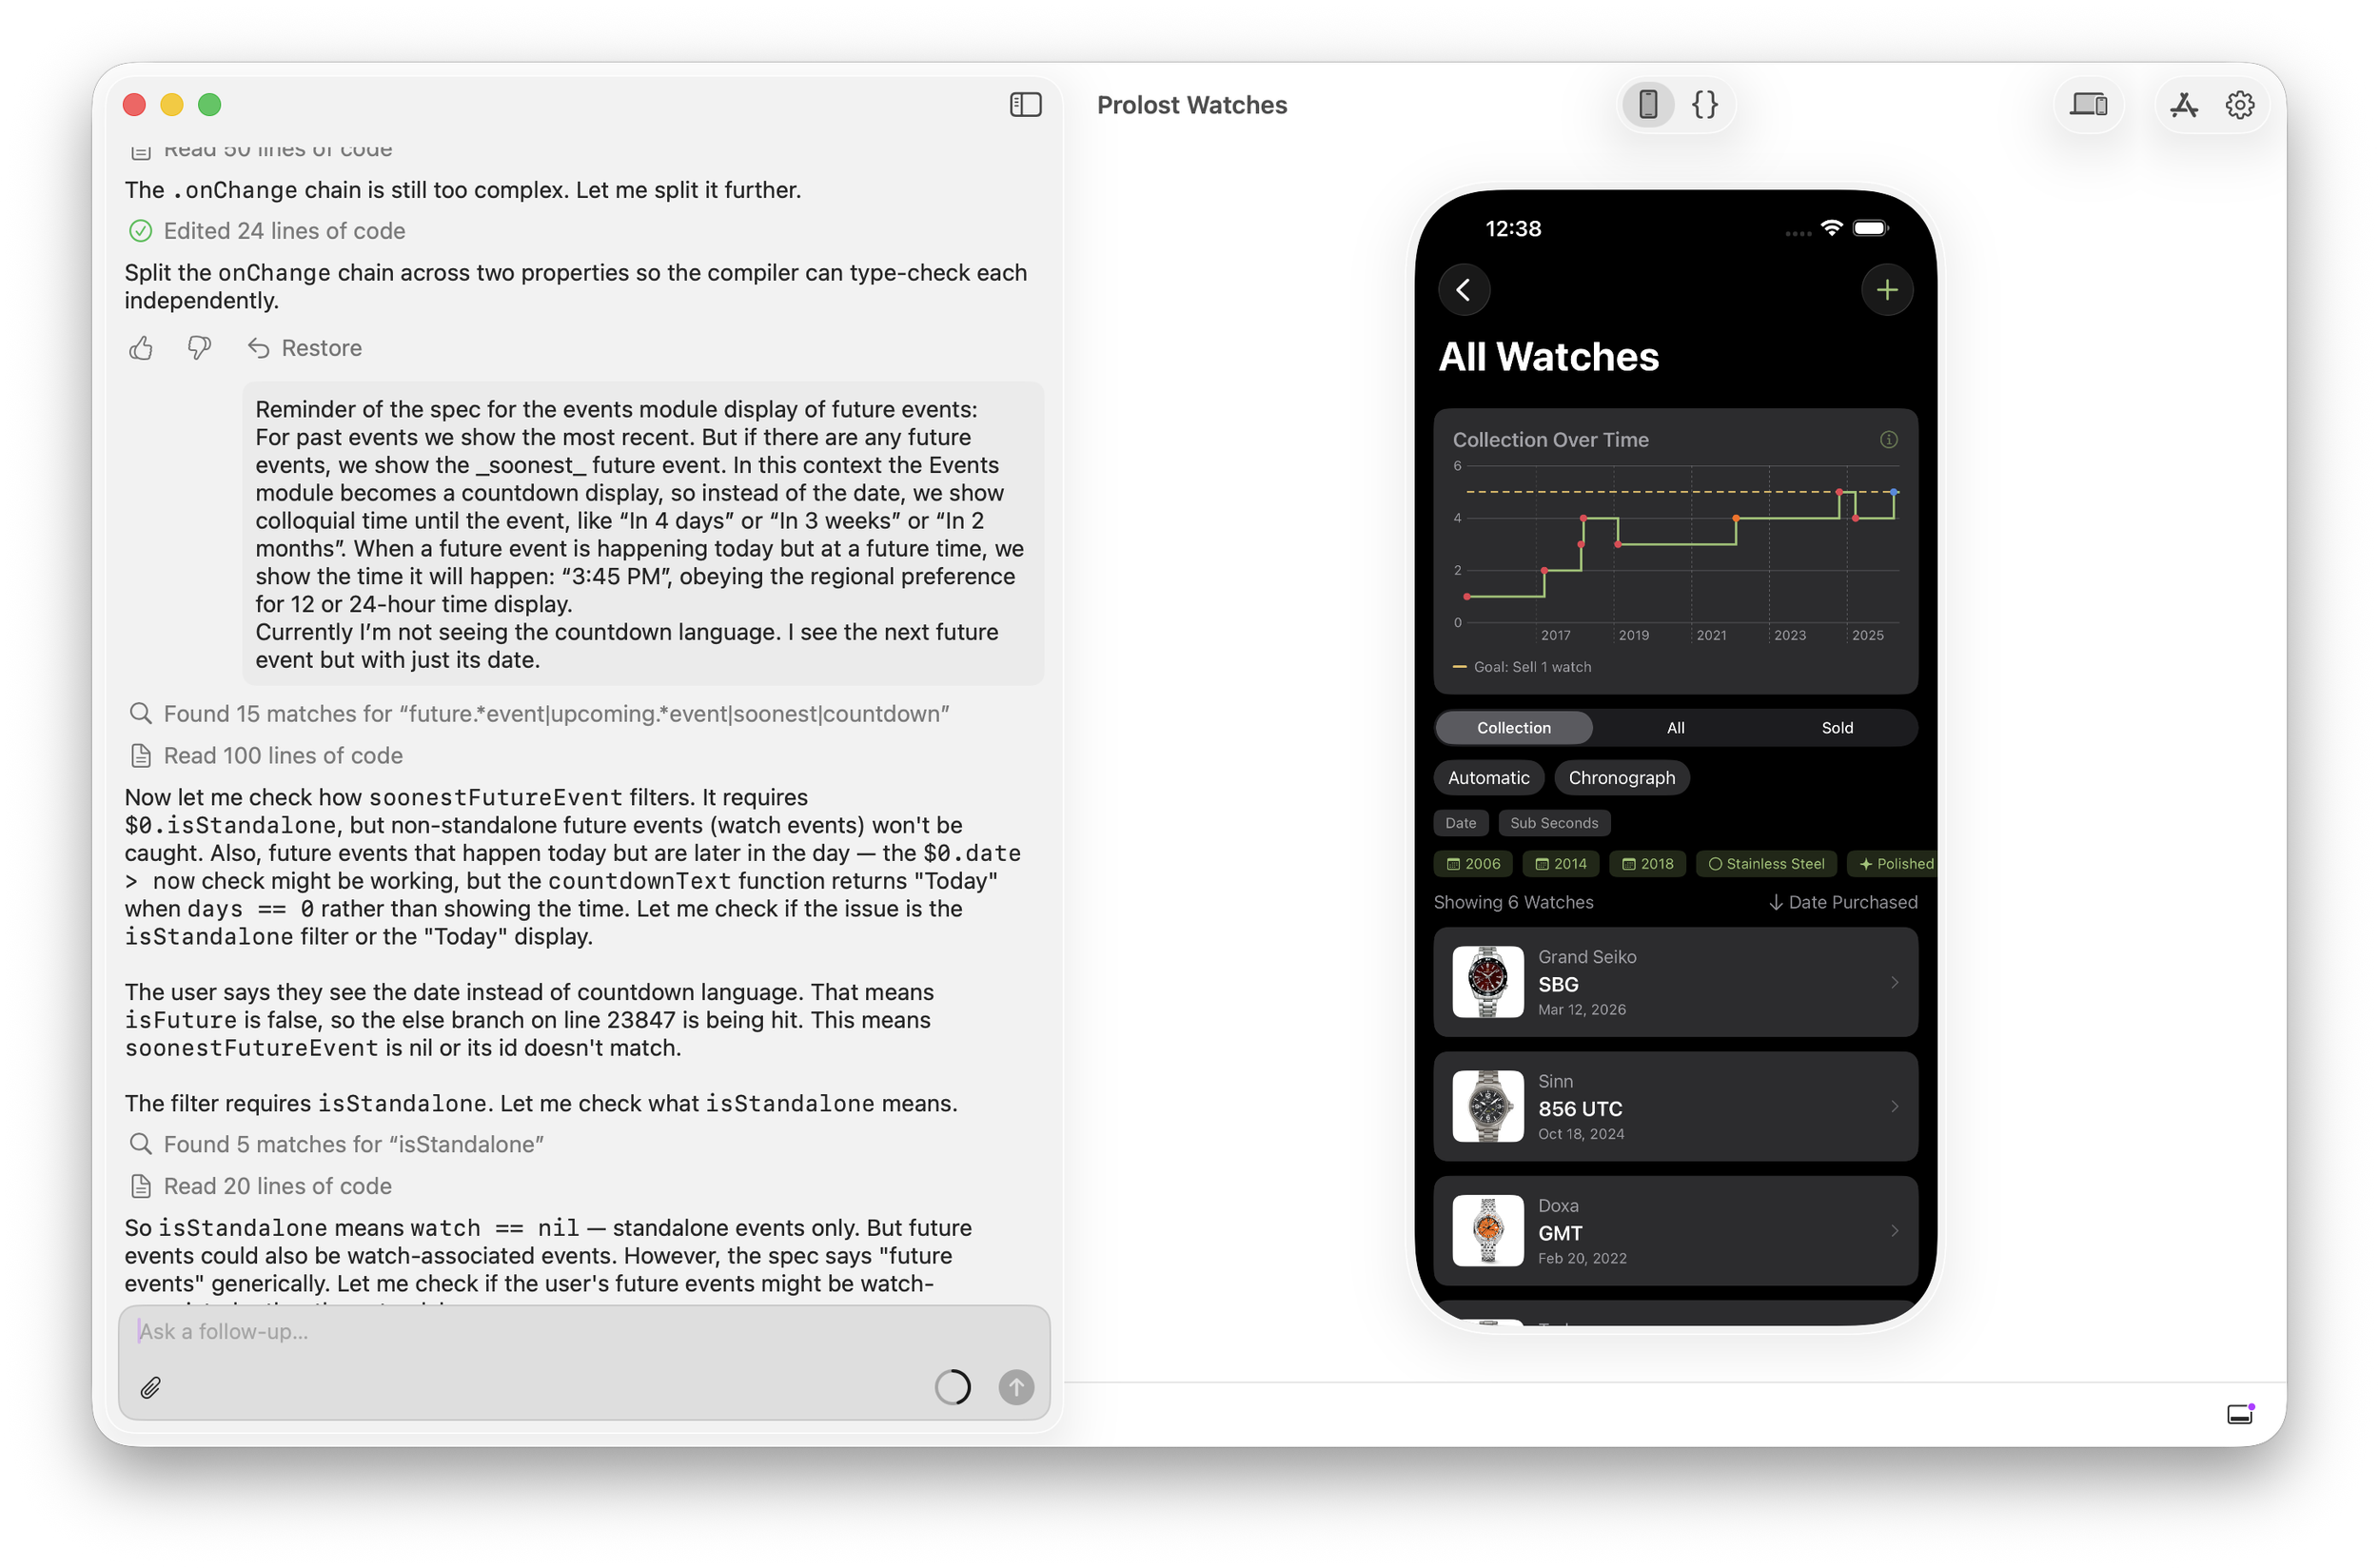
Bitrig has changed a lot since I used the iPhone client to create the ill-fated version of Drinking Buddy. It’s now a native Mac app that allows prompt-base creation of native SwiftUI apps for iPhone, as well as iPad, Mac, and Apple Watch. It has a built-in simulator, and can preview your apps on your device as well. If Lovable (which I used to create the shipping version of Drinking Buddy) is at one end of the spectrum — easy for anyone to use with little experience, and Claude Code running in the terminal is at the other, Bitrig is in a sweet spot right in the middle: a little nerdy, but with some well-considered creature comforts that, in my case, made it mostly a delight to craft and refine a complex app.
I am very polite when correcting the robot. I’ve seen The Terminator too many times.
We’re not quite at the point where domain knowledge is all you need. It’s actually refreshing to me that there’s still a place in vibe-coding for nerding out about data formats, performance, user-experience models, and how things function under the hood. But on a good day, working with Bitrig feels creatively empowering in a way AI very often doesn’t for me. Prolost Watches wouldn’t exist without it.